Why Does My Add-in Not Install With 64-bit Office?
Following the previous post, this is another confusing issue I am hearing a lot. Here is the scenario:
– Super cool new 64-bit operating system computer
– Install the latest and greatest MS Office 64-bit
– Attempt to install favorite PowerPoint add-ins and nothing works….

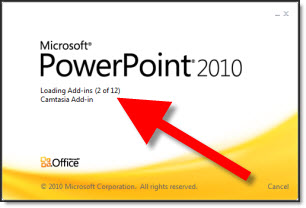
Add-ins need to be written/coded to work specifically with the 64-bit version of PowerPoint. At this moment there are very few add-ins that have 64-bit versions. So, if you are running the 64-bit version of PowerPoint, do not plan on using any add-ins.
This of course will change over time as the add-in developers have opportunity to create 64-bit versions of the existing 32-bit versions (and I am waiting just like you for this to happen!).
– Troy @ TLC