Applying Line and Paragraph Spacing
Quick Shortcut to Apply Line and Paragraph Spacing
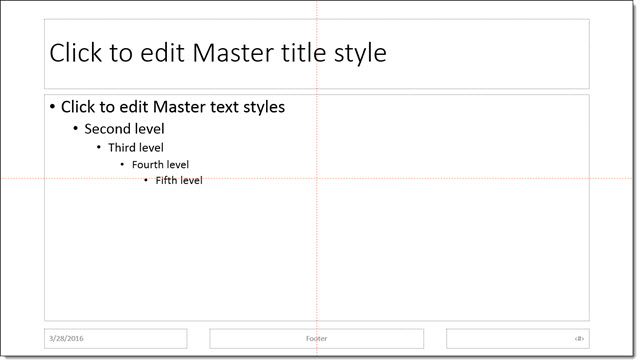
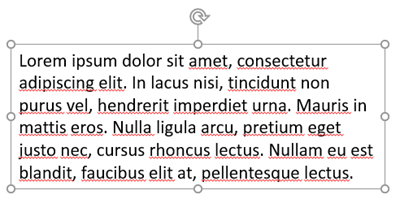
The F4 key reapplies the last action. It’s a great timesaver for those repetitive actions – an especially helpful task in customizing the line and paragraph spacing in a text box where not every paragraph gets the same spacing. Here is my sample slide with several text boxes and several paragraph spacing opportunities to improve the legibility.
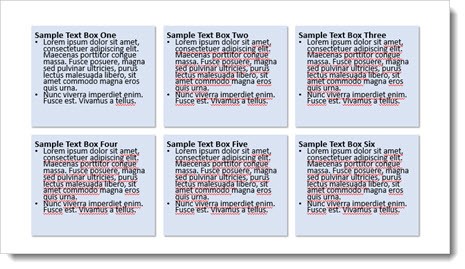
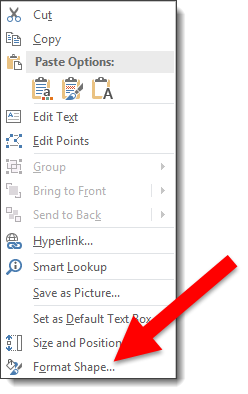
If the formatting goal is to add some additional paragraph space between the bullets on each text box, the process unfortunately involves selecting the bulleted text in one text box, opening the paragraph spacing dialog, adjusting, closing dialog and then repeating the process in the next text box.
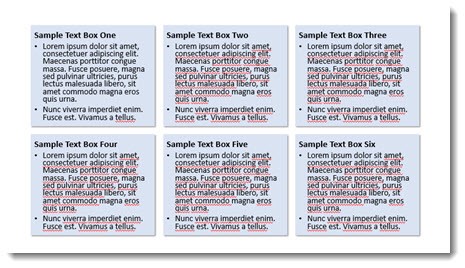
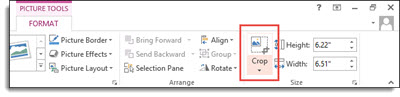
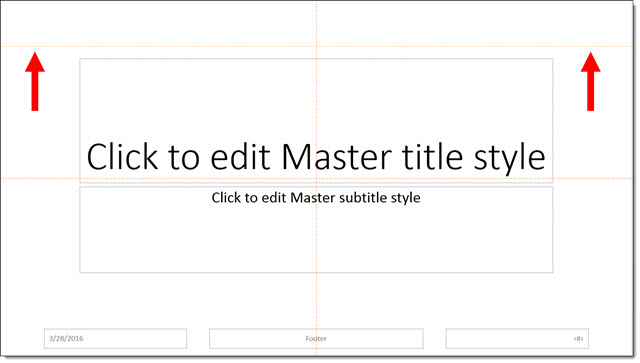
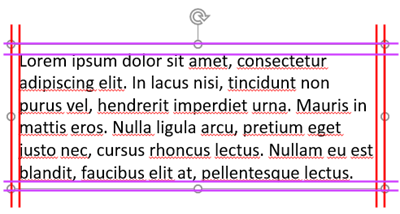
As a shortcut, adjust the Line and Paragraph spacing, then select the next text box and position cursor on the next bullet line. Use F4 to repeat the step automatically! F4 applies the last action made, so in this case you can go from the above sample slide to the one below in less than 30 seconds vs. several minutes selecting text boxes and opening/adjusting the Line and Paragraph dialog 6 times.
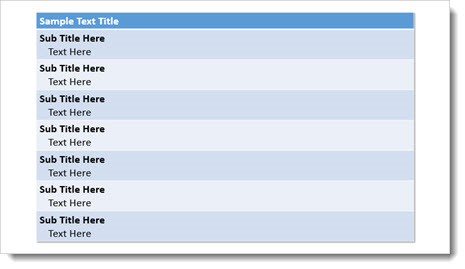
The F4 repeat works on virtually any command while editing slides. Another great use is formatting text in Tables – in this sample F4 was used to quickly add the text indenting for each 2nd line.
Also, Ctrl Y is another key command that does the same thing. So F4 or CTRL+Y repeat the last command. Test it out and see how it can save you time.
-Troy @ TLC


