Chart Tip from 2008 that is Still Relevant Today! – A Look Back to November 2008
TLC Creative’s theme for April is “PowerPoint charts”. And that had me looking way, way back to our past blog posts. Back in 2008 (17 years ago!) this posts contains tips to overcome the common frustration of “I edited the chart, but need the original version.”
The original post from November 3, 2008 is here.
—
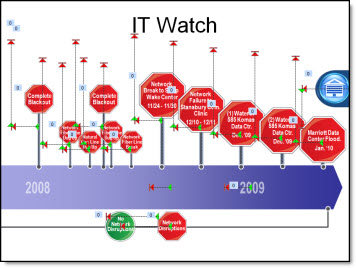
For many projects I find myself ungrouping charts for custom animation or any number of other reasons. But what often happens is there is need to adjust the chart… oops it is now 50+ individual text boxes and autoshapes.
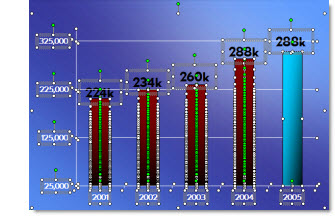
My solution is before I break apart a chart is to create a duplicate it.

Then shrink the duplicate to a miniature size.

I then move the miniature version off the slide so it is not seen during a slide show (or I have also ‘hidden’ it under another graphic).

Now I can ungroup the chart on the slide and do whatever the special needs are – and still have a backup option should the data need to be adjusted.
– Troy @ TLC
This is from our Look Back series, rediscovering previous blog posts with relevant PowerPoint tips, tricks and examples. The original post from November 3rd, 2008 can be viewed here.