Learn, See, Do Slide Makeover (2)
We are showcasing the slide makeovers of the TLC Creative presentation design team. Everyone was given this slide, with the only design parameters of 30 minutes design time maximum – any color scheme, fonts, graphics and layout.
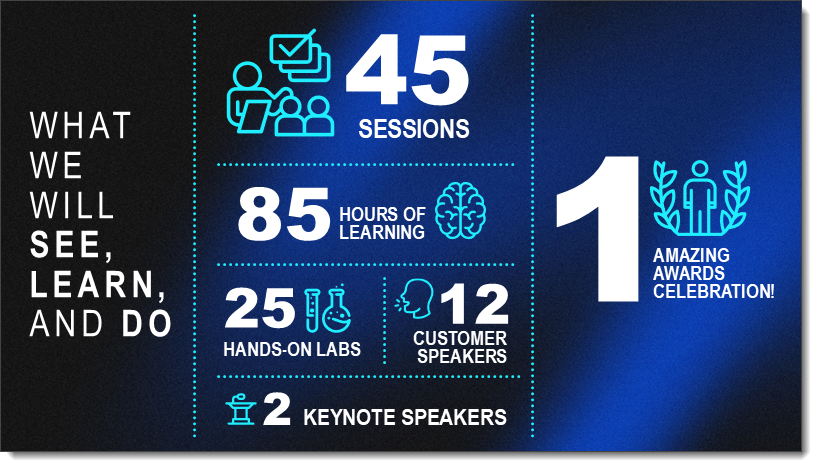
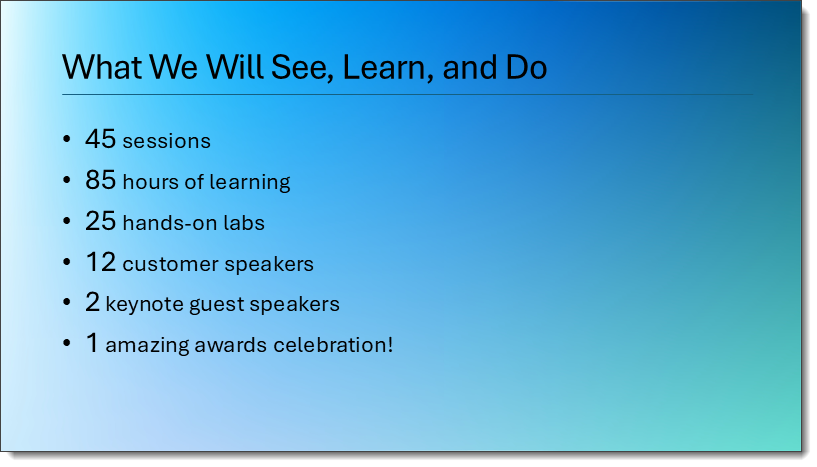
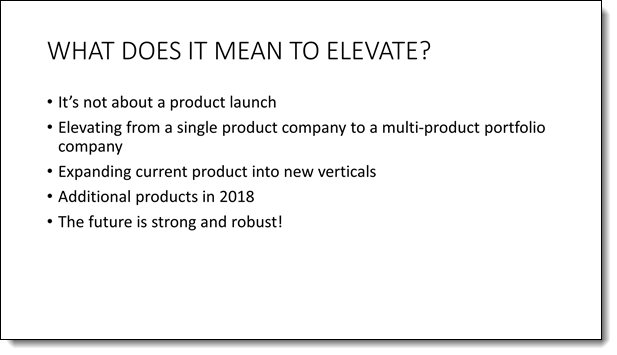
Client slide:

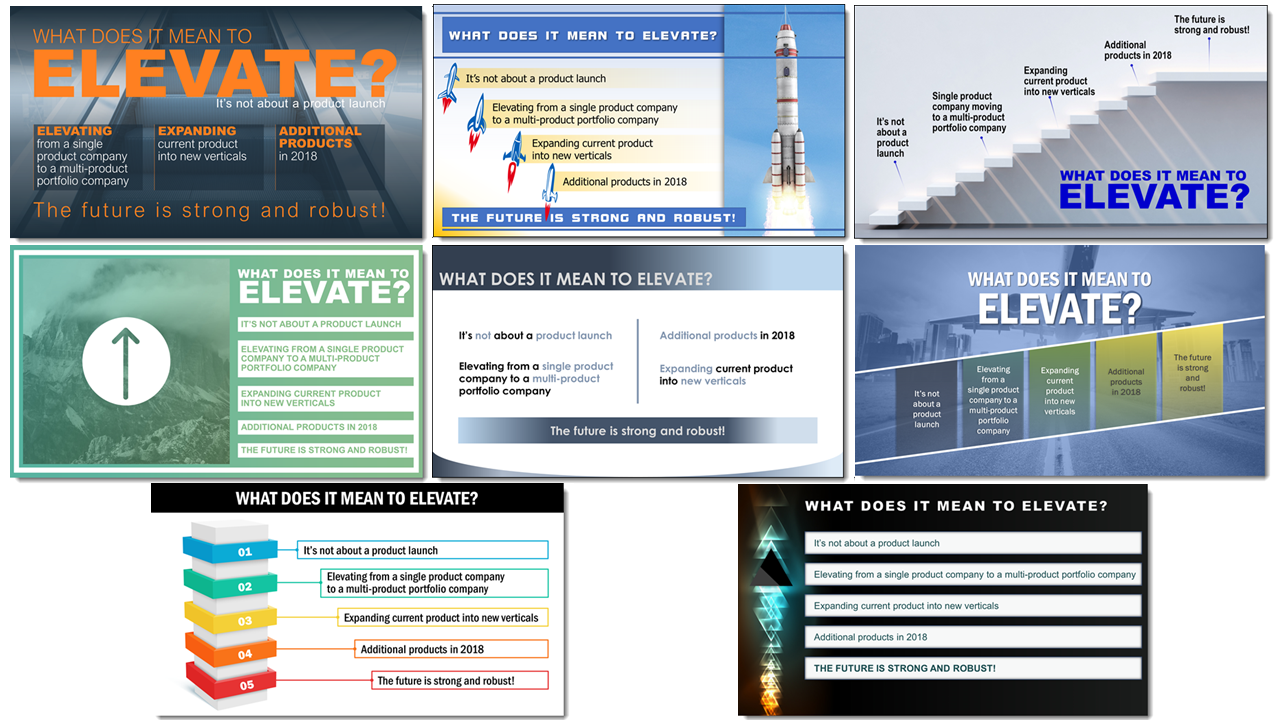
Jake’s slide makeover:
A Look Back to 4:3
While perusing past blog posts, this one caught my attention just from the image in the post (original post on The PowerPoint blog here):
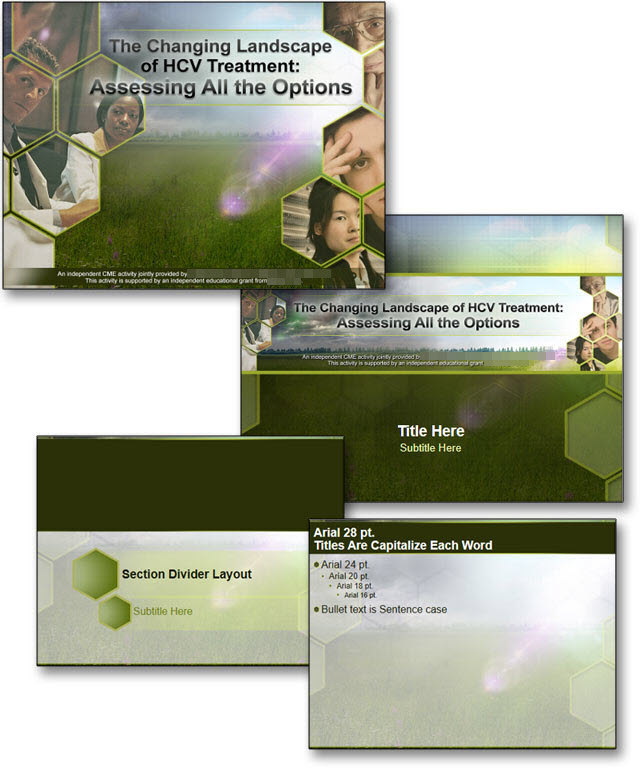
First, it is a 4:3 aspect ratio, instantly dating it as an “old” project in today’s 16:9 world. But then I noted the date of the post: September 22, 2016. This is close to a decade ago (10 years!), but PowerPoint as an app at that time had changed to a 16:9 default slide with the release of PowerPoint 2013.
This PowerPoint template project we were highlighting in 2016 was an outlier, holding onto the legacy 4:3 aspect ratio. Perusing our project log, I found dozens of PowerPoint template projects in 2016, but only 7 were 4:3; all the others were 16:9 or wider (ultrawide presentations have been a part of the live event staging world for 20+ years!).
In 2017, there were again dozens of PowerPoint template projects in our project log. But this time I only noted only 4 as 4:3 aspect ratio templates (and 3 of those were for the same client as this template!).
This was a nice trip into the past of presentation design. The world is now 16:9… but the needs of a full-featured PowerPoint template remain the same.
A good PowerPoint template serves as a style guide available to everyone in the company, department, or event, setting the consistency standards for color scheme, fonts, and overall styling.
If interested, click here to view the full post from September 2016, showcasing another PowerPoint template project TLC Creative Services was asked to develop.
-Troy @ TLC
New Podcast Episode Now Available! Navigating the Awkward Phase of AI: Embracing AI Tools for Workflows Today, with David Fortin
New episode of The Presentation Podcast available now!
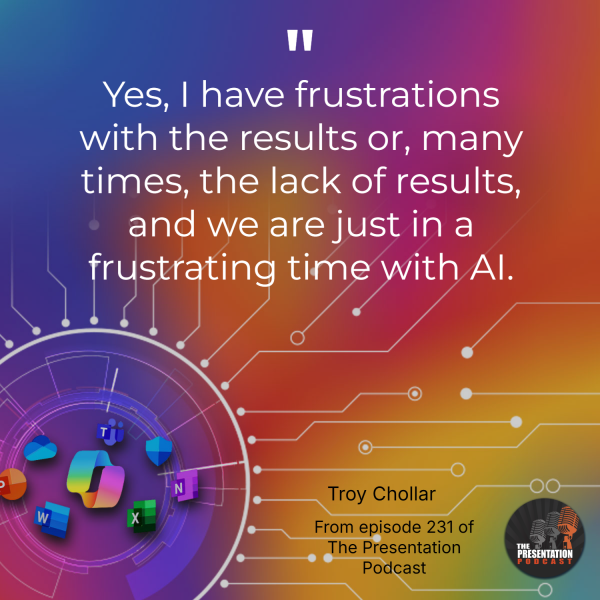
I am excited to dive into the evolving world of AI with David Fortin from Piggy Bank Accountant on our latest episode! Yes, overall we are in an awkward phase with AI adoption, but David shares some interesting thoughts and insights.
David and I focus primarily on how Microsoft Copilot is reshaping the landscape of workflows with so many elements now able to be connected; Microsoft Outlook, PowerPoint, Excel, Teams meetings and file. We also talk about creating better AI prompts and the exciting future of Copilot’s memory and persona features.
Catch these insights and more in this episode! Listen on your favorite podcast app, or at The Presentation Podcast site here.
Learn, See, Do Slide Makeover (1)
The Friday “Look Back” series post brought up a slide makeover that was given to the full TLC Creative presentation design team. Amazingly, every one of the slides we created back in 2017 could be used today – good design is timeless (and 16:9 is still the standard aspect ratio).
We pulled a recent client slide, which was a really creative idea for opening a multi-day conference. This Learn-See-Do slide was pulled from a client presentation:
Check back as we have a 5 part series showcasing how the TLC Creative design team took the above slide as a slide makeover project.
-Troy@TLC
A Look Back to Slide Makeovers
In 2018, the TLC Creative presentation design team had a fun internal challenge developing their version of a client slide. It was our “Month of Groundhog Days.”
Here was the client-provided slide (minus their corporate template background):
And here’s TLC Creative design team makeovers of the slide:
Larger images and more details are in the originals, which start here.
Taking inspiration from our own work, over the next 2 weeks you can expect another slide makeover series, based on another client slide!
PowerPoint’s Send a Frown is Missing…?
PowerPoint’s Send-a-Frown Is Not Missing – It Has Moved
Microsoft apps – like PowerPoint, Outlook, Word, and Excel – let every user send feedback directly to the dev teams. It is a one-way communication, so don’t wait for Microsoft to directly reply (feedback is received anonymously). Any time you discover that a PowerPoint function does not work, something about the user experience is not as you feel it should be, or to report a bug, you can “send a frown.”
If you are familiar with the Microsoft “Send a Frown” function, and you’ve been looking for the frown option, you may have noticed it’s no longer above the ribbon. Don’t worry! It hasn’t disappeared. It’s just moved! If you are not familiar with the “send a frown”, and are reading The PowerPoint Blog, you should know about it. Oh, and it has been given a new name.
Here’s how to find it now:
1. Go to FILE in the top menu.
2. Select the Help Improve Office icon.
3. Click REPORT A PROBLEM.
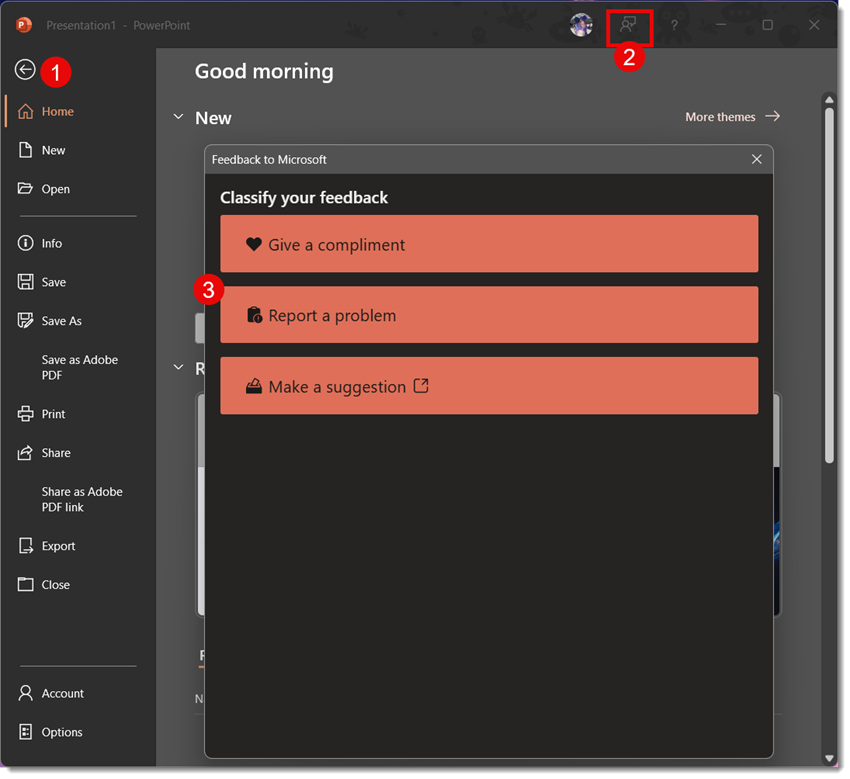
4. From the 2nd screen, add notes, a screenshot, and/or upload a file. Then, click SUBMIT.

That’s it! The Microsoft product teams do receive every feedback item submitted, and it does influence what they work on, so it’s still worth sending your thoughts.
Of course, the old smiley icon on the top right of PowerPoint was easier. But if you now go to the backstage (eg., click FILE), locate the abstract person icon in the upper right, and then complete the 2-part dialog – it’s easy to send feedback directly to the PowerPoint product group at Microsoft!
-Troy and the TLC Creative team
PowerPoint Notes Pages Do Auto Flow when Printed
Final Tip for Using PowerPoint Notes Pages Like a Pro
Sometimes, your Presenter Notes need to be extra detailed — and that’s totally okay! But here’s a final tip for this series on PowerPoint Presenter Notes, specific to when it comes to managing a slide with a lot of presenter notes.
In Presenter View
If you’re running your presentation using Presenter View, PowerPoint handles long notes by allowing you to scroll through them. You’ll see a scroll bar appear automatically. And while it may take a moment to scroll through, all the notes are still there.
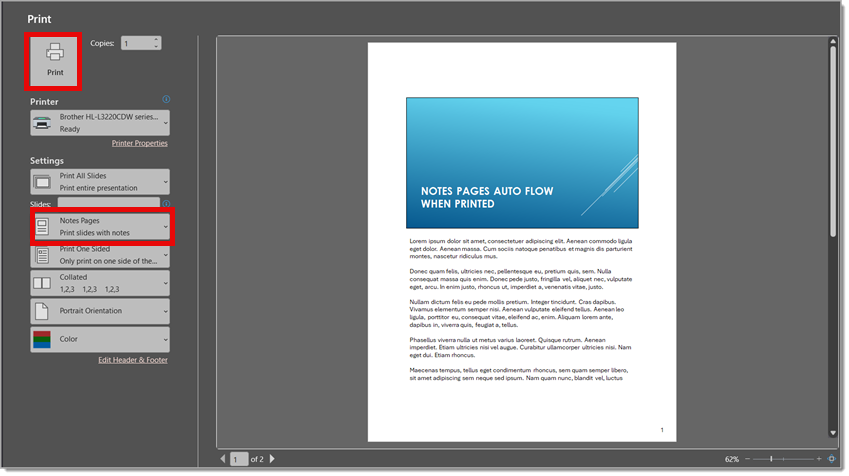
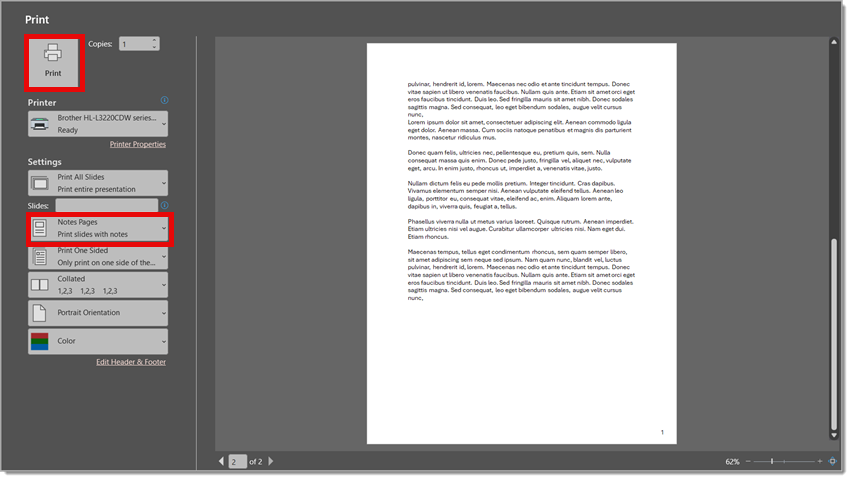
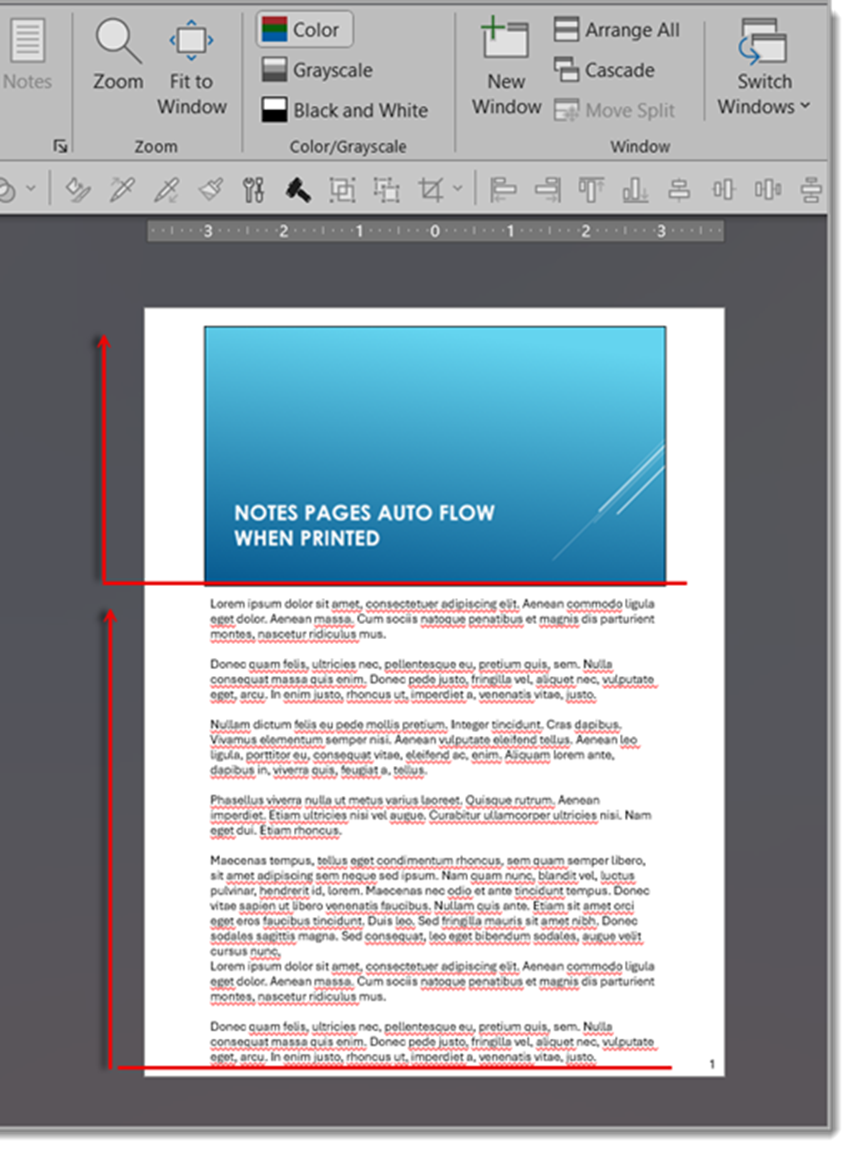
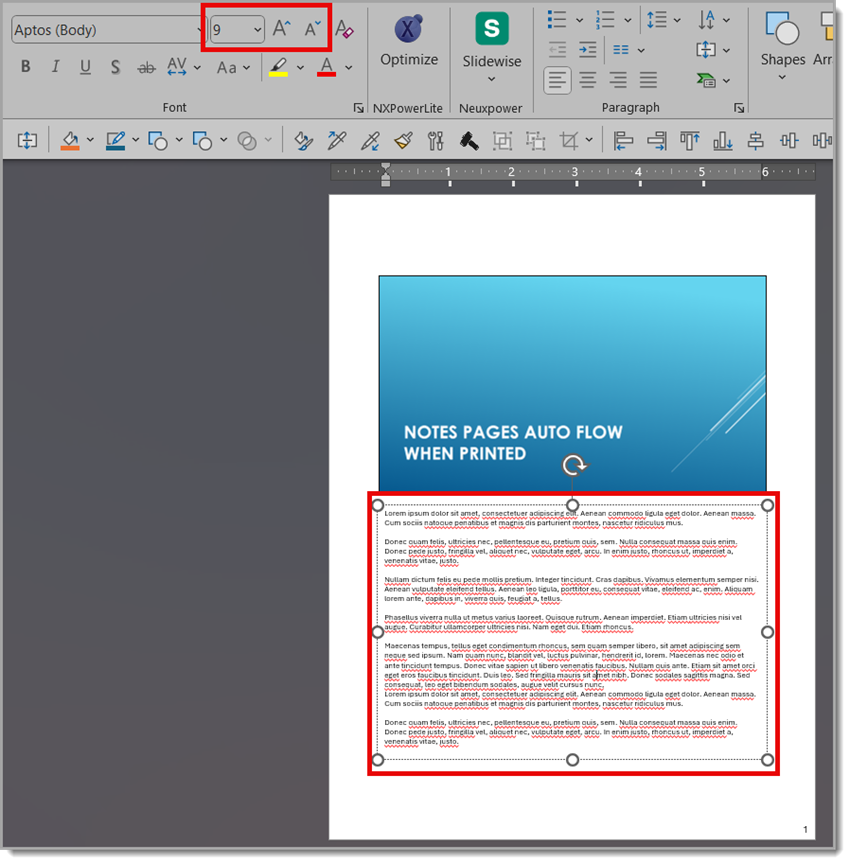
When Printing Notes Pages
When you go to print notes, PowerPoint automatically creates overflow pages if the presenter notes don’t fit the page with the slide thumbnail. The printout may be more pages than the number of slides, and you can rest assured that you won’t lose any content — even if it takes multiple pages.
In the print preview, multiple note pages can be seen.
Tip: A Little Customization Can Go a Long Way for Legibility
If you’re okay with breaking from perfect consistency, we often do this quick trick:
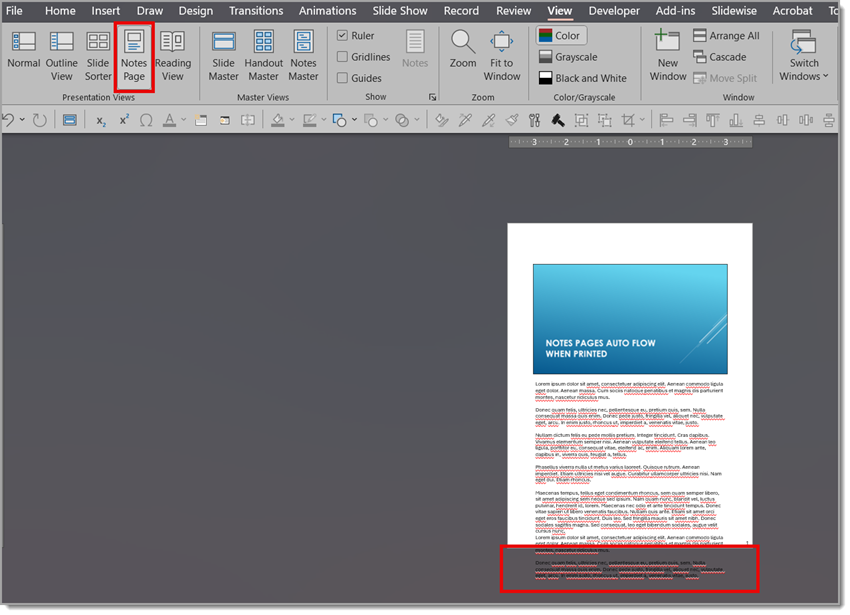
1. Go into Notes Page View (View > Notes Page).
2. Find each slide with overflow length presenter notes.
3. Select the notes text box and adjust it to be wider and taller — giving the notes more space on those slides.
4. If the content still doesn’t fit, consider reducing the font size just for that slide. A few points smaller can make a big difference!
Summary
PowerPoint gives you flexibility to handle long presenter notes both on-screen and on print (paper or PDF). With a little tweaking in the Notes Page View, the handouts can be made clean, readable, and complete—without leaving anything out.
-Christie and the TLC Creative Design Team