
Pixabay

Pixabay offers a curated collection of copyright free images and videos, which are safe to use for personal and commercial purposes with no attribution required. There are a variety of search filters, including file type (photos, vector graphics, illustrations, or videos), orientation, category, size and color.
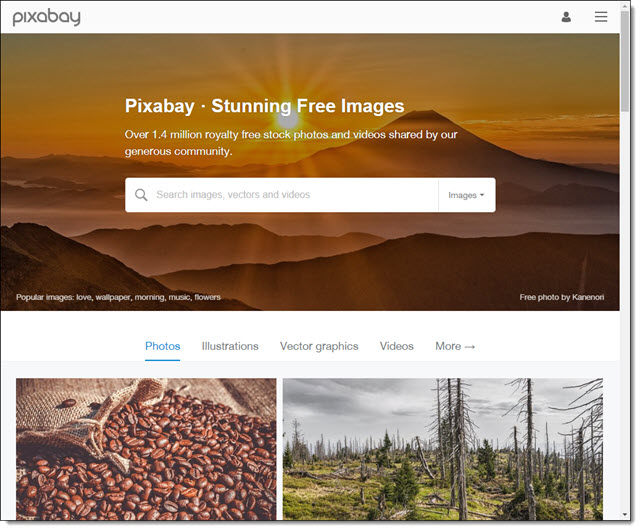
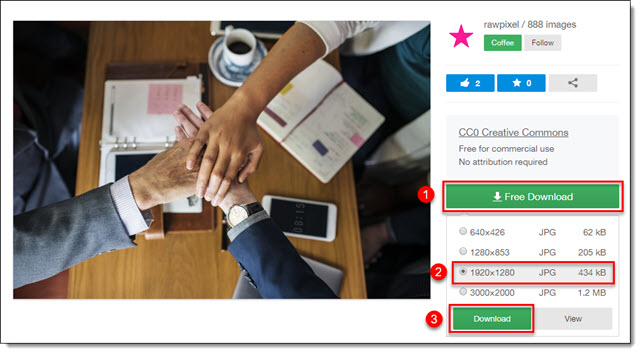
To download an image, first click the image from the search results to go to that images download page. Click Free Download, select your preferred file specifications and click Download.
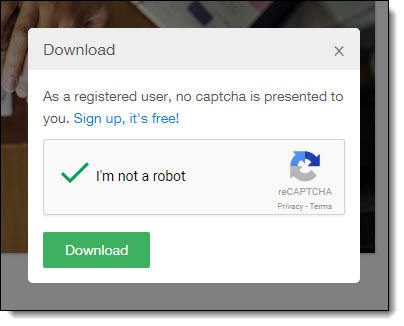
Verify you are not a robot and click Download again. If prompted, select the desired file location and click Save.
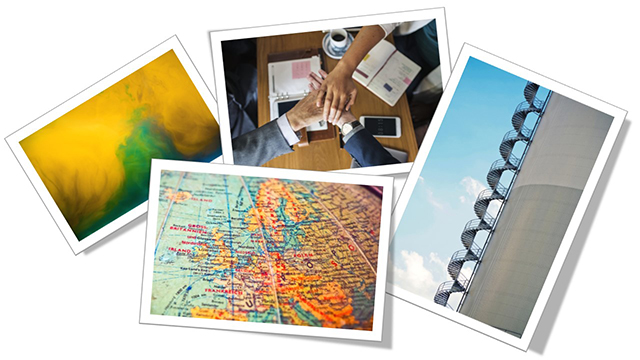
Here is a sample of some of the images downloaded, added to a PowerPoint slide and stylized:
Pickit
Pickit (originally reviewed March 26, 2018) is another image resource site, but it is uniquely focused on providing images for PowerPoint presentations. The home page boldly says “Legally Cleared images for people at work. Make your work stand out with unlimited access to royalty free photos and clipart in PowerPoint.”

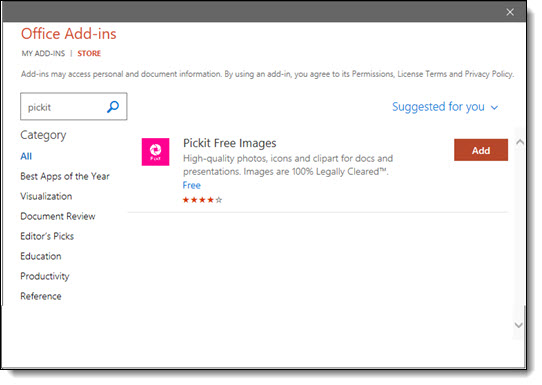
To go with the PowerPoint (and Word) focus, Pickit has a Microsoft Store add-in that provides quick and convenient access to a large library of royalty-free and legally cleared™ images without leaving PowerPoint.
To install, from PowerPoint, go to INSERT > STORE > search for PICKIT > ADD.
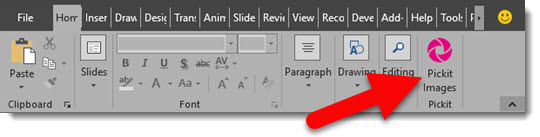
Access the image library any time by clicking the PICKIT IMAGES button on PowerPoint HOME tab.
Open the Images action pane, search for any image, click INSERT, and the image is added to the current slide.
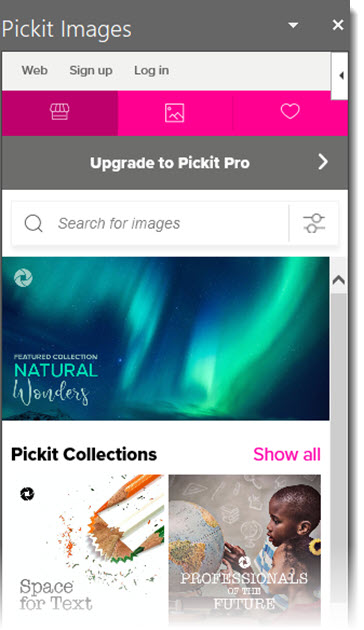
There is a free version that accesses the image library only from PowerPoint (no website access) and no HD resolution images. The process of searching and adding an image is very intuitive and easy. The selection of images is very good. There is also the option to subscribe (~$1.99/month), with removes all ads and also includes unlimited app and web access, along with high resolution images.
Troy @ TLC
The Presentation Podcast Episode #58 Released Today!
A new episode of The Presentation Podcast is available today! #58 – Women Owned Presentation Businesses.
After talking about studio projects and presentation industry news, Troy and Nolan head out the door while Sandra Johnson, Nancy Duarte, and Lori Chollar have an amazing time talking about being Women Owned Businesses in the design industry – a conversation not to miss!
Burst

Burst is another great resource when looking for high-resolution photos to download – for free. Burst is a Shopify offering and their description is “Browse thousands of beautiful copyright-free images. All our pictures are free to download for personal and commercial use, no attribution required.”
The site features several options when searching for images, the most common option being the search bar. You can also browse through collections or new pictures.
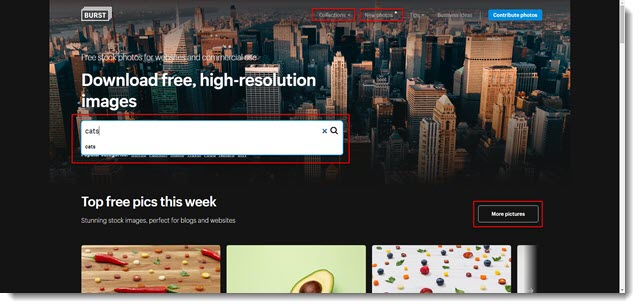
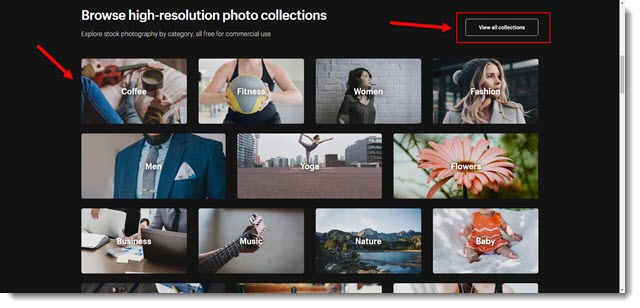
If you click on “View all collections” this page will appear with the groups clearly listed.
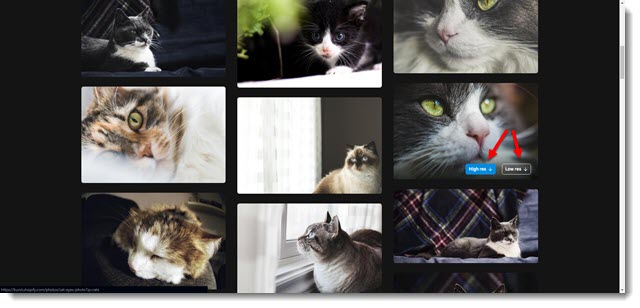
To download, hover over and image you want. Two download options will appear, select either High or Low-res. Low-res images are approximately 1,000 pixel .jpgs and the download is automatic. High-res images are up to 5,000 pixel .jpgs and do require an email address/log-in.
The site’s images are directly from its own image library. All photos are free to use for commercial use, attribution is not mandated (but asked for), and are under the Creative Commons CCO license. I also recommend reading the site FAQ (at the bottom of the site home page) as it offers a lot of information on how royalty free image use works, while explaining the Burst image use options.
Here is a sample of some of the images downloaded, added to a PowerPoint slide and stylized:

Troy @ TLC (thanks to Christie on the TLC Creative design team for researching and doing the initial write-up)
Canva Images

Canva is best known as an online graphic design tool for creating social media-print-presentation graphics through its thousands of preset layouts. All of those creative layouts use lots of images, and Canva is also a resource where you can download high-quality stock photos – for free.
- To download image, you must sign up and create a profile.
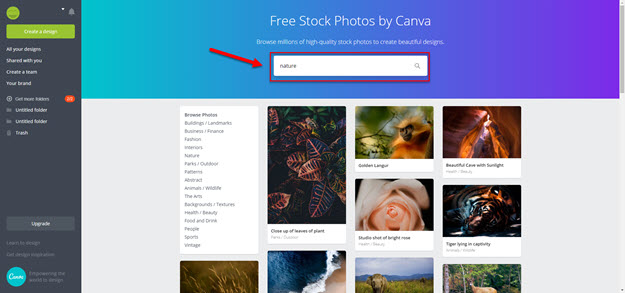
- Go FEATURES > PHOTOS (which will include both free and paid photos in searches), or go to this webpage which is a search for only the free images Canva offers.
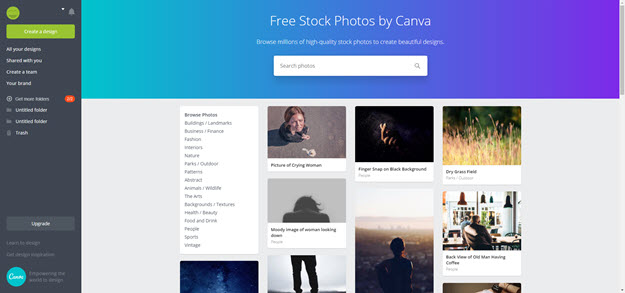
- Use the search bar to look for specific images by category.
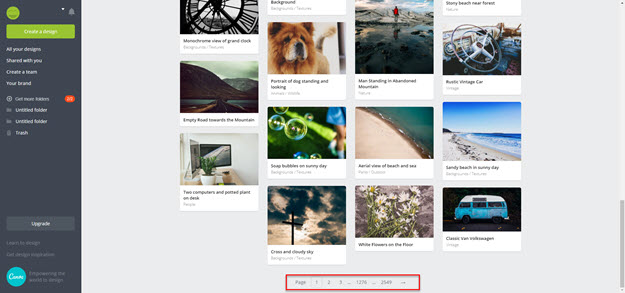
Or, simply scroll to the bottom and click the next page/arrow.
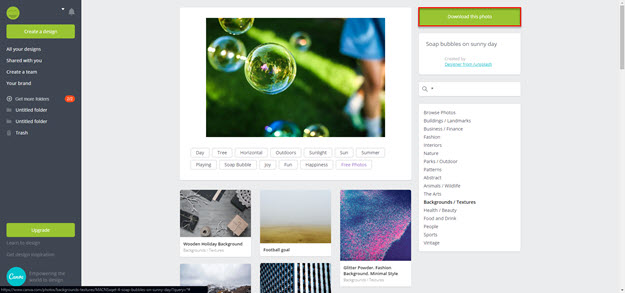
- Click on the desired image> Download this Photo> The download will start automatically (or if not logged in, it will redirect to the log in page).
- Images are part of a curated collection, so while the images I found are very high quality, they are limited.
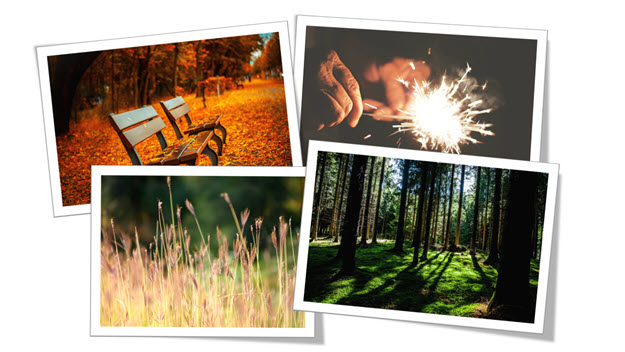
Here is a sample of some of the images downloaded, added to a PowerPoint slide and stylized:
Troy @ TLC
Free Picture Finder
Free Picture Finder is a PowerPoint, and Word, add-in that searches for royalty free pictures on Flickr. To install, open PowerPoint, go to INSERT > STORE > search for “Free Picture Finder” > click ADD.
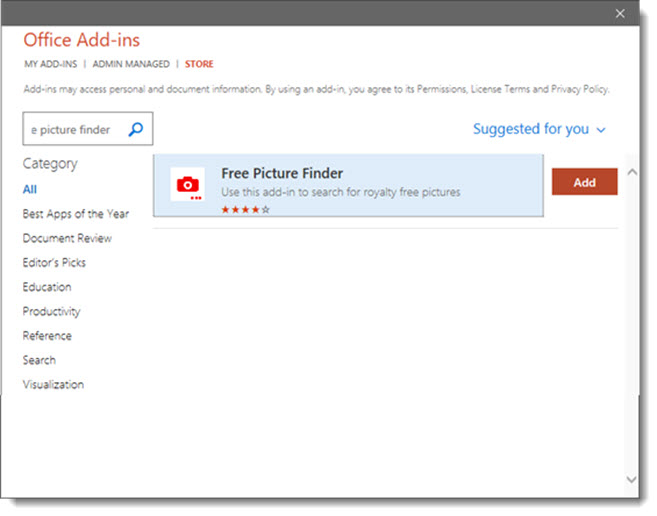
It’s simple to use. After installed, go to INSERT > MY ADD-INS > click the drop down menu and click on FREE PICTURE FINDER. The app action pane will open on the right. Just type a keyword in the search bar and images will populate. Click any thumbnail image and it is automatically placed on the current slide.
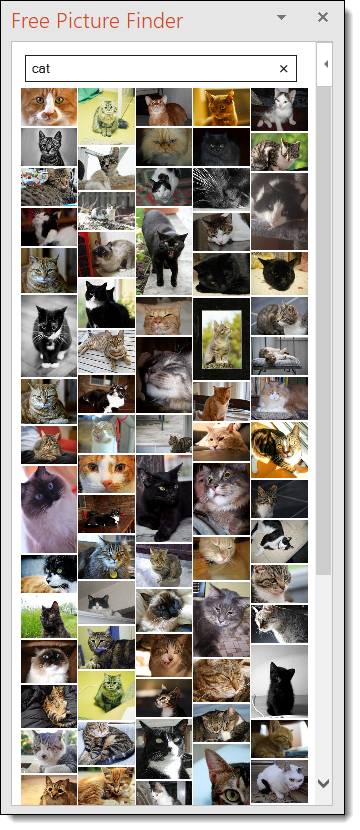
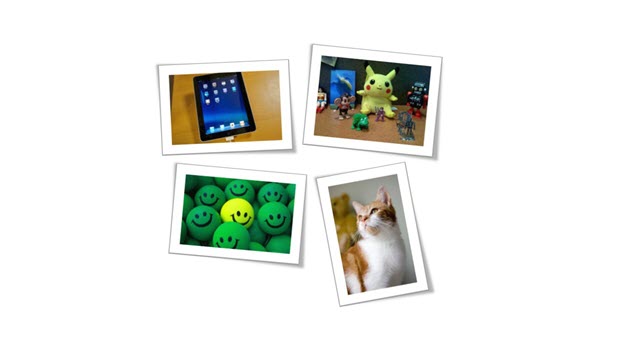
The images are all royalty free and can be used however you’d like, but the only caveat is that the image size is capped at 250px in height or width. Here is a sample layout of images added and then PowerPoint styling applied:
What is “Free”?
Using “free” images in presentations has become a dilemma over the past several years – at least from my perspective as a professional designer working with end clients in dozens of industries. To help protect our clients and TLC Creative Services from potential implications from using unlicensed images, we have in recent years added specific clauses in our client agreements. These statements detail that we are not responsible for the licensing of any images supplied by our clients, and that images we provide are only for use in the specific presentation or project they are being supplied for. There is a lot of confusing legal language coming from the various image companies, each with their own twists as to what is, and is not, permitted.

So a “free” image may be a gamble for everyone. The biggest issue over the past decade has been the ease of searching for a photo online and then pasting virtually any online image into a presentation without regard to image ownership. I have read in several places that up to 85% of images downloaded from the internet are unlicensed and used illegally! This isn’t easy to control, and when an employee uses an online sourced image in their presentation, tweet, blog post, print project, or other publicly viewed creation, it is the company that is at risk of legal action.

Recently, Pickit introduced a new and very clearly defined image licensing model called “Legally Cleared(TM)”. I believe Pickit has done a superb job of not only providing a great image resource but also explaining the big picture (pun intended) of what the legal issues surrounding image use are. I encourage everyone to take 3 minutes to read this informative page on the Pickit site.

Burst, by Shopify, is a good example of how licensing agreements should be worded for end users. They make everything very clear, in non-legalese language, what royalty free means for their images (just scroll to bottom of the home page here).

At TLC Creative Services we annually select an image resource subscription (Adobe Stock, Getty Images, iStock, etc.) and include access to it with all our projects. We purchase images of course, but when possible, we have our client purchase the image licenses and supply those images to us for use in their projects. We also recommend image resource sites that provide licensed images at low or no cost to our clients (The PowerPoint Blog is highlighting several of these images sites throughout the month of July).

The bottom line is, there are legal responsibilities every time an image is added to a presentation, or any project. In this new era of GDPR (General Data Protection Regulation), the potential for legal action for using “borrowed” images is increasing. So, “what is free”? From my perspective, it’s not about the price paid to license an image, it’s about understanding the proper licensed uses of your images, which in turn should keep you free of legal issues.
Troy @ TLC