
Windows 10 Audio Improvements
Setting up and confirming audio from a show computer can be tedious and confusing. But a fairly recent improvement in Windows 10 makes this important setup much easier!

Click the speaker icon in the task bar and in addition to the familiar volume slider it now lists what audio output the computer is set to – without diving into the control panel. Here I can see my computer is set to use a USB audio port for sound.
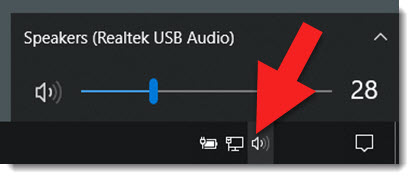
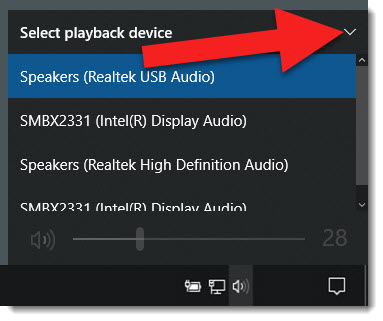
A common issue when setting up a computer is the HDMI cable used for the video out also high-jacks the audio feed, even if the audio was set to use something else. By clicking the speaker icon we can easily see what the computer is set to use for audio output. By clicking the expand icon it shows every audio output option currently connected to the computer. Just scroll and select the one needed – easy (now)!
Troy @ TLC
August is Windows 10 Month!
August is here (amazing)! I lost a week while travelling, but have the balance of August planned out for the blog.

Microsoft has done a lot since the release of Windows 10, which has become my favorite version they have released (and I started my computing journey prior to Windows 95!). Some of the recent fine tuning improvements can directly relate to our presentation world, or being more efficient and saving us time for more presentation design. So if you work on the Windows OS, hopefully a few of these will be new and helpful tips.
Troy @ TLC
The Presentation Podcast Episode #59 Released Today!
A new episode of The Presentation Podcast with Troy, Nolan, and Sandy is available today! Check out the latest episode, #59 – What is Round-Tripping Video?

Video round-tripping in PowerPoint is like the movie inception, where we figure out everything is a dream, inside of a dream, that is possibly inside of another dream… this is creating content in PowerPoint, that is exported to video, and then that video become part of the PowerPoint content, or a slide with a video of PowerPoint content with other PowerPoint content. It is crazy stuff you can do with PowerPoint, and Troy, Sandy and Nolan have a great design studio conversation all about it!
New Old Stock

New Old Stock aggregates and displays images from Flickr with most (if not all) images being under the Creative Commons License (author assumes). Author also creates photo packs that are for sale. The images are amazing, and sometimes exactly what is needed for a presentation! The downside is the search options, whicr are very limited (and frustrating).
You can download the image by clicking on it, and it will open the image in a lightbox the image can be saved with a right-click. Tip: the title of the image on the main page is a link to the original Flickr library where the image was posted.
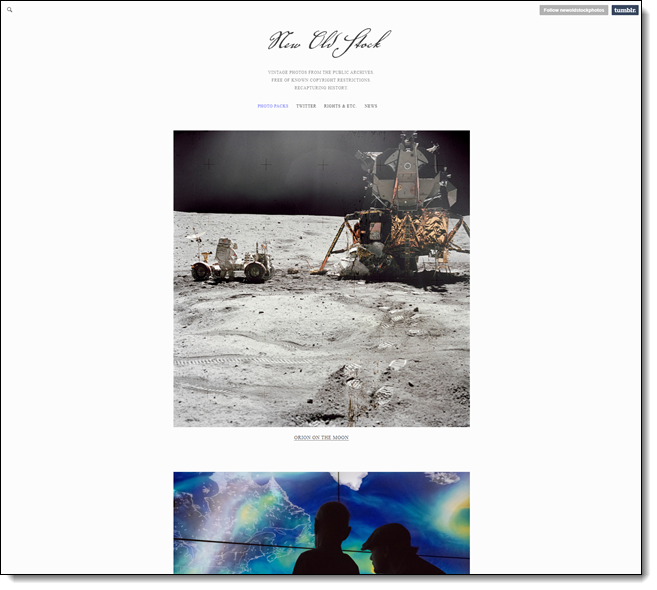
There is a search option in the upper left which is helpful since there are no categories or any other organization. It’s not clear on how often a new image is posted.
Here is a sample of some of the images available:

Pexels

Pexels features free, high quality images, all licensed under Creative Commons Zero (CC0). They say 3,000+ new images are added each month, and the image library exceeds 40,000. Images are sourced from their community of photographers and other sources such as Pixabay, Gratisography, Little Visuals and more.
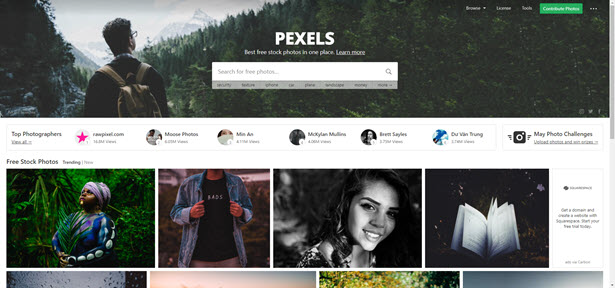
Browse collection by what’s trending, or search something specific. Click on an image you wish to download, and Pexels will give you a variety of size options to choose from. You can resize directly within the site as well!
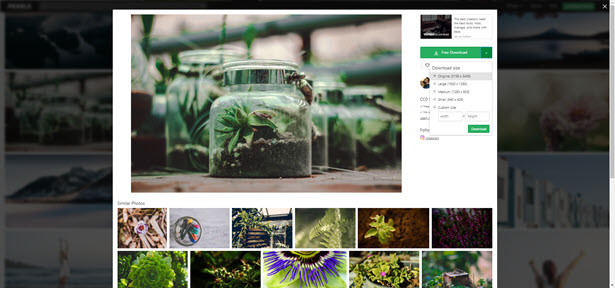
There is a lot of great content and the site credits all photographers, even providing an option to donate to photographers you use and like so they can continue to make content. Here is a sample of some of the images available:

StockSnap

StockSnap (originally reviewed March 23, 2018) is a royalty free stock photography site that is worth bookmarking for presentation design. All images on the website are FREE and do not require attribution, both great things for presentation designers to hear! Photographers choose to share their work with StockSnap and release them under Creative Commons, so they can be used for personal and commercial use. There is a variety of imagery, with categories from business to nature.

Select an image and all the vital information regarding the photo is available; photographer, dimensions, size and relevant tags.
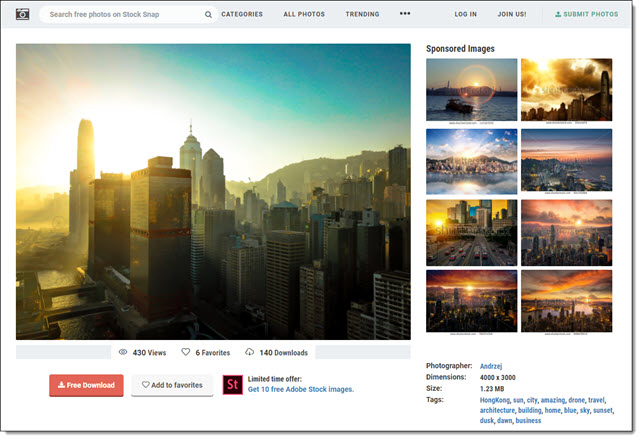
When searching images, the site will advertise some images with watermarks. These, and “sponsored images,” are from outside websites that are not included in the free StockSnap library. If your project needs a good, free, image resource, this is a perfect option to have available.
Here is a sample of some of the images available:

Troy @ TLC
Unsplash

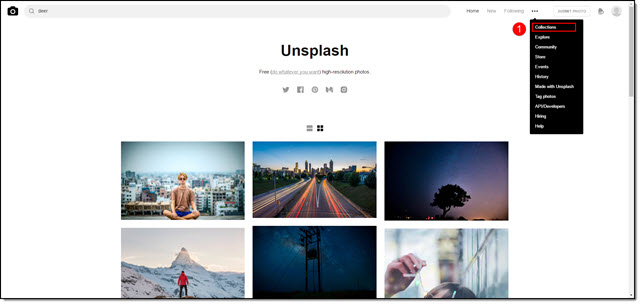
What makes unsplash (originally reviewed June 21, 2017) different from other image sites is that it does not actually own the images, but it does host the images for download. Unsplash is a community with photographers submitting images, all of which must meet the Unsplash criteria (quality, licensing, file size, free). It was founded in 2013 and is based in Montreal, Canada.
On the quality side, one of the requirements is that photos are at least 3MB and 2048 by 1536 pixels in size – which is great for presentation use! The licensing is near perfect. This is just the first paragraph of the Unsplash License: “All photos published on Unsplash can be used for free. You can use them for commercial and noncommercial purposes. You do not need to ask permission from or provide credit to the photographer or Unsplash, although it is appreciated when possible.”

I will not be giving up our subscription to Adobe Stock or Getty, but we have added Unsplash to our list of resources. Tip: After selecting a collection or doing a search, click the small grid layout icon to see images in a more friendly grid layout.

To download:
- Search for an image
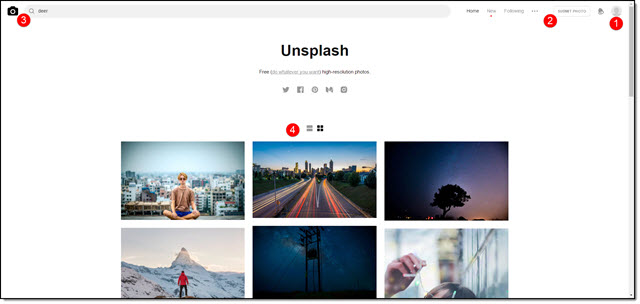
- Click on the image
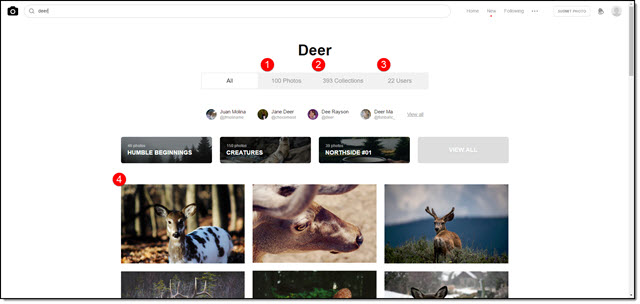
- Use the save options in the upper right (or save to collection if you have signed up with a free membership) or the download icon if viewing as a thumbnail grid
- Use image in project!
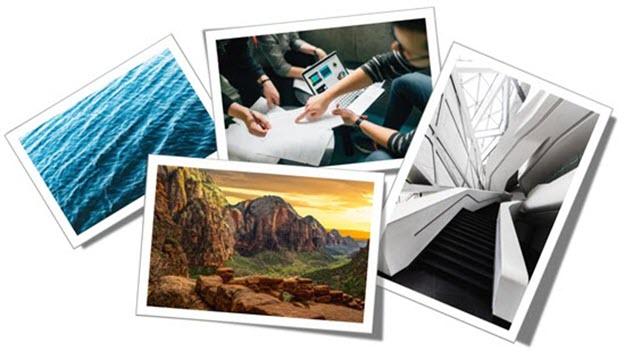
Here is a sample of some of the images available:
Troy @ TLC