Creating Quote Mark Graphics in Adobe Illustrator for PowerPoint
The previous post showed our visually stylized quote marks on slides with color backgrounds. For us, the process for creating the quote mark graphics is with Adobe Illustrator.
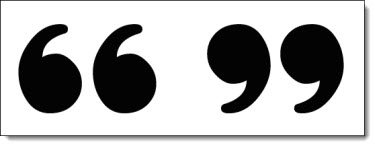
1. First, find a great font for the quote marks. Designer Amber selected Spirax Regular, which you can download here.

2. Select the text and create outlines, which converts from editable text to vector images.
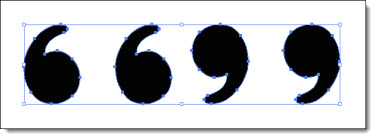
3. The spacing for the quotes was a bit to far apart. Now that they are graphic elements they are easy to select and move a bit closer together.

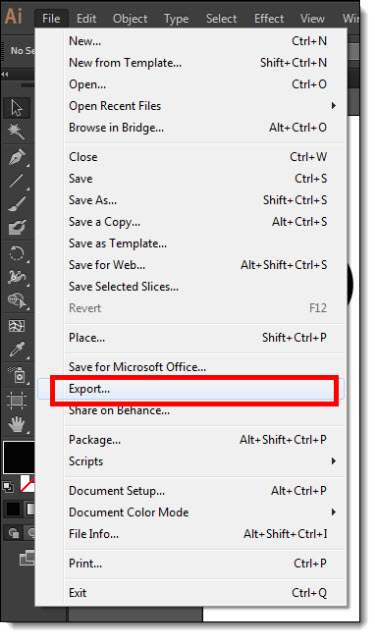
4. Now we want to export the graphics from Adobe Illustrator in a PowerPoint friendly vector format. Go to FILE >> EXPORT
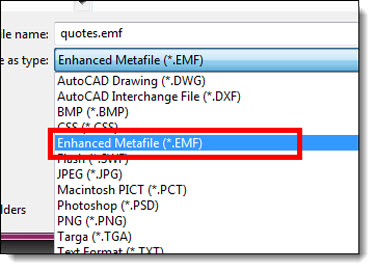
5. Select ENHANCED METAFILE >> EXPORT
Now with the quote graphics on our computer, we are ready to add them to any slide. See the previous post (here) for details on how to format the graphics in Powerpoint.

– Troy @ TLC
Dynamic Quotes with Background Fill!
Here is one of our favorite visual tricks at TLC Creative Services for making slides with a key quote stand out. Background fill!
I am doing this as a 3-post series: this one shows the end result (see above) and PowerPoint formatting, the next post will detail our development process in Adobe Illustrator, and the third will show a PowerPoint only development process for the graphics. Thanks to Amber, a TLC staff designer, for creating the sample images for this series.
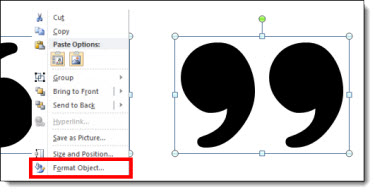
Using the quote mark .emf graphics, they are not very impressive without some styling applied and a special option for their fill color. Insert the .emf graphic (download here).
1. Right click on a quote mark and select FORMAT SHAPE.
2. Go to FILL and select SLIDE BACKGROUND FILL
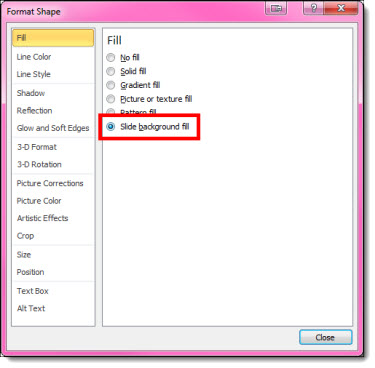
3. The Quote marks will disappear on the slide because they are set to be the same background color as the slide.

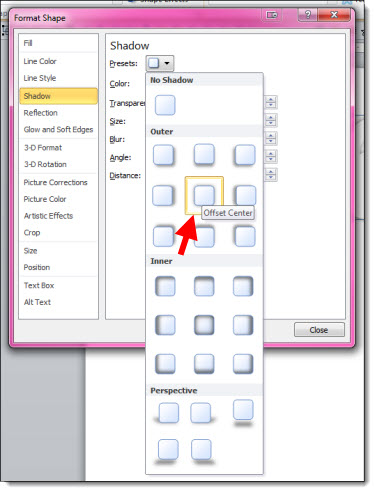
4. Add a shadow effect, bevel, outline, glow or other styling effects to your quote marks. For ours, we have added a subtle drop shadow.
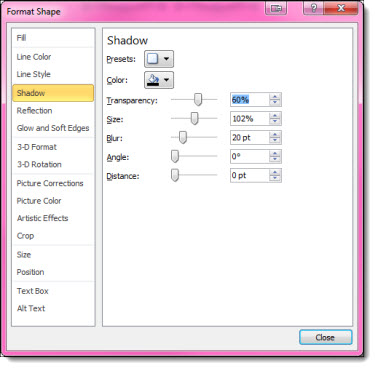
5. Still not super dynamic, but the quote marks are looking more styled.

6. But when placed on a colorful image background – dynamic! Move the quote mark graphics to any part of the slide and their fill updates.


Note: The slide background needs to be set with the Background Fill, not an image on the slide for this effect to work.
– Troy @ TLC
New York Show #3
Well, I did not get a photo of Jennifer’s New York show, which was going to be post #2. I was the 3rd and final New York show this month, with the smallest meeting of the 3. I also enjoyed a cold, but snow free city!
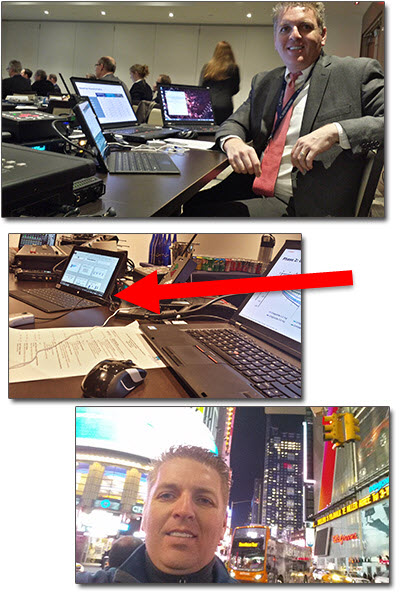
Note: Traveled light and made use of a Microsoft Surface Pro as the backup computer.
Also, thanks Nolan for the great restaurant pick and time to catch up on my only free evening in the city!
– Troy @ TLC
Force Office 2013 CTR to Update
If you have the CTR (Click-to-Run) Office 2013 install, it is supposed to automatically update when you are online. Last week, 3 days after the SP1 release Office had still not updated. I forced Office to check for updates and SP1 was installed.
Go to FILE >> ACCOUNT >> right pane.
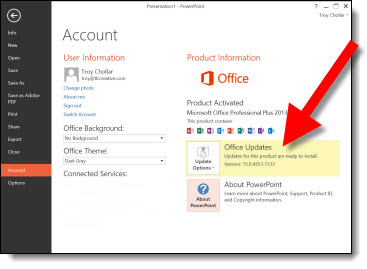
Click the UPDATE OPTIONS drop down menu.
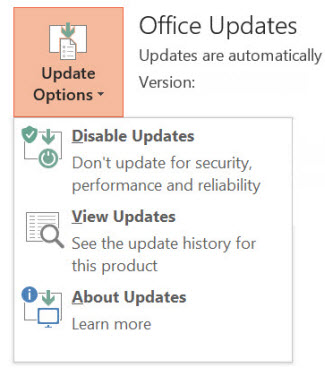
Select DISABLE UPDATES and yes to the warning dialog that will pop up.
Then click the UPDATE OPTIONS drop down menu again and select ENABLE UPDATES.
This forces Office to go online and check for new updates.
After clicking Enable within 2 seconds I had an update notice and SP1 was installed!
– Troy @ TLC
Office 2013 SP1 Released
Last Wednesday, Microsoft released the first Service Pack (SP) for Office 2013. The list of updates to PowerPoint is fairly short and deals only with stability issues – no new features or refinement of current features. If you want the details, here is the Microsoft KB article on Office 2013 SP1.
The world of MS Office is now split into two types of installs: MSO (installed from an actual installer app) and CTR (click-to-run which is a cloud based install). How you get SP1 depends on what type of install you have.
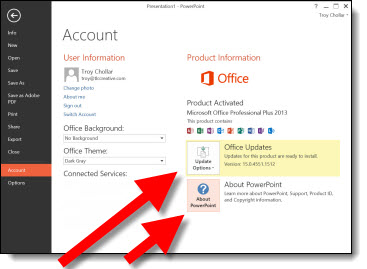
Unfortunately, there are not labels on the About Screens that tell if an install is MSO or CTR. Here is one way of identifying the install type:
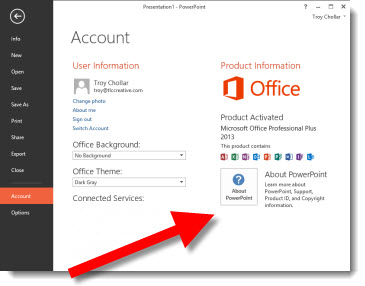
Go to FILE >> ACCOUNT >> look at the info in right pane.
If there is only 1 box “About PowerPoint” – it is an MSO install.
If there are 2 boxes “About PowerPoint” and “Office Updates” – it is a CTR install.
If you have MSO (traditional installer), the update should be available through Windows Update. Or, you can go direct to Microsoft and download the SP1 installer.
32-bit Office = https://www.microsoft.com/en-us/download/details.aspx?id=42017
64-bit Office = https://www.microsoft.com/en-us/download/details.aspx?id=42006
If you have CTR, SP1 will automatically install when you are online.
– Troy @ TLC
New York Show #1
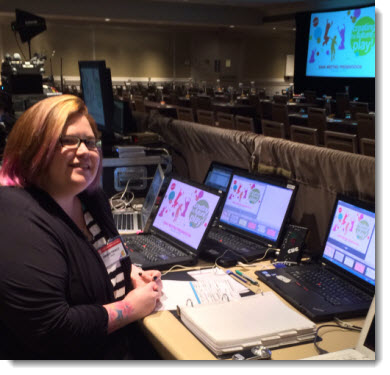
Amber, a TLC staff designer, has been in New York this week having lots of fun (Rocky on Broadway!) and handling the presentation graphics for a show – and by the size of her script binder, there are a lot of presentations!
– Troy @ TLC
Webinar by Troy – PowerPoint 2013, What’s New, Better, and Different
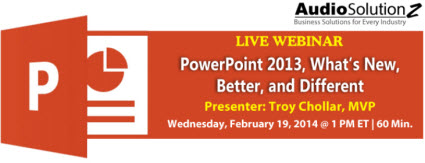
AudioSolutionz has asked me to present a live webinar on PowerPoint 2013. It will be this Wednesday, February 19 at 10am PT/1pm ET.
I have a large list of features that are new for the application, the designer, and the presenter.
Knowing where the PowerPoint 2013 new features are, how to turn them on, and how to use them can be a frustrating experience of trial and error. This is a one-stop overview the new features demonstrated and explained. Session Highlights:
• Learn what is new with video: playback, export and usable formats
• Discover 6 menus that are no longer pop-up dialogs – and have added formatting features
• Instantly apply any color on the screen to a shape or text in 2 clicks!
• Explore all the new slide transitions
• What are Smart Guides, and what is “Equidistant?” – they are both in PowerPoint 2013
• Widescreen is now the default, but it is not the same as the old widescreen
• Presenter View is now useable
• Learn how to zoom in on a slide – during a presentation
• and more, plus Q&A
Details and registration is here.
Use the promo code “Troy 20” for a $20 discount.
– Troy @ TLC