
The Presentation Podcast Episode #16 Released Today!
A new episode from The Presentation Podcast with Troy, Nolan, and Sandy is available today! Check out their latest discussion on “Pitch Decks” and add to your favorite Podcasts on iTunes, Google Play, Stitcher, SoundCloud and more at The Presentation Podcast.
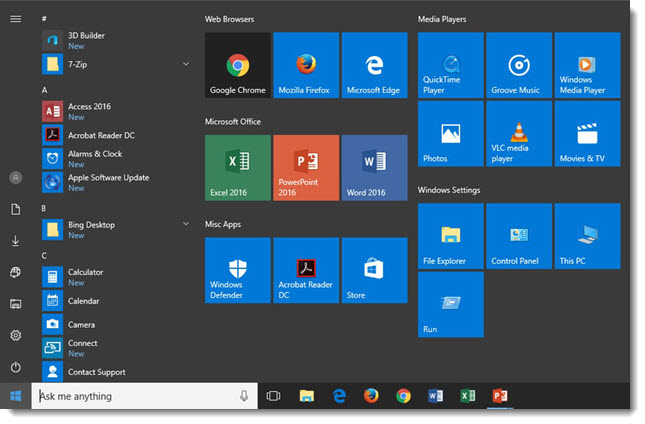
Windows 10 Start Menu
For a recent project, I rebuilt 5 of the supplied show computers as they were all very out-of-date. The Windows 10 Start Menu is a good hybrid of the legacy (ie. Windows 7 and earlier) and interactive Windows 8 options. But I do find much of the preset options unneeded for business (vs. personal) computing. Each show computer has dozens of settings customized to optimize performance. The Start Menu removes all unneeded options and adds many of the now buried features, along with a logical organization to everything (Side note: I am not a fan of forcing users to see the APPS scrolling window and forcing users to only have small icons for the much more used left action buttons). Here is a screen shot of the Windows 10 Start Menu on the 5 graphics computers I setup:
-Troy@TLC
Slide Design Using Images and Illustrations
Just a quick slide from a recent project that I thought was pretty cool.

Throughout this presentation, we used a layered visual styling of photo images as the base and animated vector illustrations that interacted with the photo. Rather than list the 4-5 talking points about CO2 emissions from vehicles, we visually represented vehicles with a huge tail pipe. Then, to visually support the talking points, the CO2 icon was introduced, followed by the gasoline icon, which supported the talking point about gasoline powered engines with another vector overlay (the story there was how much better gasoline has become over the decades, in terms of CO2 emissions, but that it still creates them).
Overall, the slide design using images and illustrations allowed for a presentation that was visually creative with a unique style and a happy presenter.
-Troy @ TLC
Columbus Day Animation
Have a great Columbus Day weekend!
Here is a little side project by one of the TLC Creative design team. All animation is done in PowerPoint 2016, some of the art elements developed in Adobe Illustrator and then imported and animated.
[KGVID]https://thepowerpointblog.com/wp-content/uploads/2016/10/unnamed-file-1.mp4[/KGVID]
DreamForce – It’s Big
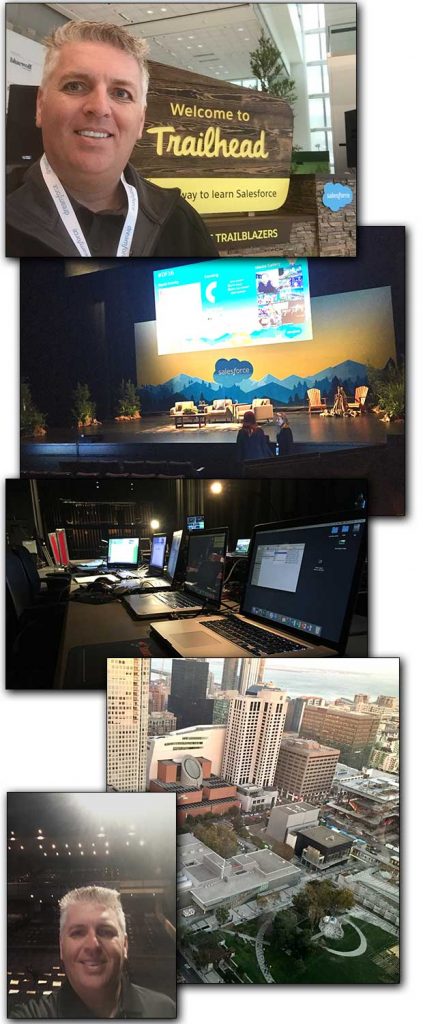
I have been in San Francisco this past week at the largest attendee conference I’ve ever worked. DreamForce is massive, with 160,000+ attendees! I have seen just a fragment of the crowds while coordinating the presentation graphics backstage at the “small” 700 seat Yerba Buena Theater (same venue Apple uses for its product launches).
-Troy @ TLC
The Presentation Podcast Episode #15 Released Today!
A new episode from The Presentation Podcast with Troy, Nolan, and Sandy is available today! Check out their latest discussion on “Financial Slides” and add to your favorite Podcasts on iTunes, Google Play, Stitcher, SoundCloud and more at The Presentation Podcast.
Microsoft MVP Status Renewed!
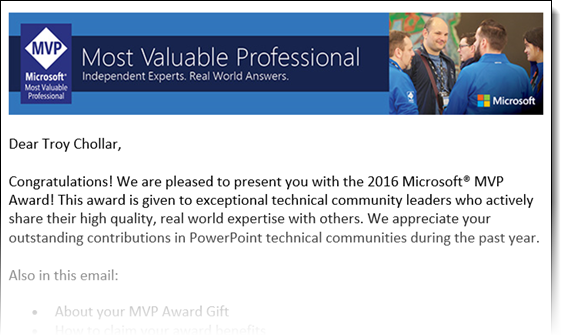
I am extremely excited and humbled that Microsoft has awarded the MVP (Most Valuable Professional) for PowerPoint to me again for the next year!
Curious about the MVP program? Information on what it is here.
Note: The letter from Microsoft lists 2016, which is almost over, but I am on the final review and renewal cycle where other MVPs are awarded at the beginning of the year, so this is my “2017” status.
-Troy @ TLC