
Express Card Sizes – Which One Are You?
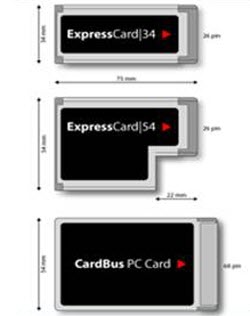
There are some great new products coming out that make use of laptop PCI Express Cards – such as SD card readers or the ultra cool MoGO Bluetooth mouse/presentation remote.
But the confusion comes from the fact that there are actually 2 “standards” for express cards, each a different size and they look similiar to the older PC Card. An important note is that the express card 34 will fit and work in the larger express card 54 slot.
So for reference here are the 3 cards, just match up shape/size to the plastic sleeve in your laptop and you know what to purchase.
Troy @ TLC
The INSERT Key
When was the last time you purposefully used the Insert key on your keyboard??
Have you ever purposefully used it…
This key can also be disabled, and the easiest way is through Microsoft Word.
In Word 2003:
TOOLS >> CUSTOMIZE >> OPTIONS >> CATEGORIES (on left) >> OVERTYPE >> CURRENT KEYS area >> select INSERT and REMOVE
In Word 2007:
Office Button >> Options >> Advanced >> Editing Options >> Use Overtype Mode (it looks like this is not turned off as the default –yeah!)
– Troy @ TLC
I Create A Lot Images – But Not As Many As It Use To
I had a conversation recently with someone that referenced a post I did back in June (It Takes A Lot Of Images). I showed this capture of my prepared images for 1 presentation:
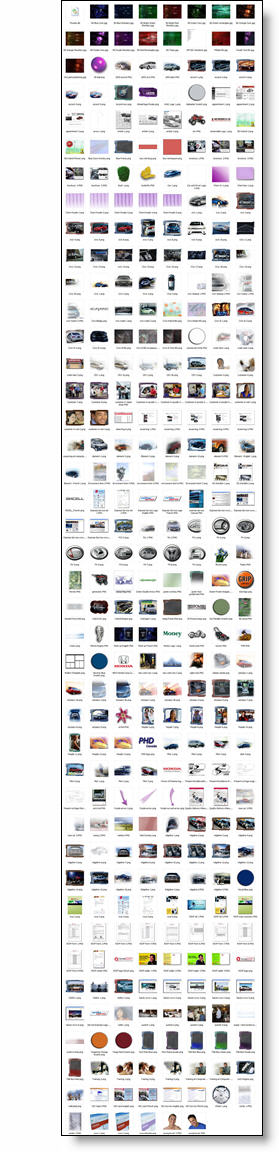
There is a lot there, especially considering it was all for a 90 minute meeting. But my point is that if we go back to PPT 2000 the number of images would easily be twice as many. Back to PPT XP/2003 it would have at a minimum a 3rd more.
PPT XP/2003 with the semi-transparency features eliminated a large number of accent graphics that needed to be prepared in Photoshop and imported. Now with PPT 2007 I now do a lot of the image preparation (custom bevels, strokes, reflections, shadows, etc.) right in PowerPoint. So with each new version I accomplish more working directly in PPT, minimize the production time and have more material for tutorials and tips for ThePowerPointblog!
– Troy @ TLC
Why Not Use PPT 2007 Reflection?
As a quick follow up to last week’s animation sample (and response to a number of emails), here is why I used Photoshop to create the reflection vs. using PPT2007’s new reflection feature.
First, I am a HUGE supporter of Microsoft’s investment adding better visual effects tools. Further, the reflection effect in PPT 2007 is great!
But it has a few limitations…
1. Animation – when you view the entrance animation, note that the reflection comes in just a bit behind the actual lens image. This visually adds depth and another level of animation. There is no way to animate on visual effects PPT creates.
2. It’s all about the angle – PPT 2007’s reflection tool really works best on elements that are flat, or horizontal. As example:
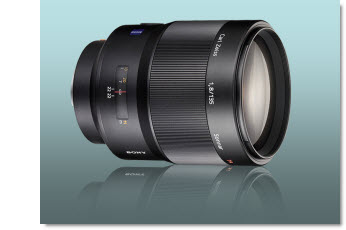
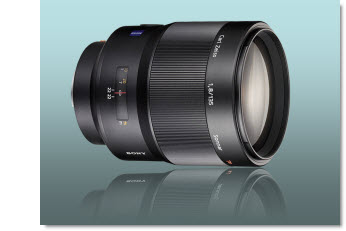
This is the Photoshop reflection inserted as a separate image. Note the reflection starts butted up to image, and can be easily adjusted. It also was manually adjusted to have a bit less of an angle to better match the original graphic (see sample below for more visual example).
This is the PPT2007 refection effect. In this case even with it on the closest setting, there is still a gap. The angle is also based on the rectangle of the placeholder, so the reflection angle is more distorted.
Okay, so this was a really close call if it would be worth going to the extra effort in Photoshop to create separate images. But here is a more pronounced example – and what if I need the reflection on the side of the image…
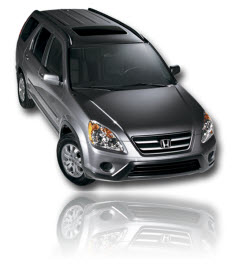
– Troy @ TLC
Entrance Animation (Lens – Part 3)
The animation for this entrance is very straight forward. There are 3 elements:
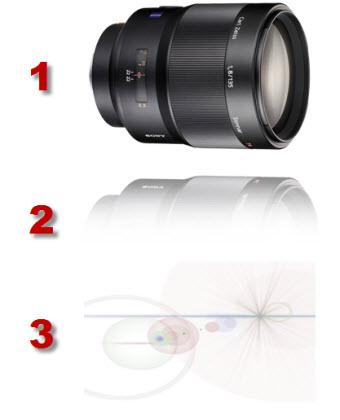
And there are just 3 animations, each an entrance animation.
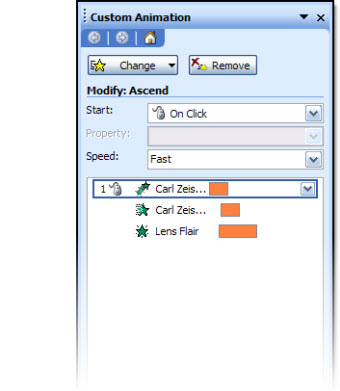
1. Lens = Ascend, Fast
2. Reflection = Wipe – From Top, With Previous (but mannually adjusted to begin 9/10th of a second after the lens (set to 0.9), and Fast
3. Lens Flair = Fade, With Previous, Medium
That’s it. All of the effort was really done outside PPT, in Photoshop. Once the elements where one the slide it was pretty easy to apply the few needed animations.
Click here to download a presentation (saved as a .ppt) to see this animated entrance in more detail.
– Troy @ TLC
Entrance Animation (Lens – Part 2)
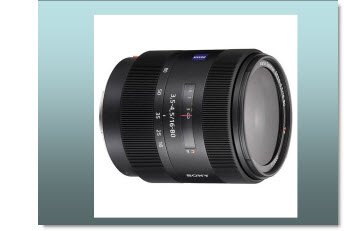
The first step is preparing the .jpg image. Because the template is not a white background, the white background around the lens needs to be removed.
Option 1 is to use PowerPoint’s “Set Transparent Color Tool”
This tool will ‘work’ because the background to be removed is a solid color, not used in the actual graphic. While this is a quick solution, it has a difficult time providing the quality I like.
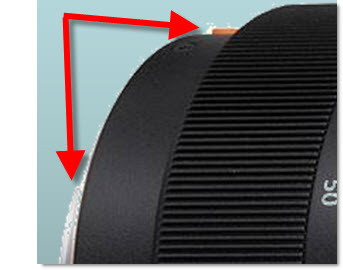
You can see the small bits of the background that where left behind.
My solution has been to prepare images in Photoshop. With the lens image I dropped out the background by outlining the image with a ****, deleting the background and then saving the image in .png format with transparency. This image was then imported into PowerPoint.
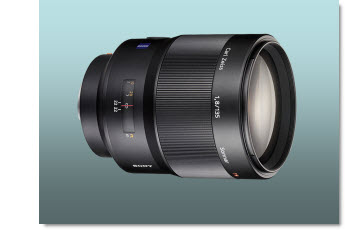
The next step, also in Photoshop, was to duplicate the image, vertically flip it, reduce the opacity to 15%, and feather out/delete 2/3 of it to create a reflection.
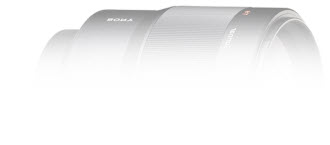
The image was saved out as a .png image and imported into PowerPoint and positioned below the lens image.
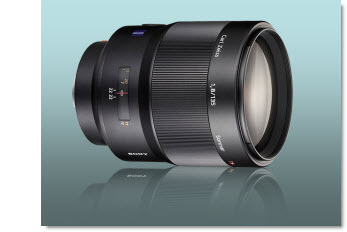
The final step, again done in Photoshop, was to create a dynamic lens flair image to add a dynamic and rich feel to the overall image.
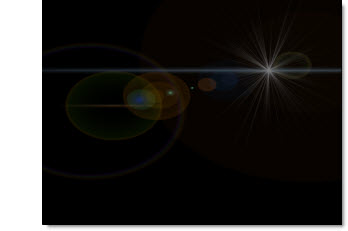
Note: this is a transparent image, but shown here on black so it can be viewed easier.
Up next – animating it all!
– Troy @ TLC
Entrance Animation (Lens – Part 1)
I have a multipost sample outlining how an animated entrance was created. For today, you can use this link to view a screen capture of the actual animation (really need to figure out how to embed video into the blog…).
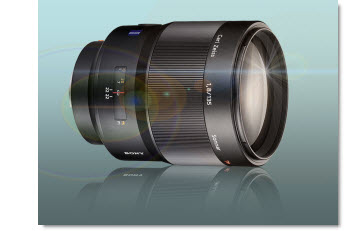
To view click here.
– Troy @ TLC