May the Fourth Be With You!
Some of the TLC Creative presentation design team having some Star Wars inspired fun on this day!
Podcast Release – Troy & Lori talk about being a travel PowerPoint designer
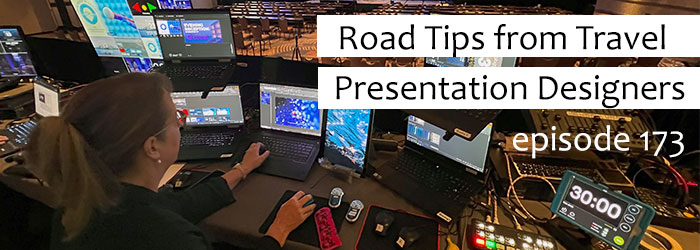
Are you at the computer each day working on PowerPoint presentations? What if your daily job was working on PowerPoint presentations in a different location every day – or every week? Troy and Lori of TLC Creative Services talk about being a travel presentation designer.
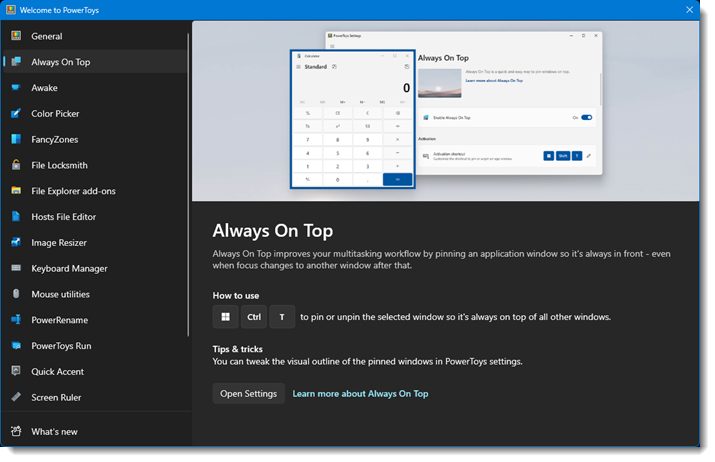
MS PowerToys – File Explorer Image Preview (super powers!)
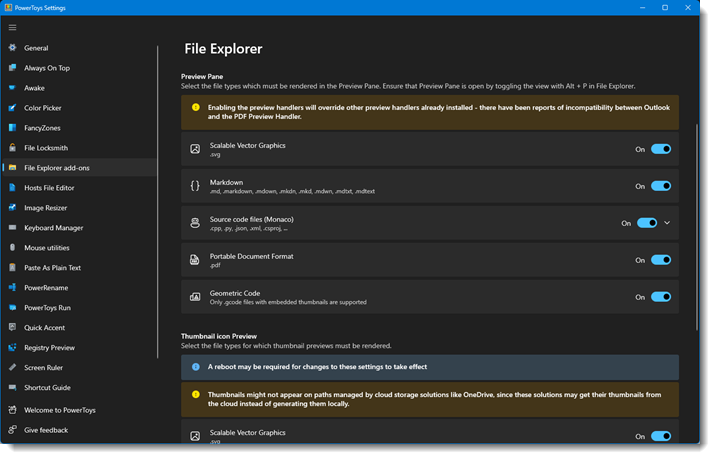
Window file explorer, while I prefer it over the Mac OS Finder, it has a lot of missing options. PowerToys adds a few!
MS PowerToys – Color Picker
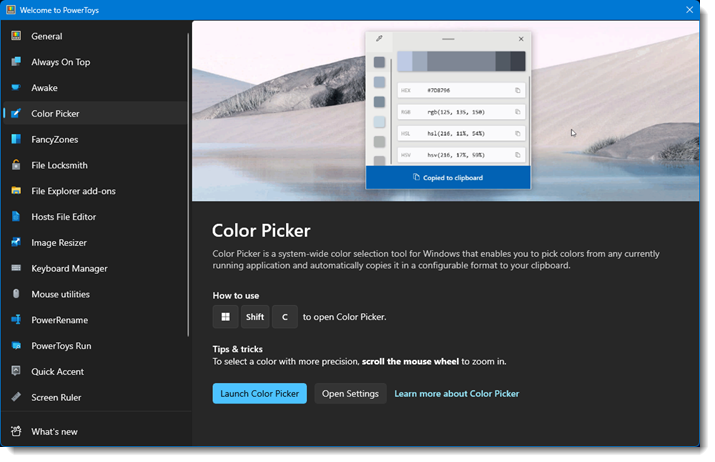
PowerPoint has a built-in Color Picker tool, which is great. But I need a color picker not only for presentation design, but web projects, social media media and more. I am using the PowerToys color picker more and more as my go to tool.
Microsoft PowerToys – Cross Hair Target
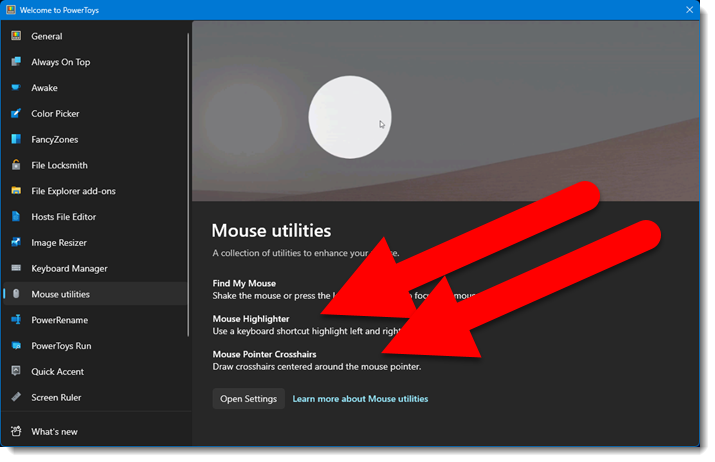
This is another nifty tool that works for presentations, demos and training videos. Similar to the Find My Mouse highlight, or spotlight, this one adds a full screen target cross hair where the mouse is located.
Podcast Release – Can AI Create Better Presentations?
AI is coming to presentation design – and every aspect of the internet, computing and the world. It is not something that just suddenly was created, but is a major evolution of technologies, and very recently packaged into consumer facing interfaces for general public use. Troy and Nolan talk about their experience with AI tools, where they see AI in presentation design, and how Microsoft’s AI powered Copilot is going to enhance presentation development, and everyone should be ready to embrace AI in presentation design – soon.
Listen here.