Presentation Podcast – New Episode Releases Today!
Join Troy, Nolan and Sandy as they talk about icons; how they use icons in presentation design, how they see others using icons, where to source icons, and when icons should be used – and not used. Join a very geeky designer conversation about what makes design, design! Episode 127 of The Presentation Podcast.
Create a Custom Puzzle Image for Your Presentation
Puzzles are a great visual metaphor for presentations. We are sharing our process for creating a custom image for a presentation, with a puzzle piece theme. We do not want a single, flat image as that limits our presentation design options. But rather than create dozens of custom puzzle piece images in Illustrator or Photoshop, we prep a few images in these programs and let PowerPoint do most of the work.

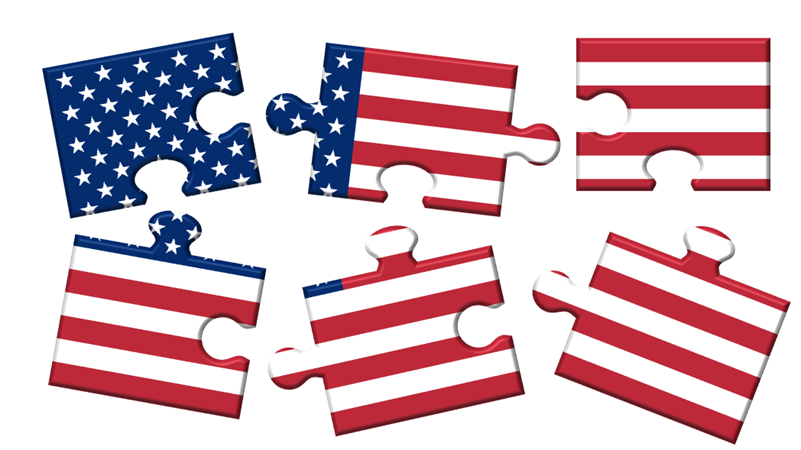
1. Using Adobe Illustrator we created a image of 5 connecting puzzle piece shapes. These were exported as .SVG (vector) images.

2. Next we created a library of flag images that would be used in the puzzle pieces. These could be PNG or SVG format. We like the scalable nature of vector .svg images, and flags work well in this format. Here is an example of one flag image:
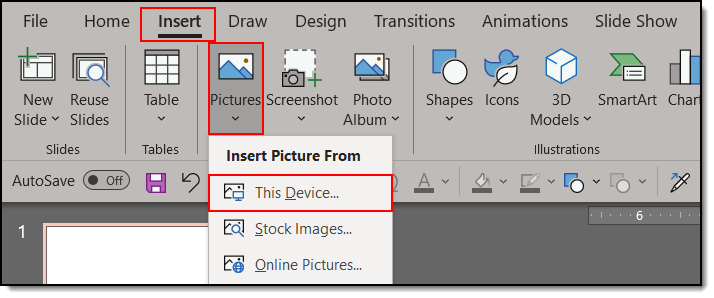
3. Insert the puzzle piece INSERT tab >> PICTURES tab >> FROM THIS DEVICE. From the dialog find the puzzle piece file.
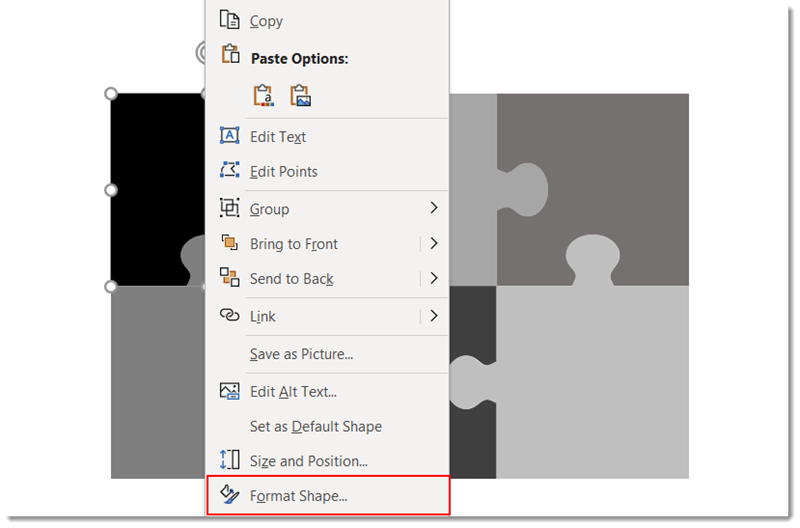
4. Right click the puzzle piece and select FORMAT PICTURE.
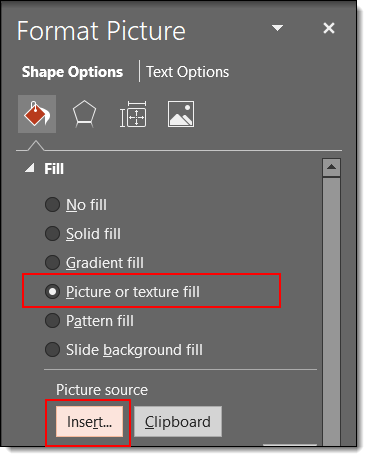
5. On the left pane select FILL. In the right pane select PICTURE OR TEXTURE FILL.
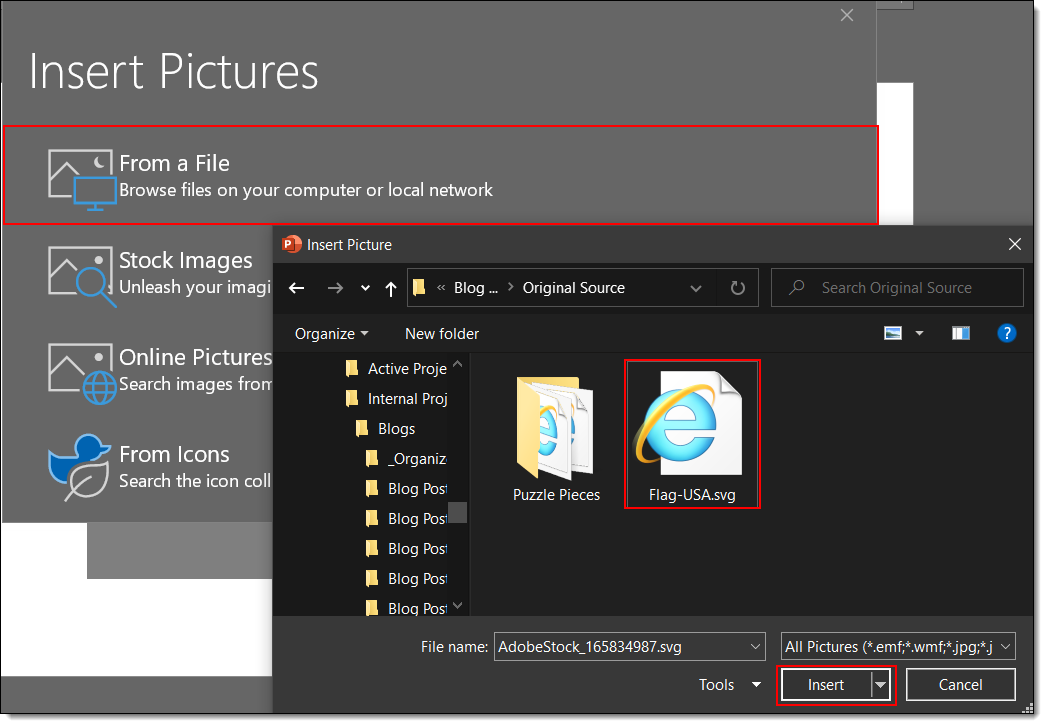
6. Click FILE and from the dialog find the American Flag image.
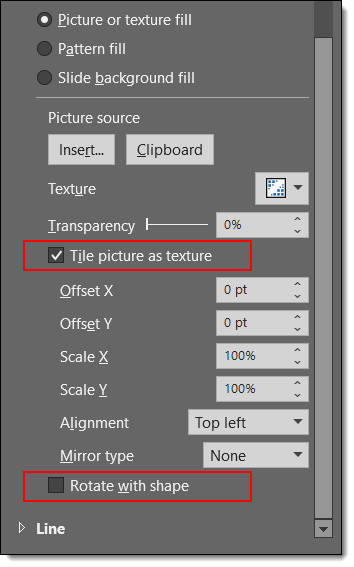
7. Check the box to TILE the picture as texture and UNCHECK the box at the bottom “ROTATE WITH SHAPE”.
9. However, if you uncheck the TILE picture as texture box, select CROP and then use the outer dots (not crop bars) to adjust the flag image size and position.
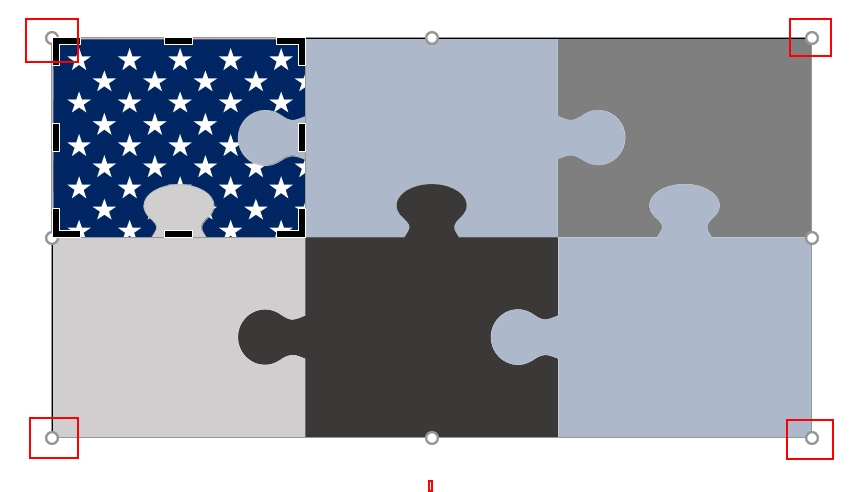
10. Have fun with formatting your shape! All PowerPoint style effects are available: bevel, drop shadow, reflection, etc. Because the ROTATE WITH SHAPE option is turned off the puzzle piece shape rotates, but the flag stays in the same orientation!
Download the PowerPoint slide of the puzzle piece American flag HERE.
Sara @ TLC
Do We Need a Blob Generator? Yes!!
In designing a slide if you find yourself in need of a formless random blob during your creative endeavors, blobs.app has you covered. Shout out to Nolan Haims for cluing us in on this cool tool during a tech tips discussion at The Presentation Podcast!
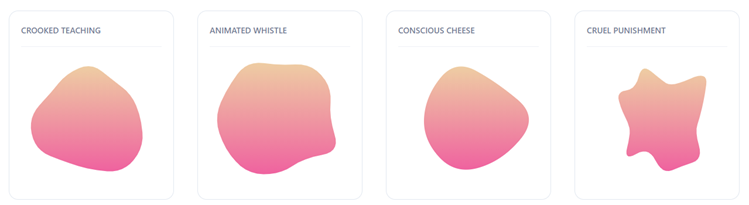
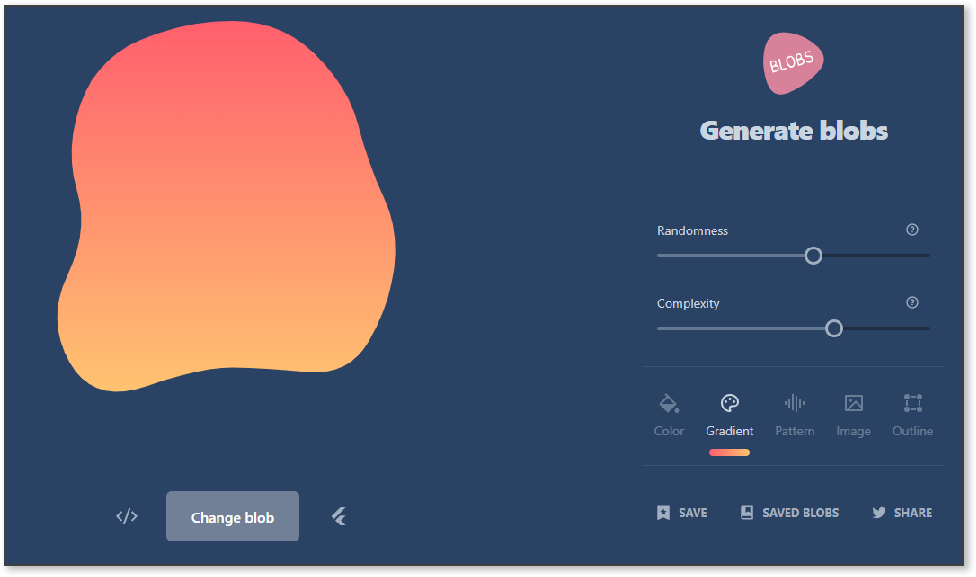
You can generate blobs of different complexities and randomness, as outlines, color filled, gradients, patterns, even images, and save them as SVG files, or copy the SVG or Flutter code after you’ve created a blob. Modify the variables on the right and click the “Change Blog” button on the left for endless options.
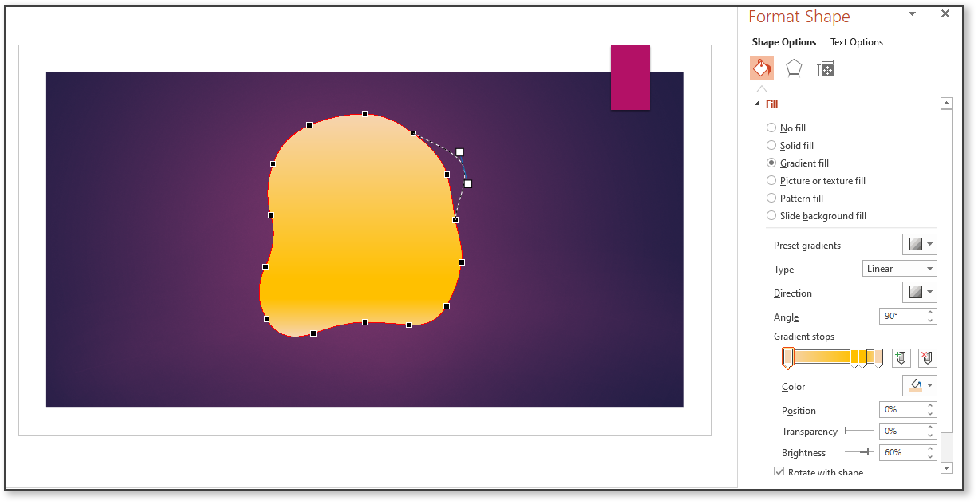
To get this blob into PowerPoint, simply add it as an image, selecting the .svg file you downloaded. Like any .SVG the shape fill, outline, transparency, and styling effects like drop shadow or 3D Rotation can be applied. Further, the blob is a vector shape. Select, ungroup and then right-click and choose Edit Points to modify the shape in any way.
Whether you need some amorphous shapes for buttons, or photos, or something to frame some text, this tool will quickly get you the random shapes you need, and thanks to saving as an SVG file, PowerPoint will let you further modify or format these shapes to meet any of your design needs!
Create your own blobs here.
Josh @ TLC
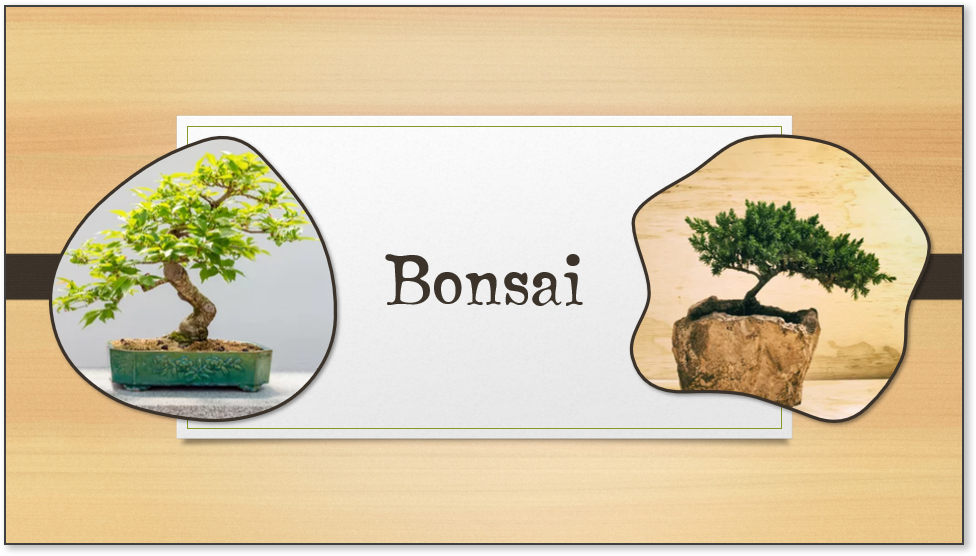
Microsoft has 5 New Fonts!
Microsoft is rolling out 5 new fonts and we couldn’t be more excited! All 5 are Microsoft Cloud Fonts, meaning they are available on every endpoint with Microsoft Office. These are available now and we do not have to worry that a client will not have them and fonts will default to some other randomly assigned font. Windows, Mac, IOS, Android, PowerPoint for the web – these fonts will work for everyone.
Besides showcasing 5 great new options to incorporate into our designs and templates, Microsoft is making waves with news of replacing its long-standing default font, Calibri. Since 2007, Calibri has been the default font for all Microsoft programs including PowerPoint. At its inception, Calibri was designed to perform on lower resolution displays to optimize legibility, using technology that the company no longer uses.
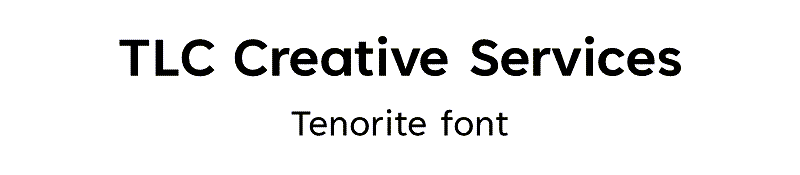
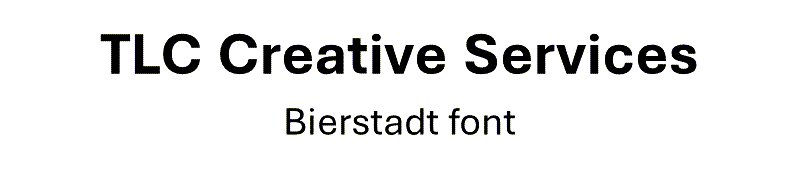
Sample images of each font is below. Each uses the default kerning (space between letters). The top line is with Bold applied, and the lower line with the name of the font is in the standard weight.
Up first on the list is TENORITE, by Erin McLaughlin and Wei Huang. A personal favorite, this font is round and wide, with narrow kerning, making it great for all caps headlines and titles.
Then there is BIERSTADT, by Steve Matteson. A modern take on the mechanical, grid-based style stemming from swiss typography. Tenorite incorporates some organic elements that really makes it stand apart from its institutional roots.
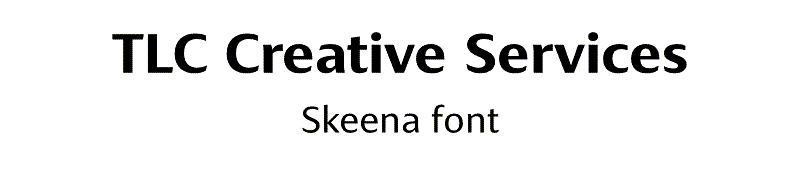
Next up is SKEENA, by John Hudson and Paul Hanslow. With a emphasize on contrast, the font’s distinct variations between thick and thin add a stand-out contender to the list, great for presentations with a lot of copy.
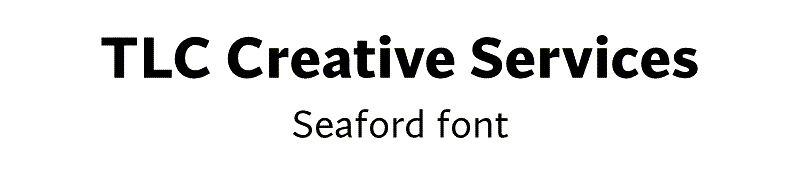
That brings us to SEAFORD, by Tobias Frere-Jones, Nina Stössinger, and Fred Shallcrass. While this the most old-school font of the bunch, there is nothing old about the approach they took designing this font face. Inspired by armchairs, this font is sturdy and worth sitting with for some time.
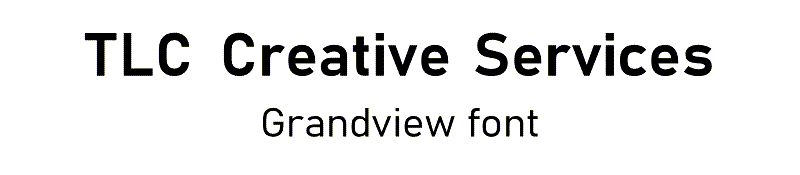
And last but not least GRANDVIEW, by Aaron Bell. This highly mechanical, German-derived option, is the most rigid of the additions. Grandview retains readability exceptionally compared to it’s ancestors and will be a great option especially when it comes to data visualization.
These fonts are available now and according to the Microsoft press releases, by the end of 2022 one of them will become the default option across all Microsoft programs.
Sara @ TLC
Alphabetizing Made Easy
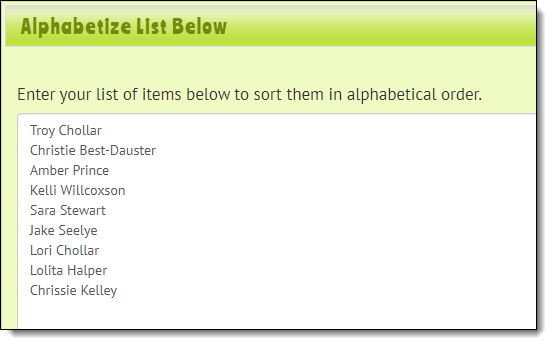
One of our go-to resources is a surprising one – The Alphabitizer (https://alphabetizer.flap.tv) is helpful in many ways. We use it to alphabetize presenter names during a show, organize presentation titles, and more. It also has helpful features like automatically capitalizing names in the list and randomizing items in a list in the case instead of alphabetizing.
First just insert the random list of names, titles, or whatever it is:
Then use the options to the left to perform whatever function is needed. For this example, the goal is the staff names organized by last name.
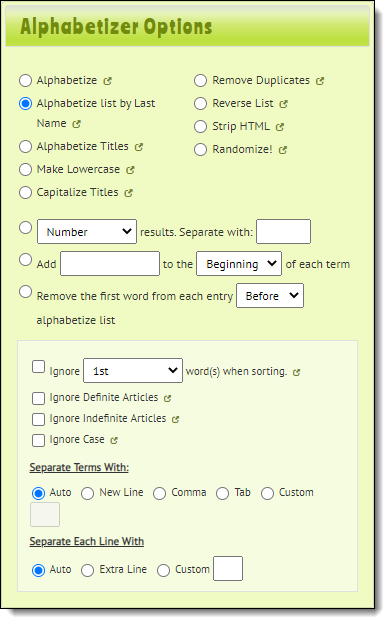
And voila, a super-quick alphabetized list! The options can be changed one at a time, so the list could be run multiple times until the final list is whatever is needed. For example, it could be run once to alphabetize, once to capitalize, and again to number.
The Presentation Podcast Ranks #1 on Feedspot!
Feedspot is a Content Reader, with the goal is helping us keep up with multiple websites and information sources all in one place. Feedspot also lists and ranks, among other things, podcasts.
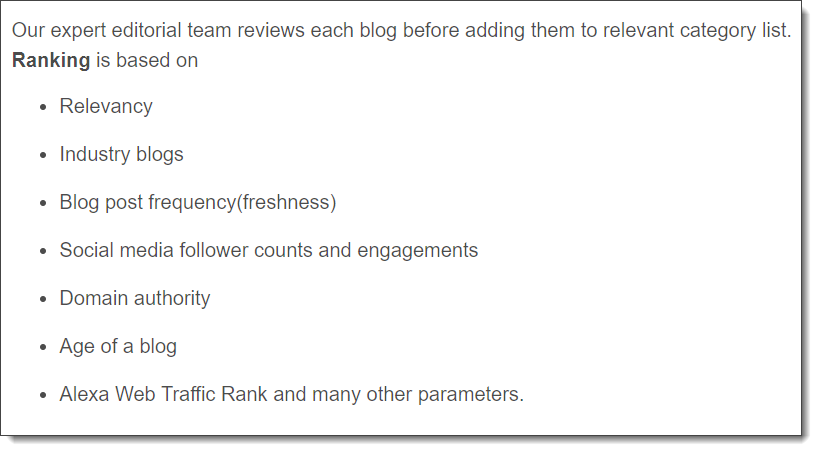
In the category of “Presentation Podcasts”, our very own, The Presentation Podcast, ranks #1!
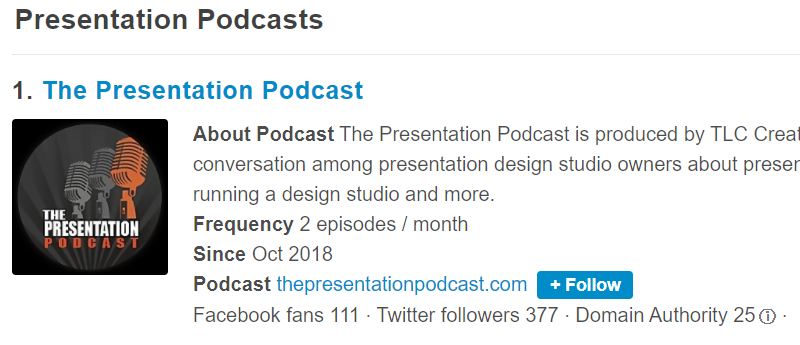
The current top 5 podcasts in the category are…
- The Presentation Podcast
- The Presentation Boss Podcast
- The World of Presentations
- Fearless Presentation
- Unforgettable Presentations
Jace @ TLC
PowerPoint Adds Ability to Lock Objects!
Adobe Illustrator’s “Lock Object” has been something I have dreamt about having in PowerPoint for years. Well it has finally happened!
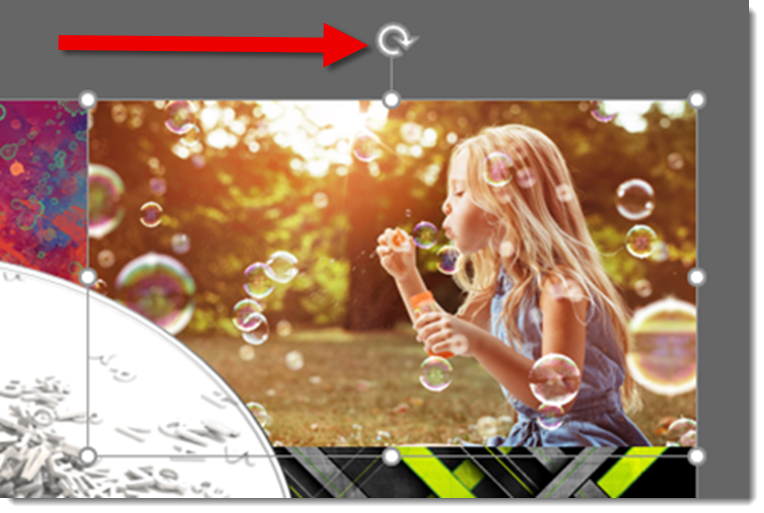
Here is my example slide. Lots of overlapping images. I am certain everyone can think of several reasons the ability to lock one, a few, or all of the objects in place so they cannot be accidently moved would be a good thing.

For this example I want to lock the upper right image from being able to be moved. It is labelled “Bubbles” in the Selection Pane.
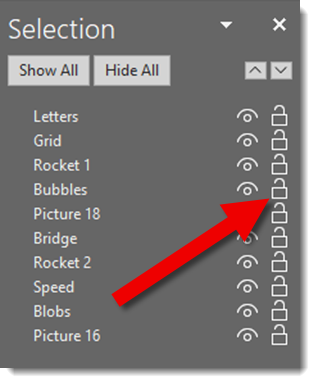
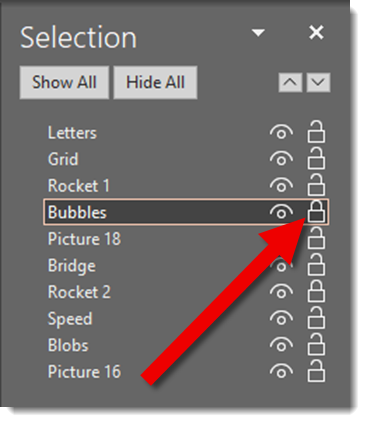
In the selection pane to the right of the visibility icon is a new padlock icon. Currently the “Bubbles” image is unlocked. That means selecting it the standard modified handles are seen, but I want to focus on the rotate modifier.
To lock any object – image, shape, text, media, etc., just click the padlock icon.
The object can still be selected, but it cannot be moved, resized or altered. The rotate modified is replaced with a lock modifier.

This is a huge improvement to PowerPoint’s editing! Some additional observations:
- Locked objects still have animation applied (and a locked object can have new animations applied to it).
- Locked objects can be turned off using the Selection Pane visibility icon.
- Objects on the slide level can be locked.
- Objects on the Master Slide and Master Layouts CANNOT be locked.
- Placeholders, on slides, can be locked.
- Z-order of locked objects can be changed (eg. “bring to front” works).
- Anyone that can edit the slide can unlock an object (if they open the Selection Pane).
Troy @ TLC