Membership Animation
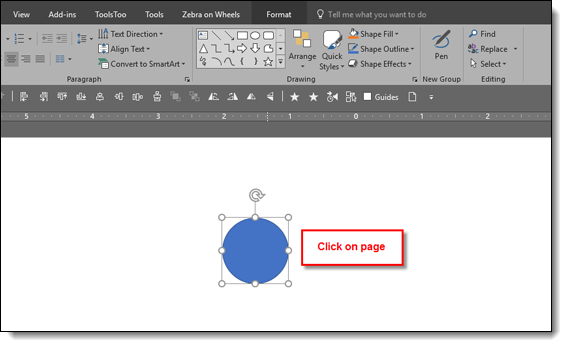
This is a membership animation slide from a recent project that demonstrates how to use animation to aid the presenter (we removed the nice template and styling). The message for the audience was that a very niche and exclusive association had exceeded all membership goals for the year. Rather than putting up a list of stats, we helped the presenter walk the audience through their 5 year story at their own pace with on-click animations and reveal the year-to-date total.
[KGVID]https://thepowerpointblog.com/wp-content/uploads/2018/05/unnamed-file-7.mp4[/KGVID]
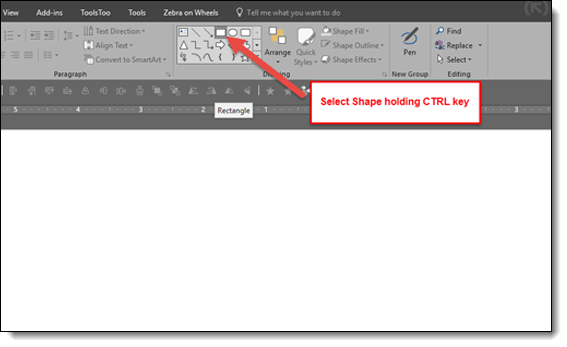
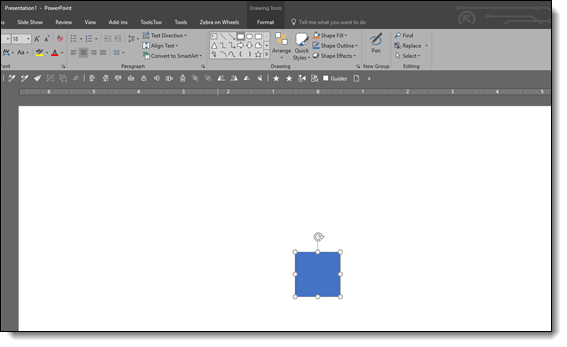
The animation could be accomplished many ways, but the easiest way was to leverage Morph by splitting the original content across 7 slides, each slide transition being an animation. Easy to create, easy to manage, easy for the presenter to see the story flow.

Troy @ TLC