Tutorial

PowerPoint and Illustrator – Both Have Vector Shapes

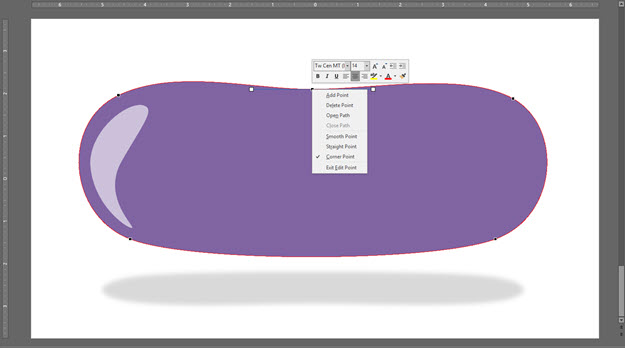
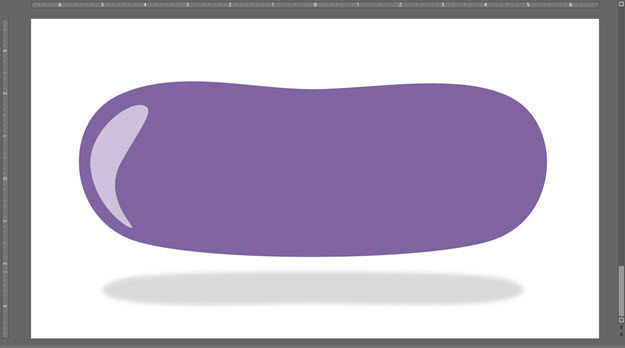
If you use Adobe Illustrator, or other vector art programs, you are familiar with Bezier curves. Vector art is scalable, without resolution loss, and is editable in both appearance and in shape. PowerPoint shapes are vector graphics and can be edited directly in PowerPoint just like editing vector art in Illustrator (but with a simplified set of options). For example, Christie on the TLC Creative design team created this example showing how a rectangle can be edited into a purple jelly bean shape – all inside PowerPoint, using native PowerPoint features.

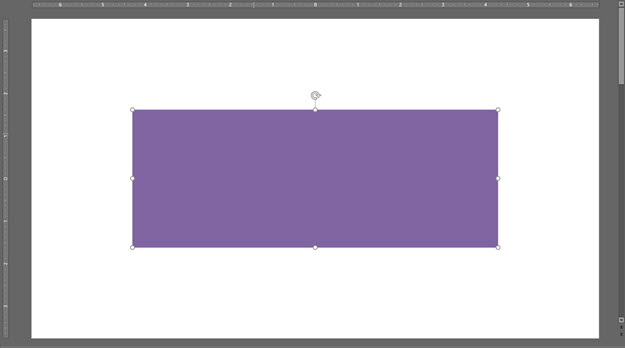
1. Create any shape in PowerPoint, mine is a purple rectangle

Shapes are Vector and Can Be Edited 1

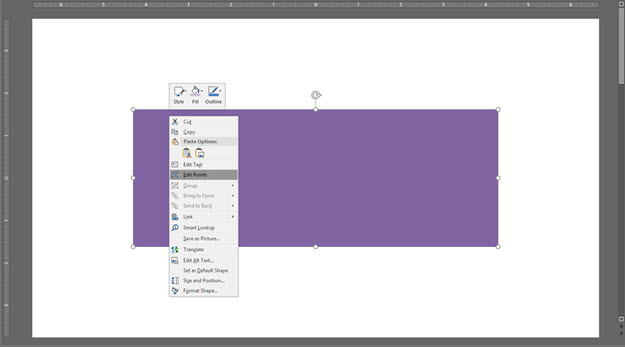
2. Right click on the shape and select EDIT POINTS

Shapes are Vector and Can Be Edited 2

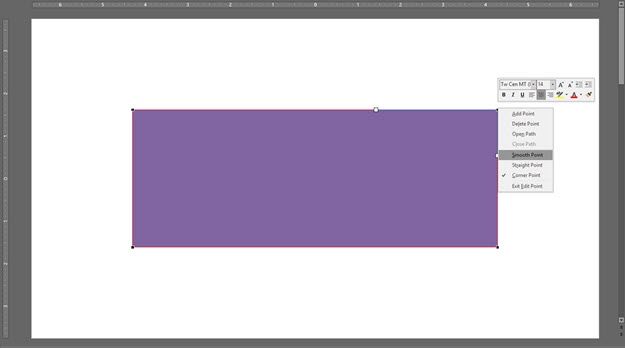
3. A rectangle is a simple vector shape with just 4 points, one for each corner. Click and select any of the points. The Bezier handles will display. Right-click the selected point and from the pop up menu we can change the type of Bezier corner.

PowerPoint points can be SMOOTH, STRAIGHT, or CORNER points. For a rectangle, with all straight edges, the points are CORNER points which keeps the Bezier handles straight and 90 degrees to each other. But to create my purple jelly bean I do not want the 90 degree corner and change its properties to SMOOTH. 

Shapes are Vector and Can Be Edited 3

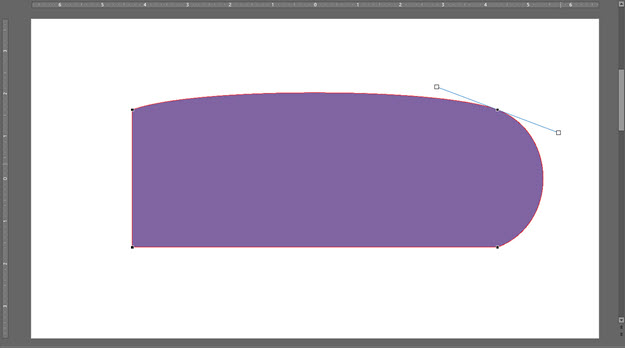
4. The Bezier handles move outside the shape and it becomes a radius corner. 

Shapes are Vector and Can Be Edited 4

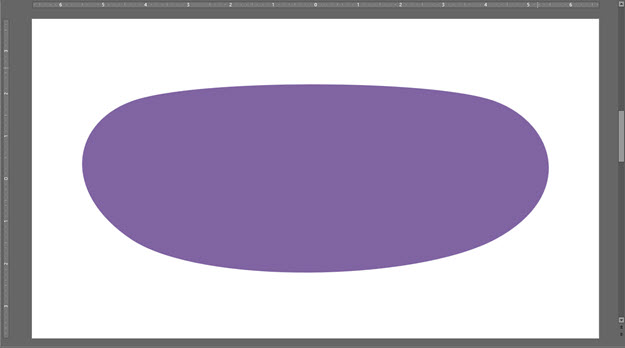
5. My purple jelly bean has no straight lines, so all 4 points are changed to SMOOTH points. The rectangle is now a “blob” with no straight edges. 

Shapes are Vector and Can Be Edited 5

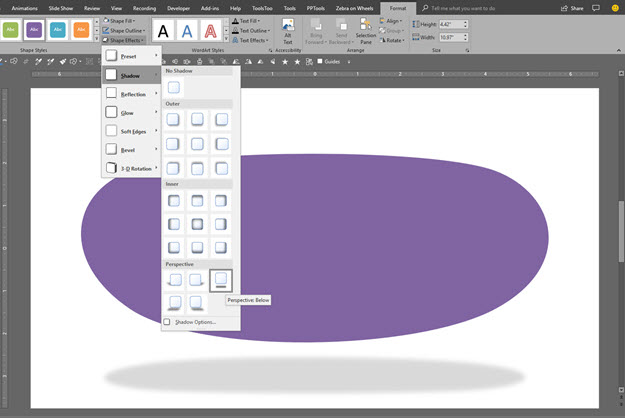
6. This next step has nothing to do with shape edit points, but I cannot leave a slide with an ugly shape, so I am adding a cast shadow.

Shapes are Vector and Can Be Edited 6

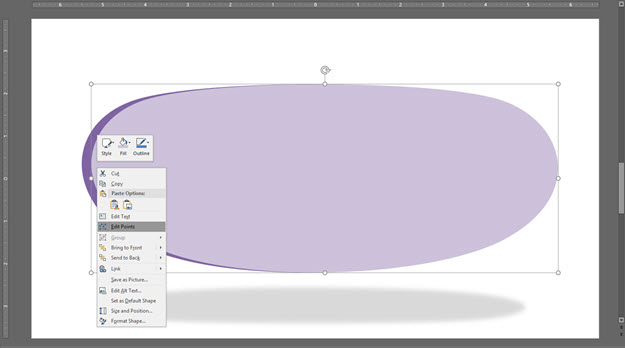
7. Back to editing shape points, and some design – duplicate the shape, change the color to a lighter shade of purple and then right-click and select EDIT POINTS.

Shapes are Vector and Can Be Edited 7

8. Through a combination of adding a few new points (also SMOOTH points) and moving the position of points and Bezier handles, it was pretty quick and easy to create a new custom shape that is now a highlight accent.

Shapes are Vector and Can Be Edited 8

9. To make the large blob shape more like a jelly bean, right-click > edit points > add a new point in the top center (make it a SMOOTH point) and drag it down a bit.

Shapes are Vector and Can Be Edited 9

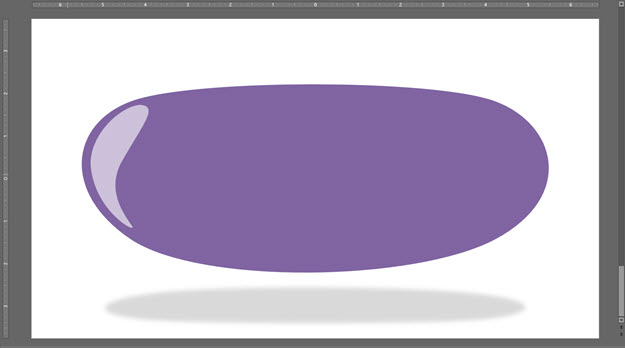
10. Done – at least enough for this tutorial, and we never left PowerPoint. Think of it as working in a legacy version of Illustrator, maybe 2.0.

Shapes are Vector and Can Be Edited 10

By |2018-05-31T18:20:43-07:00June 11th, 2018|Tutorial|

It’s Like Monopoly – Go Directly to the Master Slide!

The Master Slide is where as presentation designers we try to keep clients away from. But as a designer, this is a fantastic shortcut to accessing the master slide!


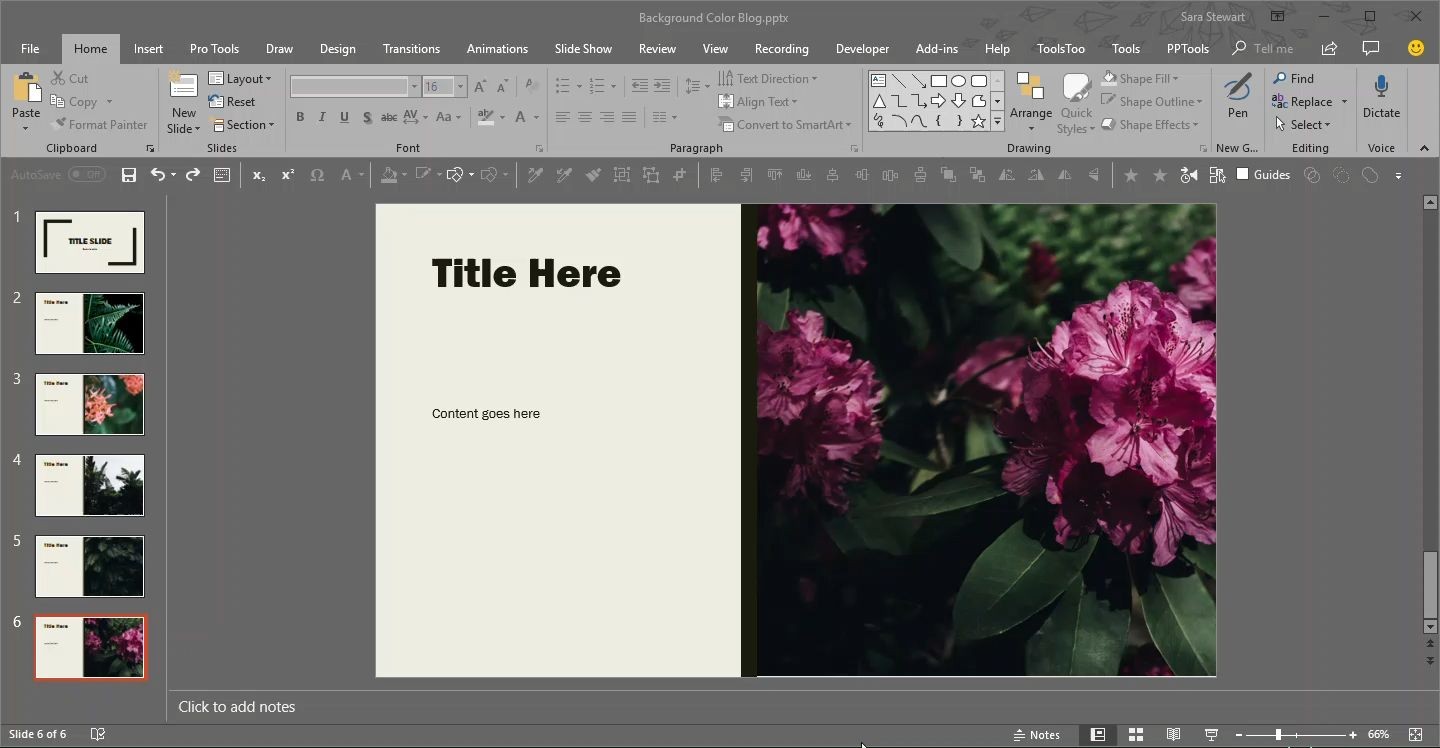
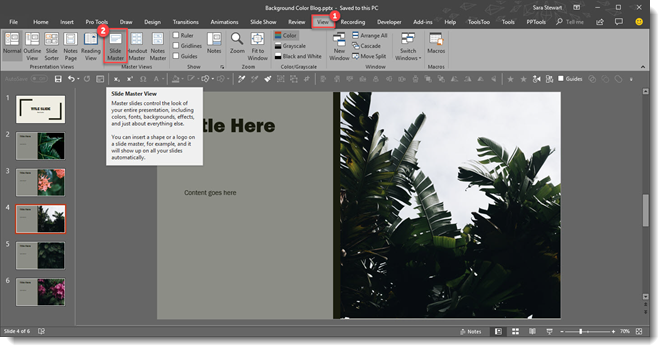
As example, we want to change the background color across all slides. Easy, just update the Master Slide. The typical way of doing this is  View > Slide Master and the Master Slide view opens with that layout selected.

Directly to the Master Slide 1

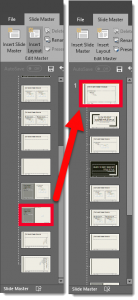
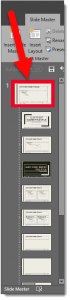
However, we need to change the background color on the Master Slide, not the Master Layout. So now we need to scroll up and select the Master slide at the top. Too many steps for a busy presentation designer!

A quick and easy shortcut to achieve going directly to the Master Slide is to hold SHIFT + DOUBLE-CLICK on the NORMAL VIEW icon in the lower right bar.

Directly to the Master Slide 3

This is will automatically open the master to the top slide where you can quickly update all slide backgrounds.

Here it is in action, 1 click (okay a double-click) access to the Slide Master.

[KGVID]https://thepowerpointblog.com/wp-content/uploads/2018/10/unnamed-file-3.mp4[/KGVID]

Troy @ TLC

By |2019-12-11T15:57:41-08:00June 8th, 2018|Tutorial|

Rotate Objects with Keyboard

There are many ways to do the same task in PowerPoint, and all Microsoft Office applications. Rotating objects is one that many find difficult and tedious when using the rotate anchor. Using keyboard shortcuts to rotate an object (or several objects at the same time) is an amazing shortcut to know about!

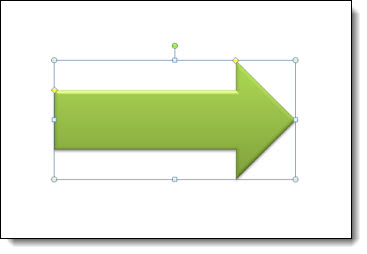
Select any shape

Rotating Objects with Keyboard 1

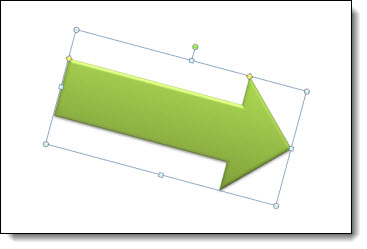
Use the keyboard to rotate the shape to the right with ALT + RIGHT ARROW. Hold the ALT key down and click the right arrow as many times as needed to get the rotation desired.

Rotating Objects with Keyboard 2

Rotating Objects with Keyboard 3

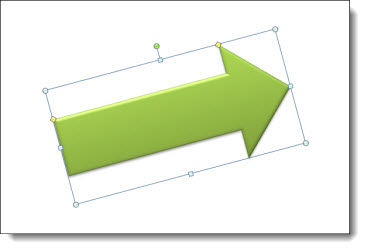
This is pretty much intuitive at this point, but ALT + LEFT ARROW will rotate the selected object(s) to the left. To go from the above rotation to the below rotation it was hold the ALT key and click the left arrow twice

Rotating Objects with Keyboard 4

Rotating Objects with Keyboard 5

Happy rotating!

Troy @ TLC


By |2018-05-31T18:02:29-07:00June 6th, 2018|Tutorial|

Morph Any Shape to Another Shape While Creating A Presentation – Change Shape

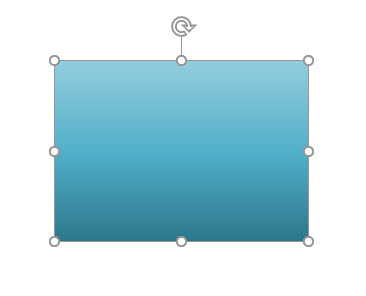
Using existing assets is almost always faster than creating something new, or worse, creating something, again, and again, and again. Everyone should know of PowerPoints CHANGE SHAPE feature! For example, we have created a rectangle with a custom gradient. Now styling is going to be rounded rectangles. Easy, just do this: 

Select the rectangle.

Change Shape 1

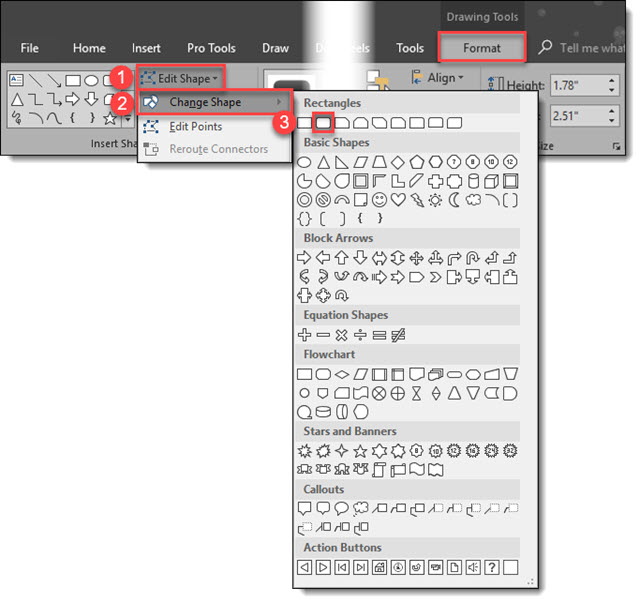
Under the Drawing Tools > Format Tab, click Edit Shape > Change Shape > Rounded Rectangle.


Change Shape 2


The rectangle will now be converted to a rounded rectangle. Done!

Change Shape 3


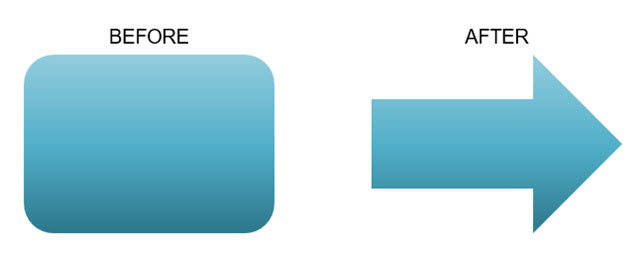
Repeat to convert all the already formatted, positioned and animated rectangles throughout the presentation to the updated rounded rectangle styling in minutes. Or, leverage that wonderful custom gradient by morphing the rounded rectangle to an arrow, or any other shape in the Change Shape library. 

Change Shape 4

Tip: All TLC Creative design computers have the Change Shape drop down menu on our QAT for even quicker design and formatting.

Troy @ TLC

By |2018-05-31T18:03:20-07:00June 4th, 2018|Tutorial|

Better, Bigger, 2-Up PDFs

Note: this is a re-post, originally posted April 4, 2016. When planning the posts for this month it made sense to include this tutorial again.

Printing slides is a common need. But the Microsoft presets are not optimal. For example, let’s look at “2-up” printouts directly from PowerPoint and then we’ll look at my preferred option which is using Adobe Acrobat to create the 2-up PDF printout.

Using Microsoft’s PowerPoint preset:

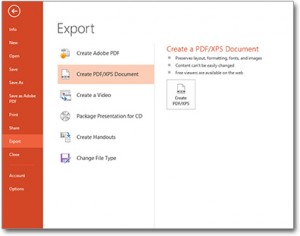
1. Go to File > Export > Create PDF/XPS Document

2-up PDF printout Export_Image1

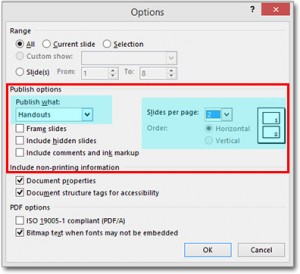
2. In the PUBLISH OPTIONS section, change the drop down menu to HANDOUTS. Slides per page = 2. Keep HORIZONTAL setting. A print preview of the pages will be on the right.

2-up PDF printout PPT_Image2

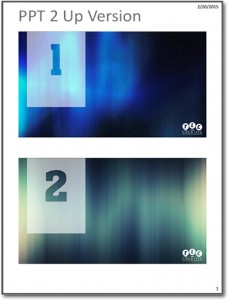
Select OK and your PDF will be created.

2-up PDF printout PPT_Image3


But, these can be larger images of each slide if we do not use the PowerPoint preset.


To create 2-up printout using Adobe Acrobat (Note: This is a multi-step process, but the result is great):

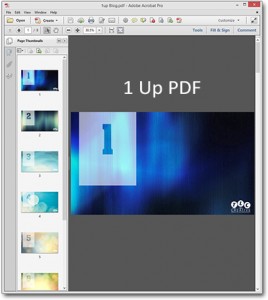
1. Go to File > Export > Create PDF/XPS Document. This time don’t worry about the options, just create PDF with 1 slide per page (the default print setup).

2upBlog_1upPDF_Image4

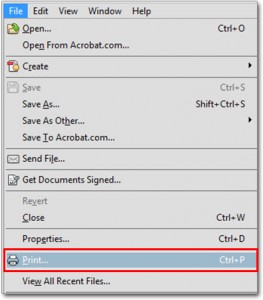
2. Now we are going to print the PDF again. From the PDF of the slides, Go to File >Print

2-up PDF printout PDF_Image5

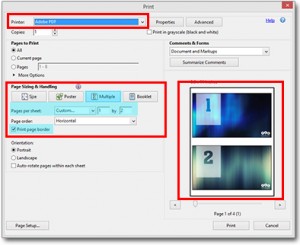
3. Select ADOBE PDF as your printer.

4. In the Page Sizing and Handling select MULTIPLE.

5. In Pages Per Sheet select Custom.

6. Set to 1 by 2, the small print preview should look like the below example.

7. PRINT.

2upBlog_PrintPDFoptions_Image6

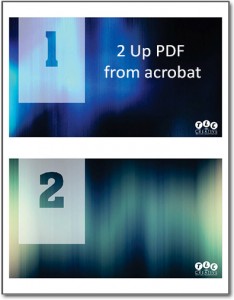
As you can see, side-by-side, the Adobe Acrobat 2-up PDF printout on the left has larger slide images than the PowerPoint 2-up printout, the Adobe Acrobat 2-up takes up the page significantly more than PowerPoint does.

2upBlog_2upPDF_Image72upBlog_2upPPT_Image3

Just a simple option to provide better printouts. 

-Troy @ TLC

By |2018-04-04T11:29:56-07:00April 13th, 2018|Software/Add-Ins, Tutorial|

3D Model On-Slide Turntable Animation

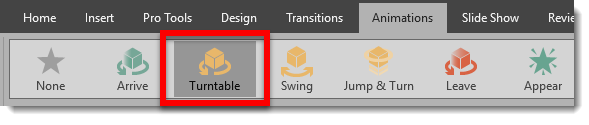
Here is a demo of the new 3D Model TURNTABLE animation created by Christie on the TLC Creative design team. The Turntable animation adds a 3D rotation, of a 3D model, that can be once, twice or endless as an on-slide emphasis animation.

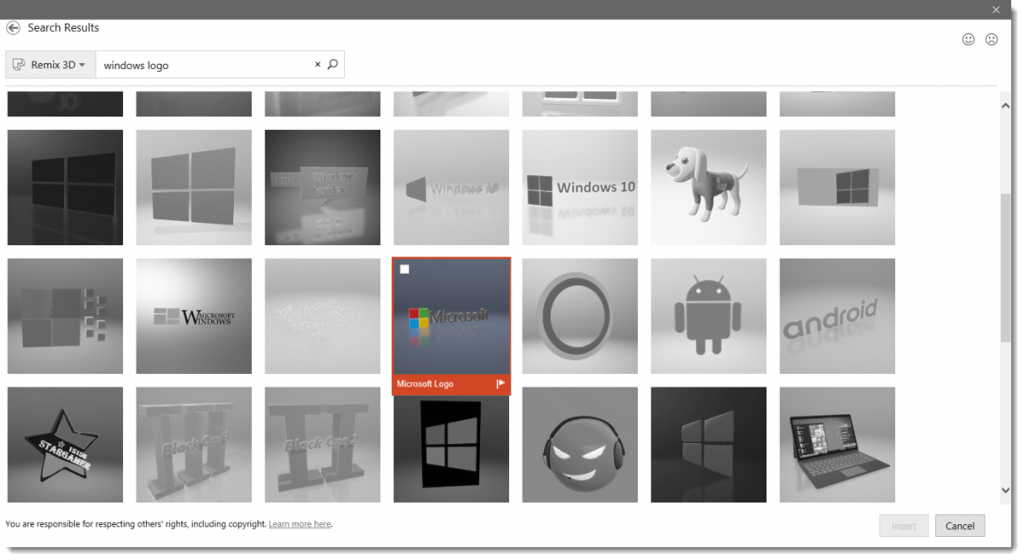
For this demo the Microsoft logo 3D model logo was sourced from Remix 3D.

There are only 2 slides in the demo presentation, each for a specific task.

Slide 1 has the TURNTABLE 3D model only animation applied, with a rotation RIGHT and set to continue until end of slide. 

[KGVID]https://thepowerpointblog.com/wp-content/uploads/2018/01/unnamed-file-4.mp4[/KGVID]

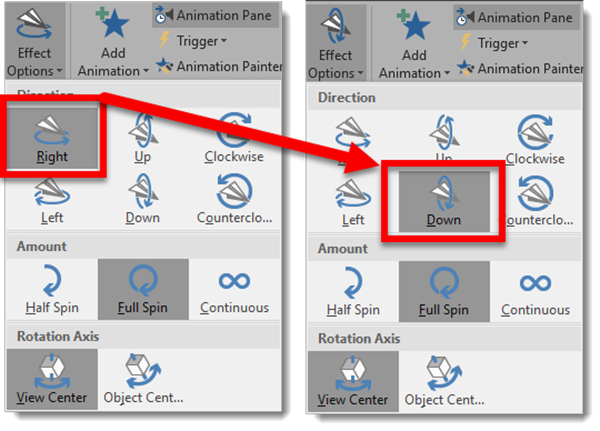
Each 3D Model animation has a number of options. As example, changing the DIRECTION from the original RIGHT to DOWN. To change the effects of the animations, select the 3D model, click the Effects Options drop down, and the menu shows all available variations for direction, type of rotation and where the rotation axis is. 

Now the same slide animation looks like this

[KGVID]https://thepowerpointblog.com/wp-content/uploads/2018/01/unnamed-file-5.mp4[/KGVID]

Slide 2 is how this could be used in a real-world presentation. With slide 1 the logo has a never-ending rotation continue while the presenter introduces the topic. Then with a click to advance to slide 2, a morph transition to seamlessly moves and shrinks the logo to the right side of the screen while presentation content (the bullet list text) enters. And then for fun we used another new 3D model only animation, Jump & Turn, on the Microsoft logo in its new position.

[KGVID]https://thepowerpointblog.com/wp-content/uploads/2018/01/unnamed-file-6.mp4[/KGVID]

Troy @ TLC

By |2019-10-30T06:07:02-07:00January 26th, 2018|PowerPoint, Tutorial|

On-Slide 3D Model Animation!

There are 5 new animations in PowerPoint! All 5 are for 3D models only, and they provide on-slide animations (vs. using Morph to animate and see different views of a 3D model). I am hopeful that we will see additional new animations as support for 3D models continues to evolve in PowerPoint.

The new animations are found on the Animation tab.

Each animation has a number of Effect Options to adjust the animation action. One option is the click the Effect Options drop-down from the Animation Tab.

The other option is to view the Animation Pane and right-click the 3D model animation and select Effect Options to open the animation dialog.

And here are the 5 new 3D Model animations!


My personal hope is that the use of these animations will extend to be able to apply them to anything; photo, shape, text, icons, etc. But for now I am excited to finally see something new happening on the Animation tab!

Troy @ TLC

By |2018-01-11T11:32:30-08:00January 24th, 2018|Tutorial|

Animate 3D Models Using Morph

Combining the Morph transition with 3D models is easy, and can create amazing visuals and motion animation!
Insert a 3D model on a slide. Position and rotate. Then duplicate the 3D model to the next slide, adjust position, size and rotation with a morph transition. Watch the results!

[KGVID]https://thepowerpointblog.com/wp-content/uploads/2018/01/unnamed-file-10.mp4[/KGVID]

Make it a slow and long animation with a slow morph transition!

[KGVID]https://thepowerpointblog.com/wp-content/uploads/2018/01/unnamed-file-1.mp4[/KGVID]

Or very fast with a faster morph transition

[KGVID]https://thepowerpointblog.com/wp-content/uploads/2018/01/unnamed-file-9.mp4[/KGVID]

We can use the Pan and Zoom as part of our morph animation!

[KGVID]https://thepowerpointblog.com/wp-content/uploads/2018/01/unnamed-file-8.mp4[/KGVID]

TIP: 3D models can have any standard animation applied (motion paths, grow/shrink, fade in/out, etc.). IF it has an emphasis animation, the morph transition will continue to work. If it has an entrance or exit animation, the morph transition will apply to that model because it cannot have 2 entrance or exit effects (eg. morph entrance and fade in animation entrance).

Troy @ TLC

By |2019-10-31T22:04:25-07:00January 12th, 2018|Tutorial|

Moving and Formatting 3D Models in PPT

The 3D models in PowerPoint are vector art, so they can be resized from very small to very large with no quality loss (just like PowerPoint shapes, text, .emf or .svg image). 3D models when selected have the standard resize and rotate action points, AND a new 3D rotation icon in the center.

3D Models in PPT

3D models are like a real physical model. They can be viewed from all sides – including from the top or from underneath. Using the new 3D rotation icon a 3D model can be rotated to any angle and view.

[KGVID]https://thepowerpointblog.com/wp-content/uploads/2017/12/unnamed-file-1.mp4[/KGVID]

The PowerPoint ribbon has a new tab just for 3D models. Select a 3D model on a slide and to go 3D MODEL TOOLS. Here are some of the new, and very useful options: 

3D Models in PPT

1. “3D Models” is the same as the option on the Insert tab to add new 3D models to a slide (so don’t get confused, it is typical Microsoft Office – multiple ways to do the same thing).

2. “Reset 3D Model” works the same as resetting photos version. Click the button and the model goes back to original view but keeps any resizing or repositioning. Click the down arrow and use RESET MODEL AND SIZE to go back to original inserted view and size.

3. Preset model angles/views. 18 preset views. These are fast to get close to the needed angle, or are great is setting the view of multiple models to all be from same vantage point.

4. The Z order and align buttons are the same tools as found on other tabs (TLC Creative has each of these on our custom QAT).

5. The Pan & Zoom. This one is important. It adds another icon to the selected 3D model.

The Pan & Zoom icon “zooms” in or out the 3D model inside its bounding box and also moves the 3D model within its bounding box.

To use, click and hold on the magnifier icon, then move up to zoom in/enlarge or move down to zoom out/shrink. This is different from resizing the 3D model shape because zooming in can make the 3D model too large to fit it bounding box and automatically crops it to the placeholder shape.

The Pan part of the Pan & Zoom tool is moving the 3D model within the placeholder. For example, if we click and drag a 3D model, the placeholder moves position. If we click the Pan & Zoom tool on the ribbon, then click the magnifier icon, then click and drag the 3D model and the model moves inside the placeholder while the placeholder stays in the same position.

[KGVID]https://thepowerpointblog.com/wp-content/uploads/2017/12/unnamed-file.mp4[/KGVID]

Troy @ TLC

By |2019-10-28T10:02:00-07:00January 8th, 2018|Tutorial|

Creating .SVG images in Adobe Illustrator for PowerPoint

Adobe Illustrator is most likely going to be where designers are creating .svg images. But the .svg format has a number of options, not all are currently recognized or supported by PowerPoint. Here are the Save As options we use for PowerPoint .SVG images:

  1. In Adobe Illustrator, go to FILE > SAVE AS
  2. Change the file to SVG in the drop down
  3. In the SAVE OPTIONS dialog, use these options
    1. SVG Profile = SVG 1.1.
    2. Fonts – Type = Convert to outline
    3. Fonts – Subsetting = None.
    4. Image Location = Embed.
    5. Preserve Illustrator Editing Capabilities = unchecked

For even more details on the SVG save options, we developed this PDF 1-sheet reference to all Illustrator SVG options and PowerPoint compatibility. Download Here.

If you need an .svg image to experiment with, click here to download the apple image used for this blog series.

Troy @ TLC
By |2020-04-01T10:03:14-07:00January 16th, 2017|PowerPoint, Tutorial|
Go to Top