Tutorial

Inspect Document (Off-Slide Content)

The Document Inspector has a new feature which I find most helpful when I know a presentation is going to be printed or converted to PDF. The OFF-SLIDE CONTENT tool is a great check for slides that have items outside the slide and will not be included in a printout or PDF.
Here is my sample slide – the slide is blank, but an object (circle) is off the slide in the edit area.

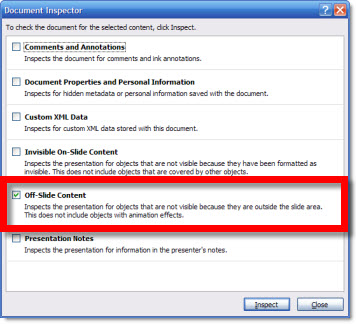
Open the Document Inspector (OFFICE BUTTON >> PREPARE >> INSPECT DOCUMENT) and selct the OFF-SLIDE CONTENT OPTION.

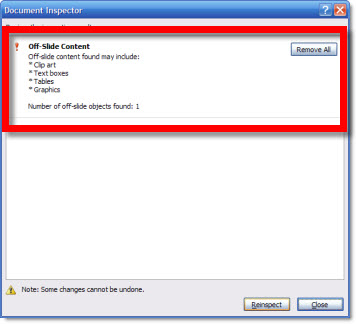
The report will show each slide that has content that will not show up on a printout or PDF.

– Troy @ TLC

By |2016-09-16T10:04:40-07:00July 19th, 2009|Tutorial|

Inspect Document (Hidden Elements)

There are ways to end up with mystery stuff on slides. Items that cannot be seen, edited or deleted by normal means – invisible elements. One add-in that I have used extensively is PPTXtreme’s Soft Shadow. It has provided photoshop quality shadow effects to PowerPoint since XP. The coding behind it is incredible too. To allow an object to be restored to its original, non-shadowed, state it turns the original shape invisible. So it is there, but not really there. The Soft-Shadow add-in has a great set of management tools to remove unneeded invisible elements (especially to keep file from becoming large).

So, for our purposes I am using the Soft-Shadow add-in to create an invisible element on a slide to discuss the Inspect Document INVISIBLE ON-SLIDE CONTENT feature.

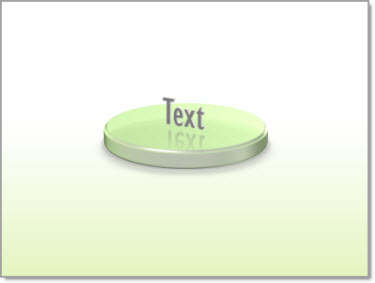
Here is my sample slide. I inserted a circle autoshape and then applied the drop shadow with the PPTXtreme Soft-Shadow add-in.

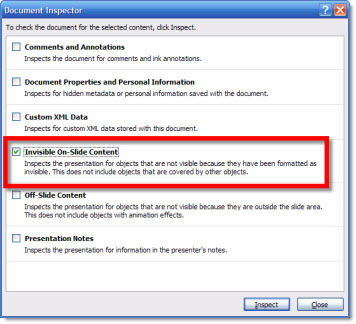
Open the Document Inspector (OFFICE BUTTON >> PREPARE >> INSPECT DOCUMENT)and have it check for INVISIBLE ON-SLIDE CONTENT.

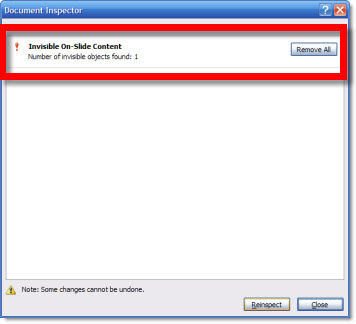
It reports there is a hidden object on slide #1 (the one I purposefully added).

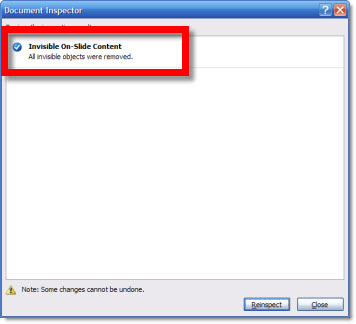
After running the clear option, reinspect and now the presentation has no extraneous mystery items!

– Troy @ TLC

By |2016-09-16T10:05:00-07:00July 17th, 2009|Tutorial|

Inspect Document (Comments)

Comments are fantastic and make revisions much easier when working with clients. If you have not discovered how to insert comments in PowerPoint 2007 (it is not on the Insert tab) go to the REVIEW tab and the COMMENTS section.

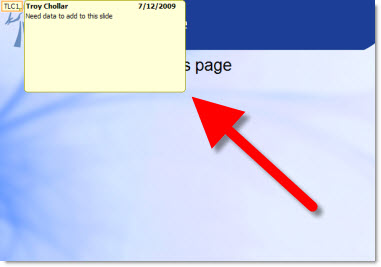
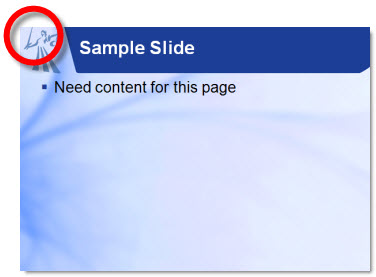
Here is my sample slide with a comment added.

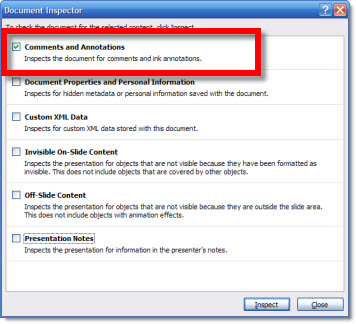
Open the Property Inspector (OFFICE BUTTON >> PREPARE >> INSPECT DOCUMENT) and the first item is COMMENTS AND ANNOTATIONS.

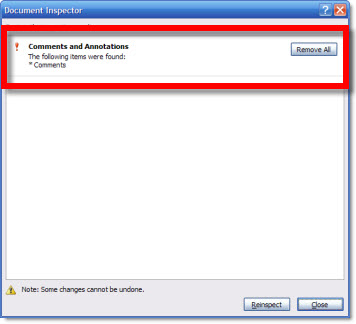
The report shows comments have been found in the presentation and gives the option to remove them.

Now when you view the slide, the comment is gone and the presentation ready, and safe, to distribute.

– Troy @ TLC

By |2016-09-16T10:05:21-07:00July 15th, 2009|Tutorial|

Inspect Document (Advanced File Properties)

In PowerPoint 2007 the document properties are divided into 2 views. Yesterday’s post showed the new properties view that is easy to use, integrated into the user interface and displays the personal information that can be sent out with a presentation.

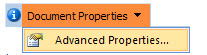
But the ‘old’ file properties are still there. To open, click the DOCUMENT PROPERTIES button in the upper left of the properties ribbon. Now we see the same properties window that has been with PowerPoint for a number of versions.

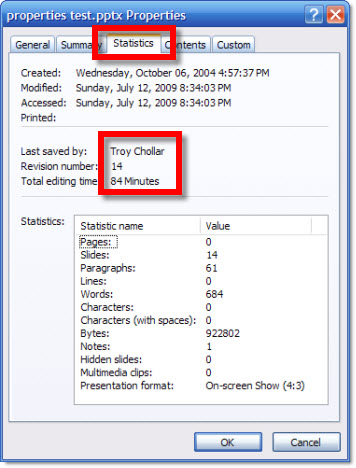
The tab I focus on is the STATISTICS information. And the LAST SAVED BY, REVISION NUMBER, TOTAL EDITING TIME are the information I generally want to clear out.

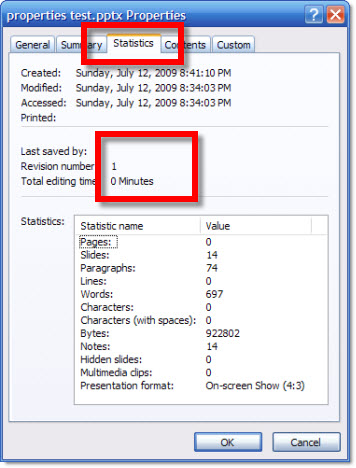
After clearing the Document properties those 3 things are are all clear!

Finally, if running an earlier version of PowerPoint (eg. XP or 2003) I have used for many years the add-in Shyam’s Toolbox which among its many tools is a clear properties function.

– Troy @ TLC

By |2016-09-16T10:05:41-07:00July 13th, 2009|Tutorial|

Inspect Document (3)

One of the professional touches when distributing a presentation is to verify what, if any, properties information is going out with the presentation. As example, if I developed a presentation for a client I would not want this information in the file properties:

Having my name, company and other information not pertaining to the client would be unprofessional.

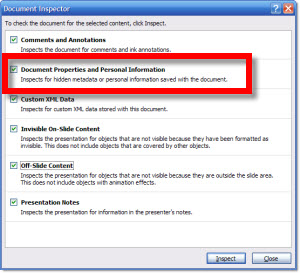
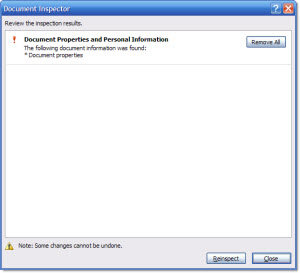
But if I go to Inspect Document, check ‘Document Properties and Personal Information’ and inspect the file:

I am given an information dialog that says there are personal information in the file properties. What it does not do is give you a quick way to open the file properties and see what is there (go to Office Button >> Prepare >> Properties). But it does give me an option to remove the properties information.

Now the file properties are ready for me to add the end client information, or leave completely blank – either is a more professional touch than displaying your personal information.

– Troy @ TLC

By |2016-09-16T10:06:01-07:00July 12th, 2009|Tutorial|

Inspect Document (2)

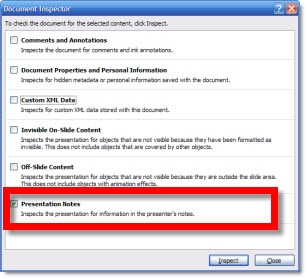
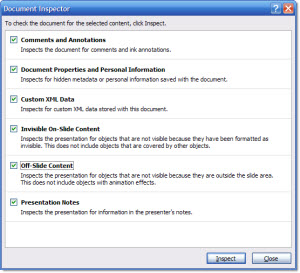
When you open the Inspect Document it has 6 sets of data it will check a presentation for. None are critical, but all offer professional finishing touches to your presentation, especially if it is to be distributed.

– Troy @ TLC

By |2016-09-16T10:06:22-07:00July 10th, 2009|Tutorial|

PowerPoint’s ‘Inspect Document’ Feature

Here is one of the new features that has been overlooked by most. Some of its functions were possible in prevous versions, some were possible using add-ins. So I have a mini-series of posts on what the INSPECT DOCUMENT feature in PPT 2007 can do for you.

To access:
Office Button >> Prepare >> Inspect Document

– Troy @ TLC

By |2016-09-16T10:06:43-07:00July 8th, 2009|Tutorial|

4th July Text

I had a few emails asking about the 4th of July post. I did most of the work in Photoshop compositing the red/white rays with the fireworks. Then in PPT 2007 I added the TLC logo, a radial gradient shape under the logo to help it have contrast and be visible and finally created the text using PPT 2007 gradient fill options.

The text is a custom font (Albert, which is license restricted so not embedded – will default to some other font on your computer…). I added a custom 3 step gradient, bold outline and near opaque drop shadow (needed on the visually busy background used in previous post). The slide can be downloaded here.

– Troy @ TLC

By |2016-09-16T10:07:09-07:00July 6th, 2009|Portfolio, Tutorial|

Difference Between ‘Header/Footer’ and ‘Slide Number’ Buttons

One of the great things about PowerPoint is there is almost always more than one way to do things. And almost always the multiple ways of doing things are found in different areas of the program. But one that can be confusing is the ‘Header/Footer’ and ‘Slide Number’ buttons.

I guess the confusion is that they open the exact same dialog box. They are located on the same tab. And located on the same section.

It does not matter which you use. As example, it’s okay to click the ‘Header/Footer’ button and turn on the page numbering. I believe it is just another example of statistics leading the development process. Statistics probably showed a lot of users (tested or observed) where unaware of how to setup page numbers. The obvious answer was to add an easy to identify button labeled ‘Page Number’ – problem solved.

– Troy @ TLC

By |2016-09-16T10:07:29-07:00July 3rd, 2009|Tutorial|
Go to Top