Things Not Working, Check Microsoft Updates
ote, this post is for Windows only (although Mac has its own dilemmas with update needs). I find that a feature I have been using, perhaps earlier that same day, suddenly is not available or does not work. My new thinking is things do not continue working until broken, they now work until Windows or something Microsoft has an update and things stop working because they see an update is needed.
I am constantly running 4 update checks to limit these random not working/error messages. Most likely only need 3 apply to your, but I am covering all 4.
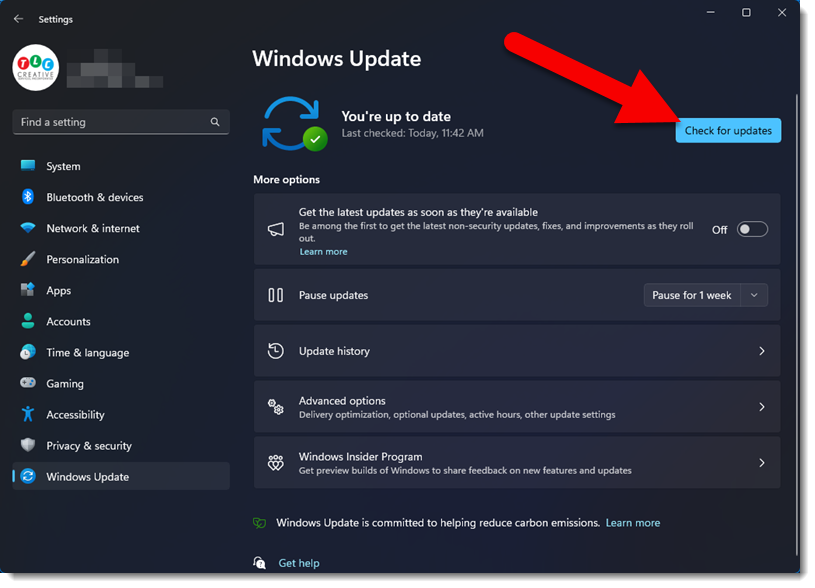
Windows OS updates
Go to Start > Settings > Windows Update > click Windwos Update (in upper right)
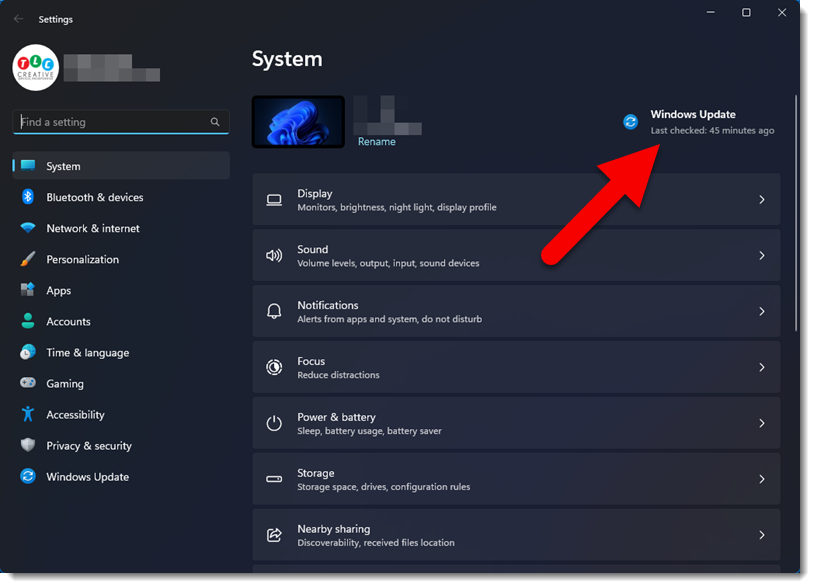
Click Check for updates
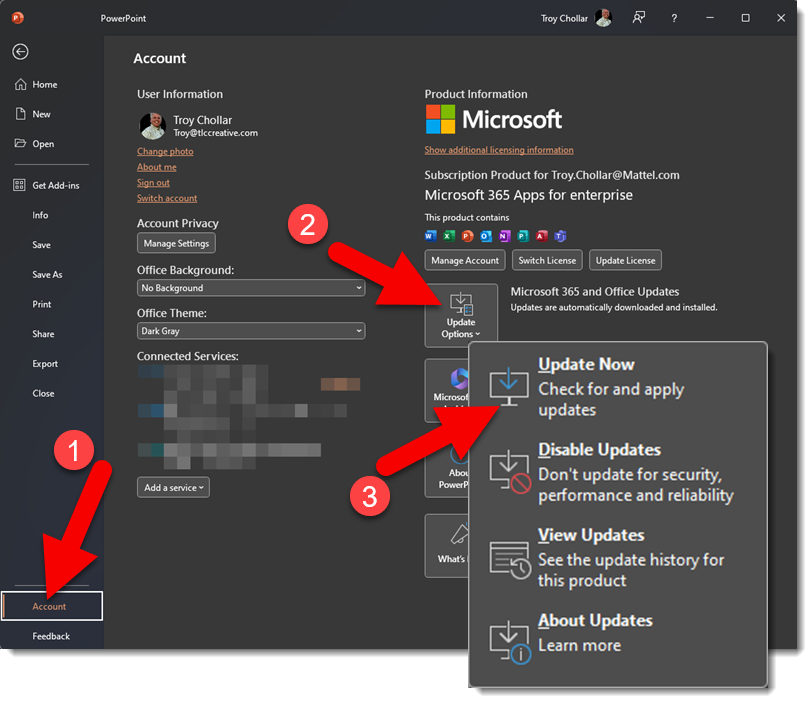
O365 Updates
Open PowerPoint > File > Account > Update Options > Update Now.
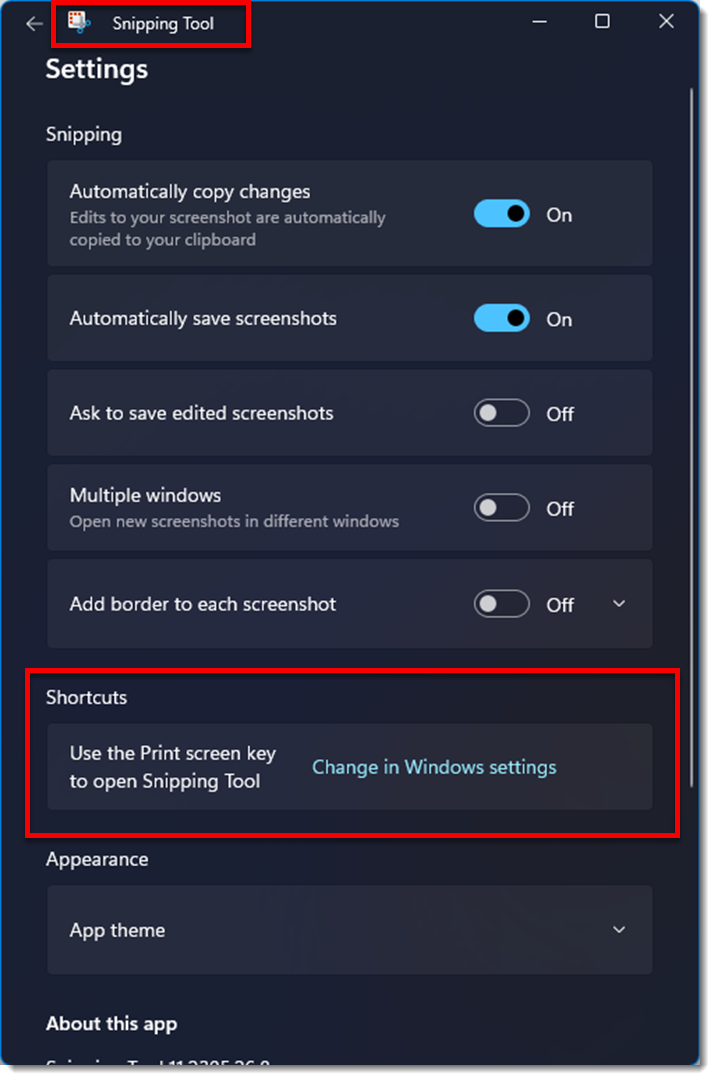
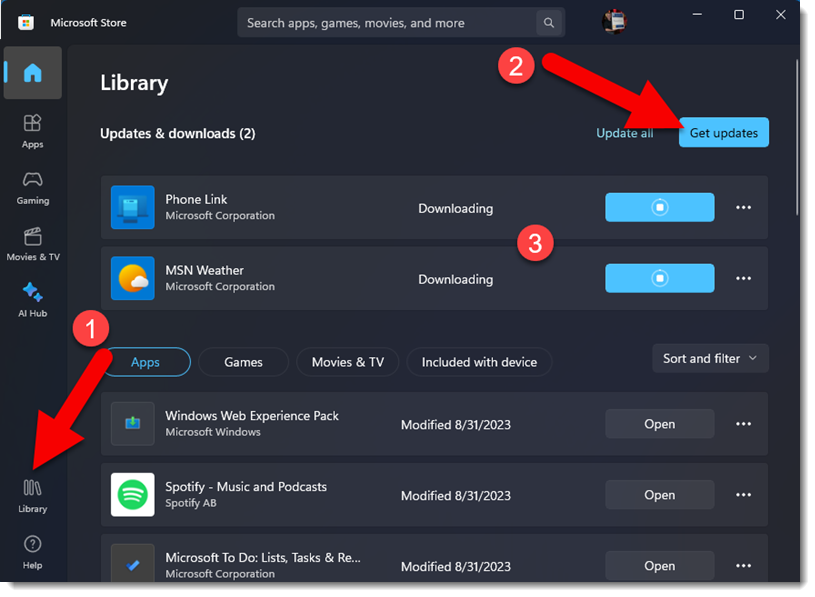
Windows Store updates
The Windows Store is controlling more and more of the installed apps.
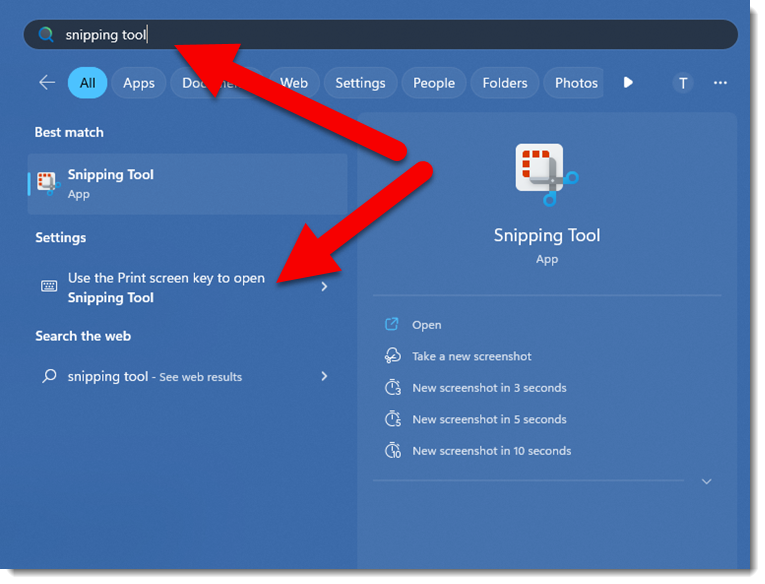
In the Start menu search for “Store”
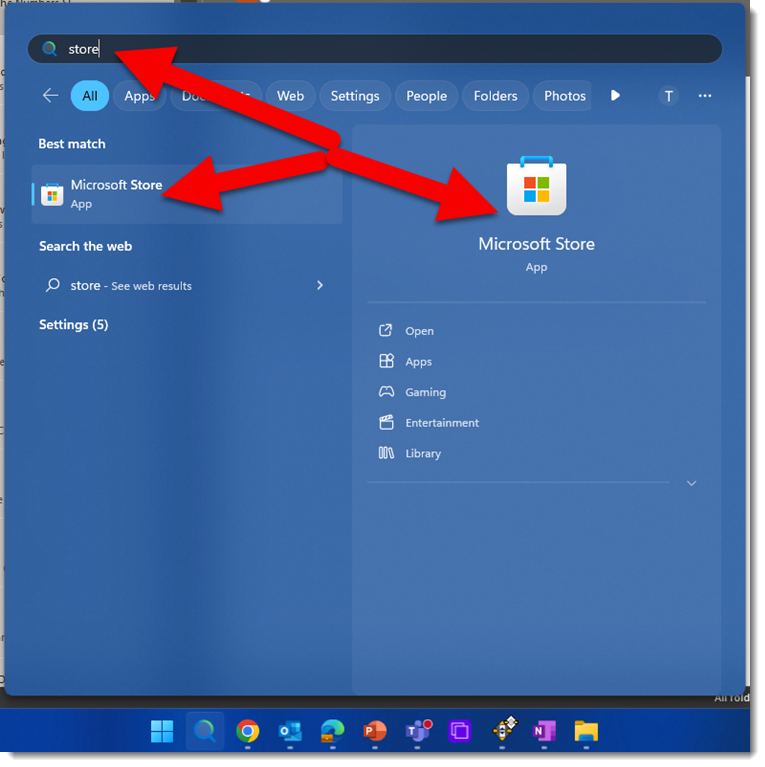
Select and open the Microsoft Store app > Library > Get updates.
Lenovo Vantage
This only applies to Lenovo computers, but Dell, Asus and others have their own update apps.
In the Start menu search for “Lenovo”
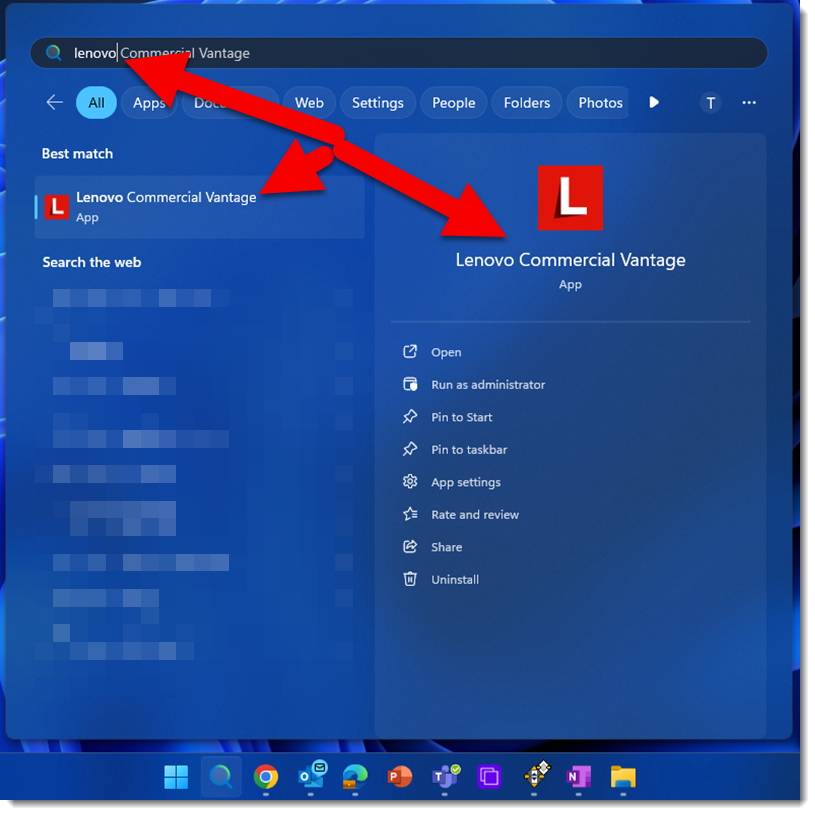
Select and open the Lenovo Commercial Vantage app > Run System Update
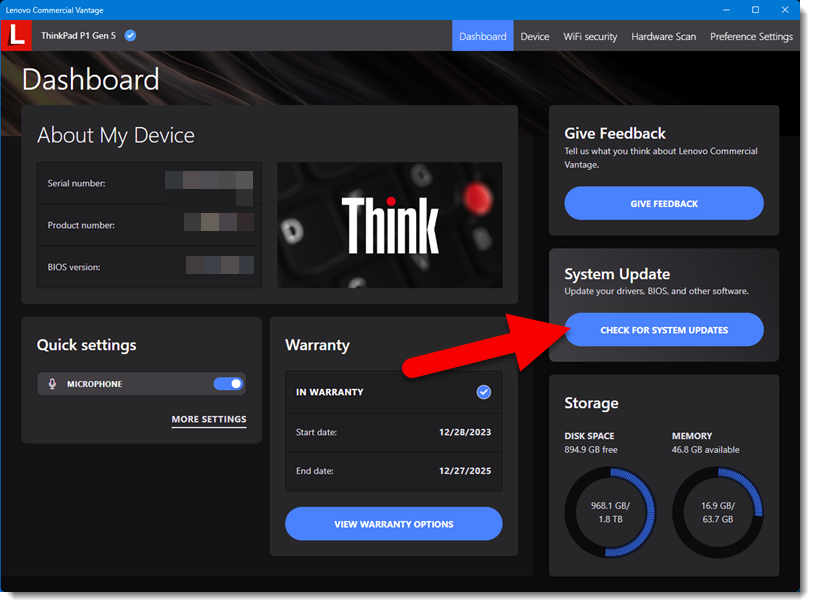
Install updates following information provided.
This is a lot of ongoing effort. It feels that more the 50% of the time, whatever issue I was having is resolved with these updates. Hopefully this is a good reference and resource!
Troy @ TLC