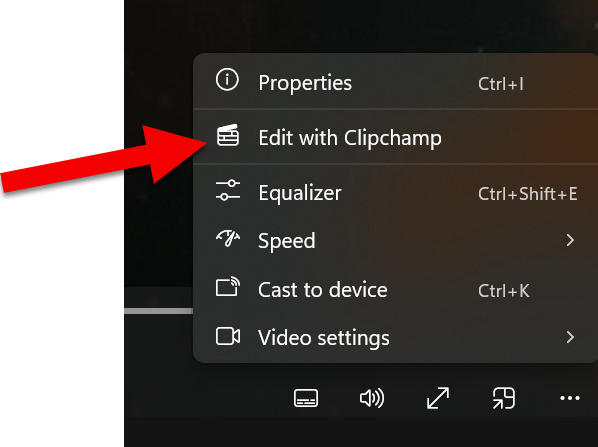
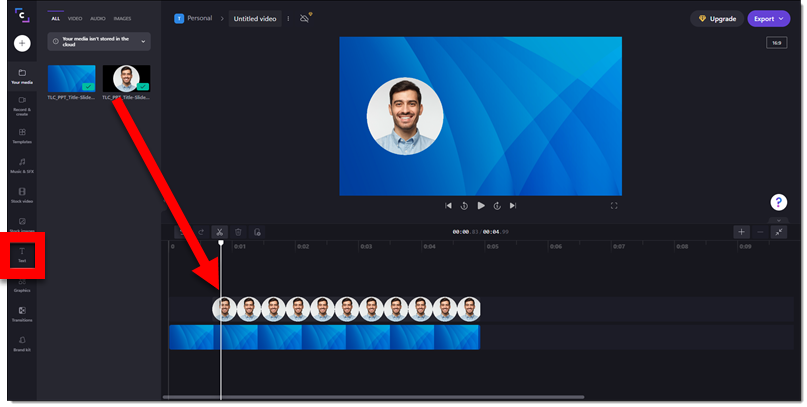
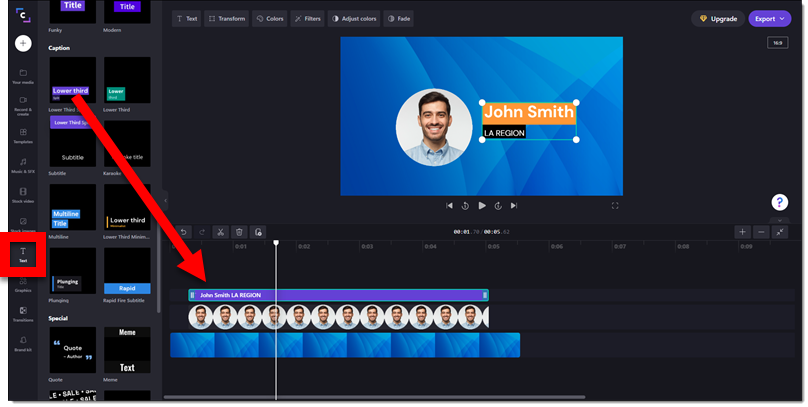
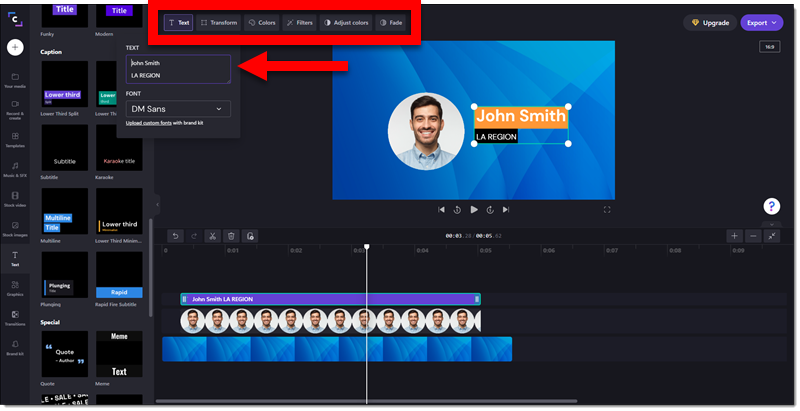
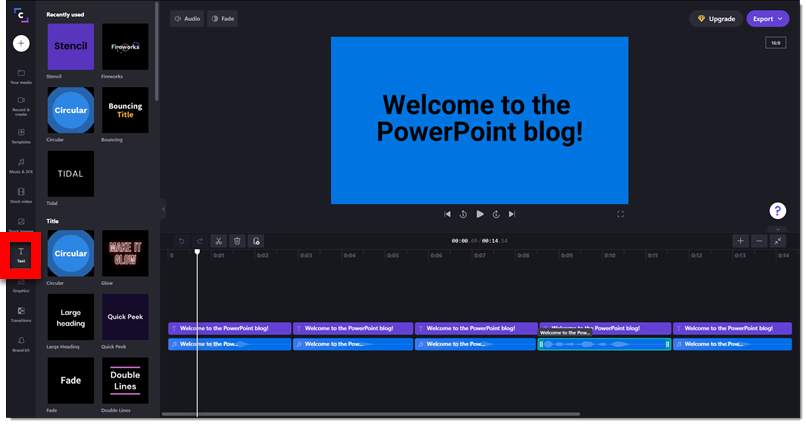
To add text, click on the text tab on the left-hand side. Here I’ve selected the text animation “Quick Peek”. You can move it’s placement on the screen by selecting it, and a teal outline will appear.
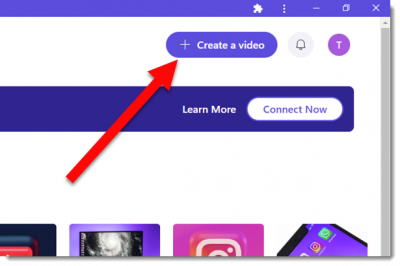
A new window will appear. This is where you will edit your video. You can start from scratch or choose one of Clipchamp’s templates.
Don’t forget to name your file!
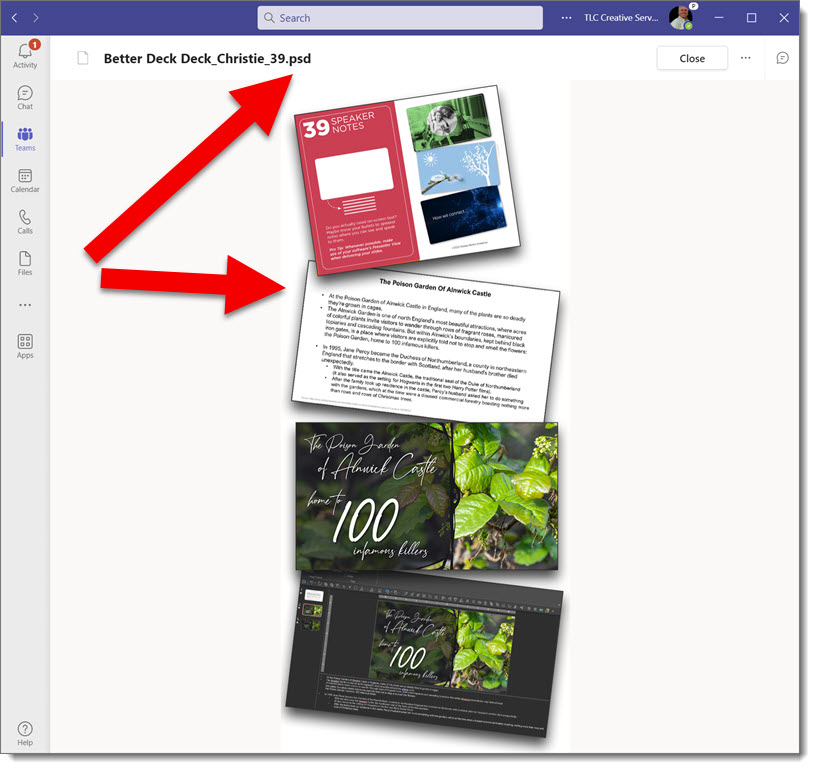
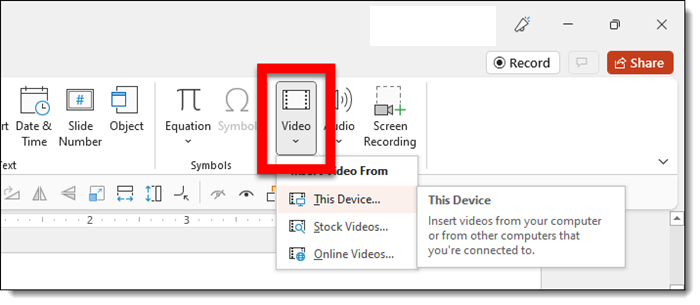
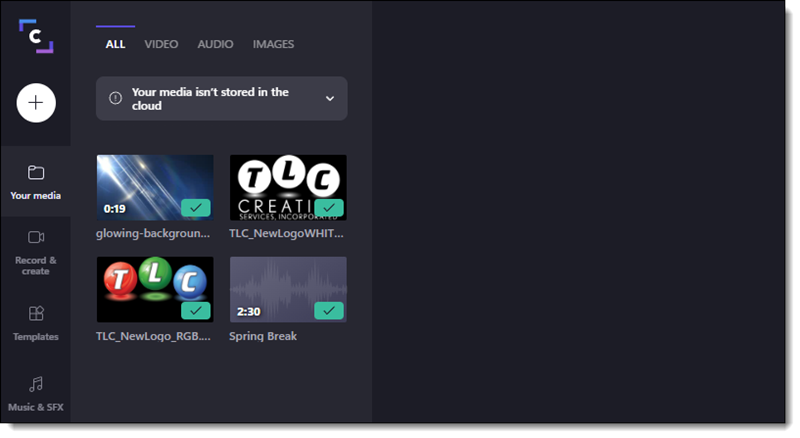
Import your media. Here I’ve imported a video to use as a background and our TLC logos.
Drag your media and place it on the timeline.
To add a transition effect, click on the transitions tab on the left-hand side. Choose a transition and drag it in-between two videos or images.
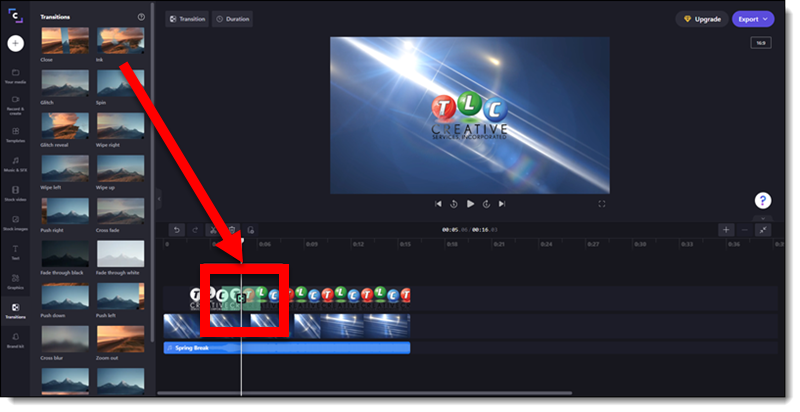
Here I’ll add a transition to the two logos. Our TLC logo will first appear white, then transition into color.
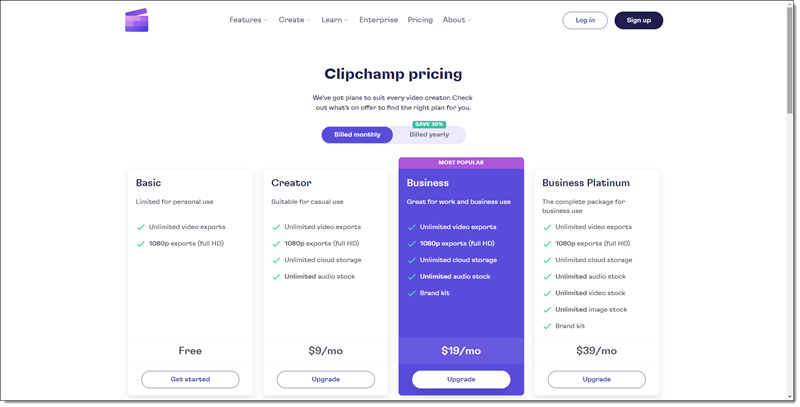
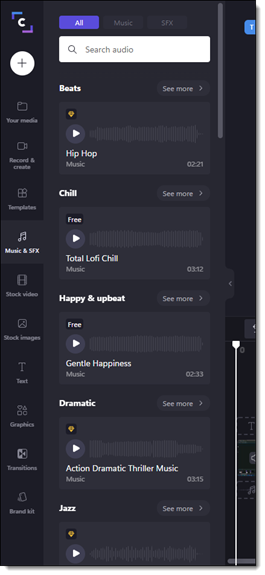
To add music, click on the Music & SFX tab. There is free music included in the free plan. You can type in “Free” to narrow down the free music available. Find a tune you like and drag it into the timeline or click on the teal plus sign button in the corner.
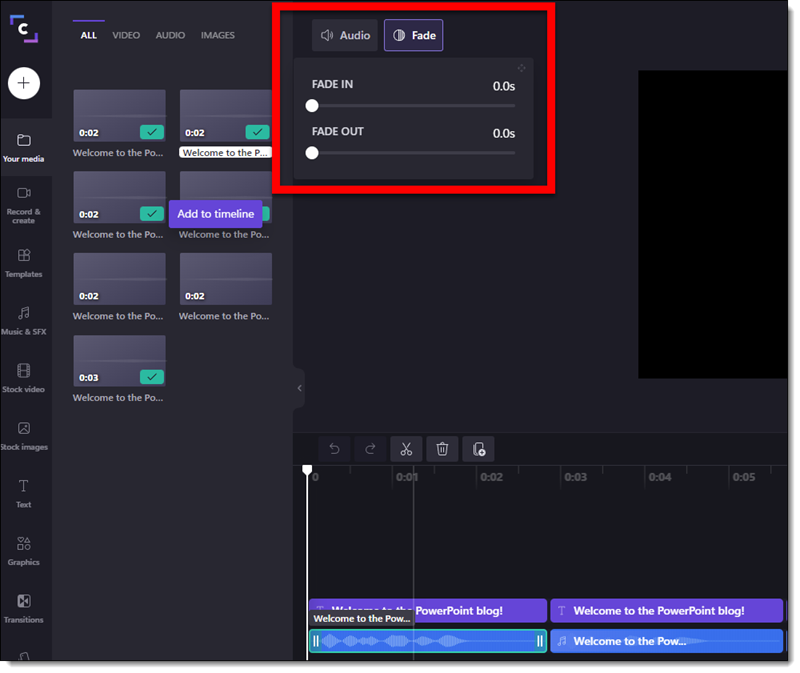
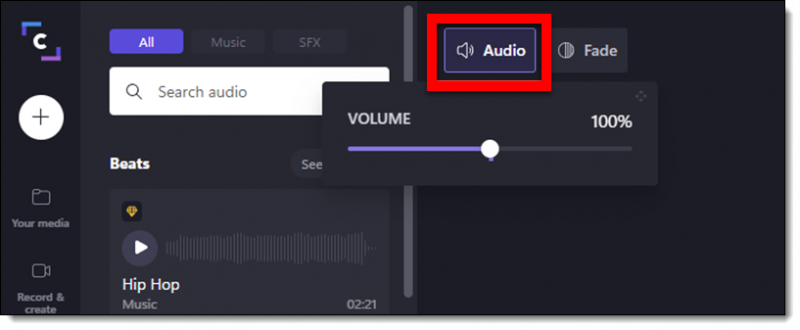
Click on volume or fade to adjust some of the music’s settings.
The graphics tab lets you add some extra content and features to your video. See more options by scrolling over the last square. Graphics will appear in your timeline at the top as a pink bar. You can change the length by pulling on the side of this bar.
Backgrounds- You can add a colored background to your timeline.
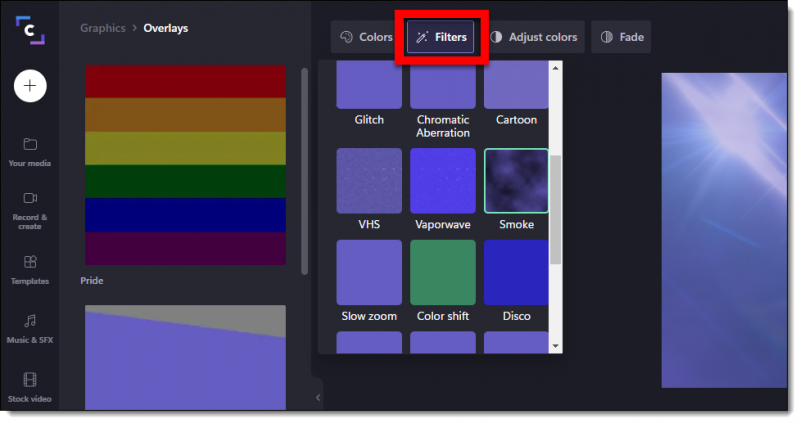
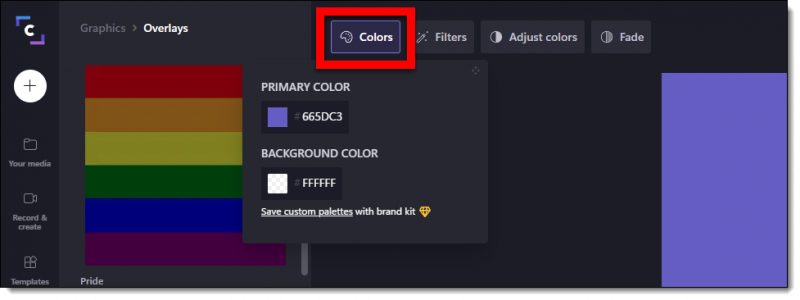
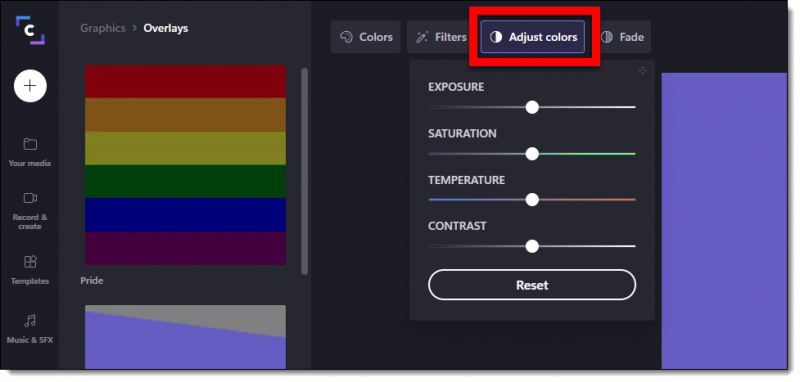
Overlays- You can add animated overlay effects and change the color of them. Add a filter to the color, adjust it’s exposure, saturation, temperature and contrast, and add a fade in/out effect.
GIPHY – Add a GIF to your video.
Stickers – Add a sticker to your video.
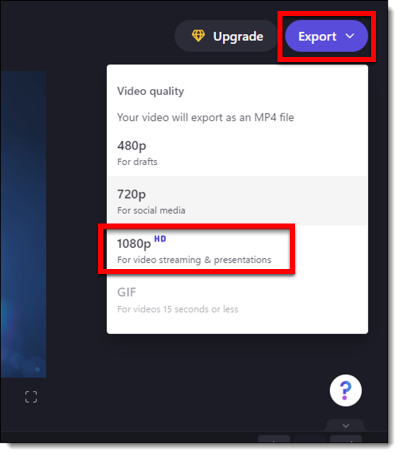
When you’re done editing your video, click export to choose your output resolution. A new screen will appear while your video is rendering.
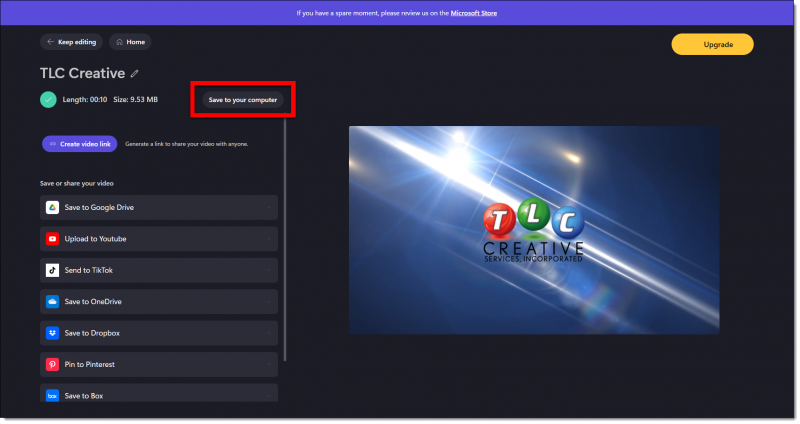
When it’s done you’ll have the option to save it to your computer or upload it to a social media or cloud site.
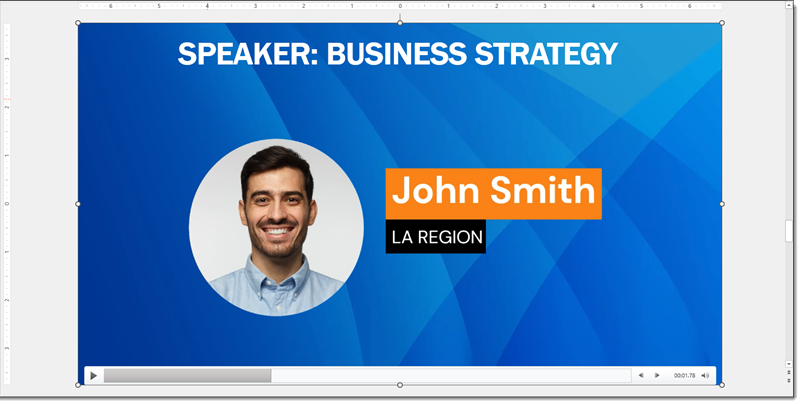
Here is what our final video looks like:
[videopack id=”16136″]https://thepowerpointblog.com/wp-content/uploads/2022/06/TLC-Creative-‐-Made-with-Clipchamp.mp4[/videopack]