Stacked and Mixed Text
Typography: The art and technique of arranging type to make written language legible, readable, and appealing when displayed.
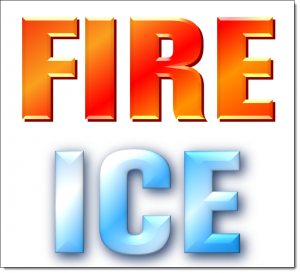
PowerPoint is flexible. Like many design applications, text can be more than bullet lists of black text on a white background. One aspect of graphic design is creating visually engaging layouts with just text. As example, here is a slide one of the TLC Creative design team created – all in PowerPoint.
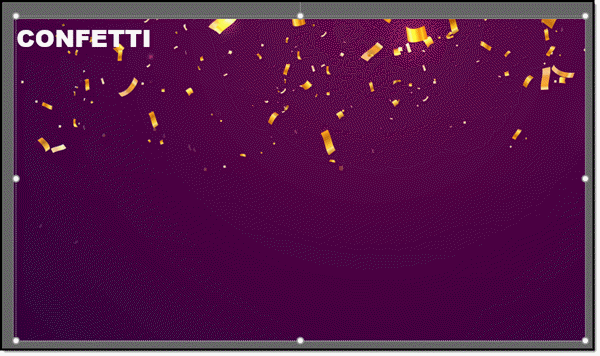
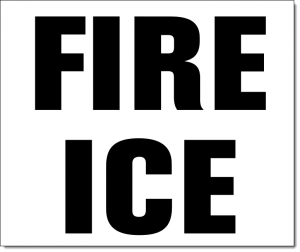
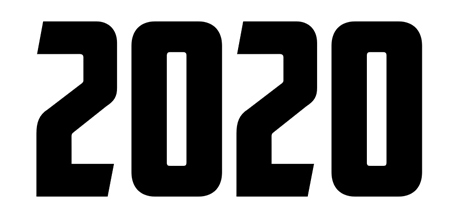
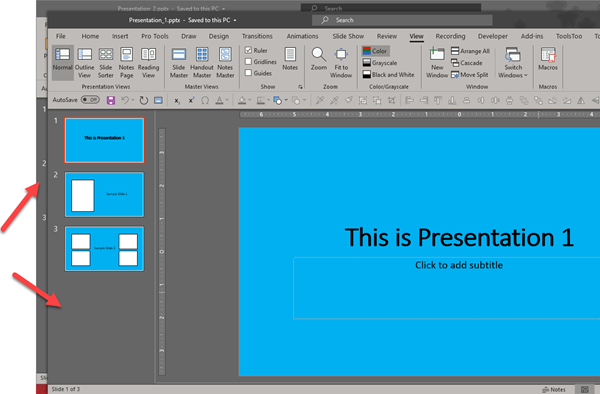
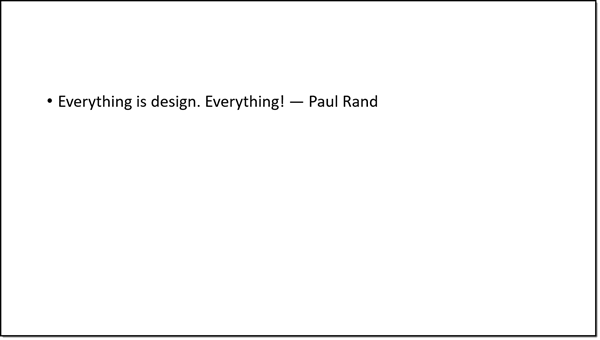
- Add text to a slide. Boring start, but now we know what we are working with.
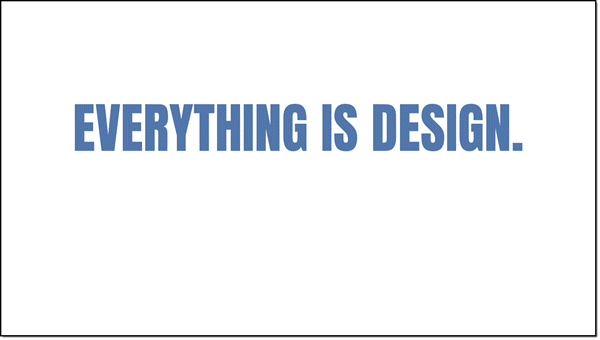
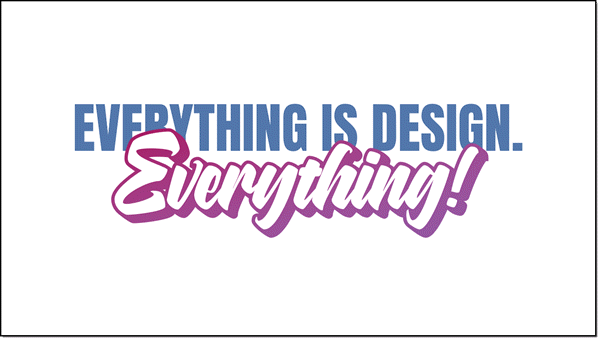
2. To start the layout, the first section of the quote was set with a new font, ALL CAPS, and new color
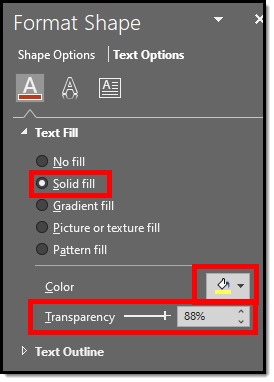
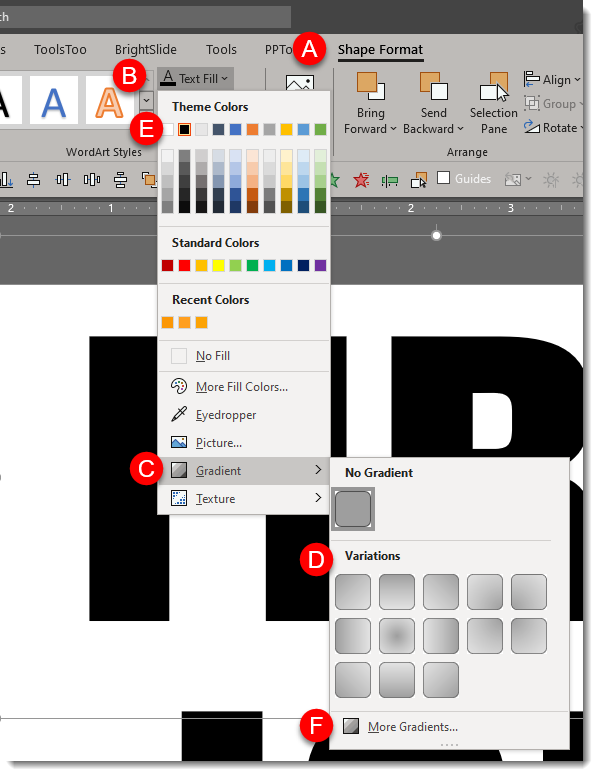
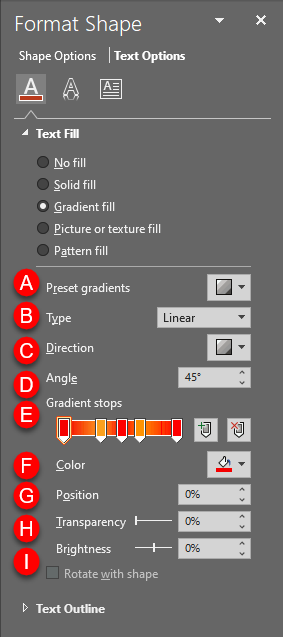
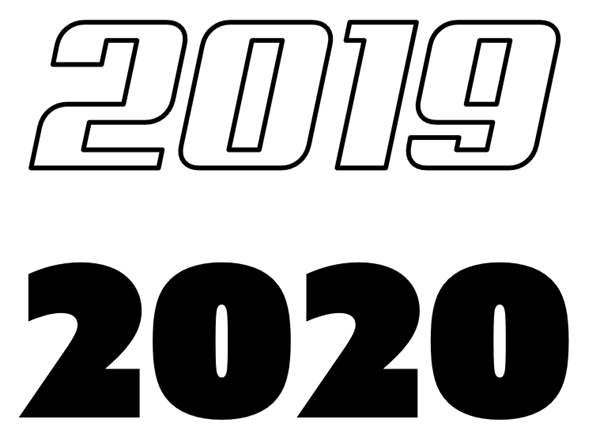
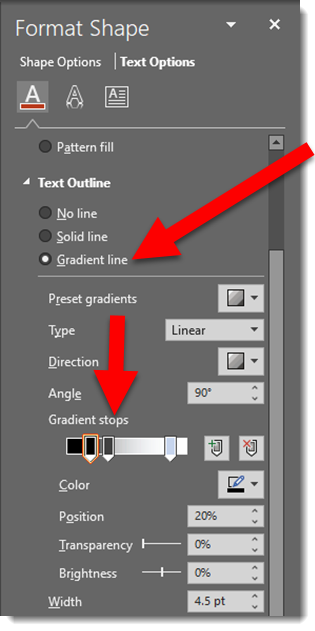
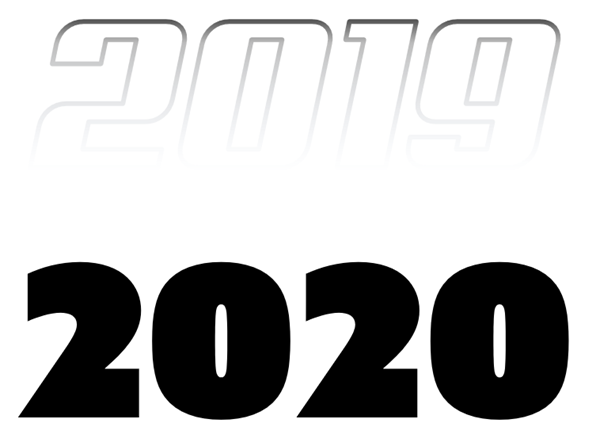
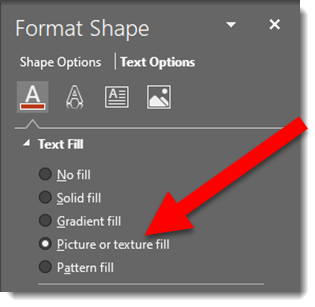
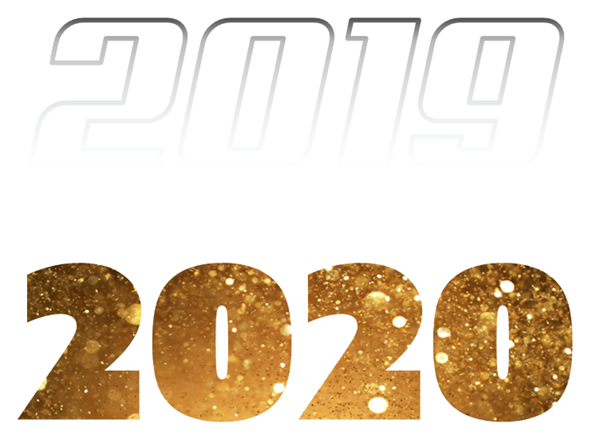
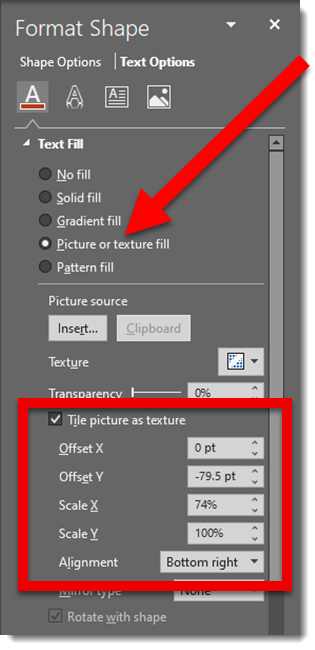
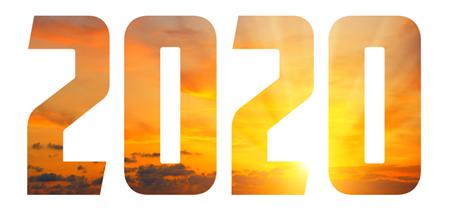
3. The final word of the quote has some more extension PowerPoint styling. Starting with using a custom font and applying a text gradient fill.
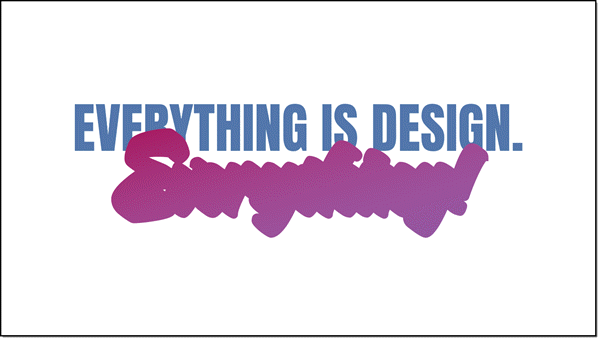
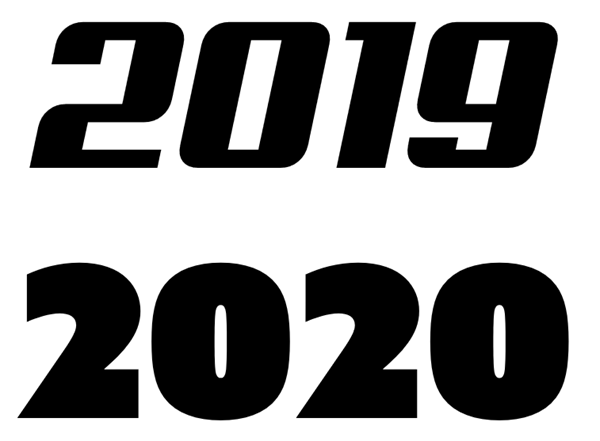
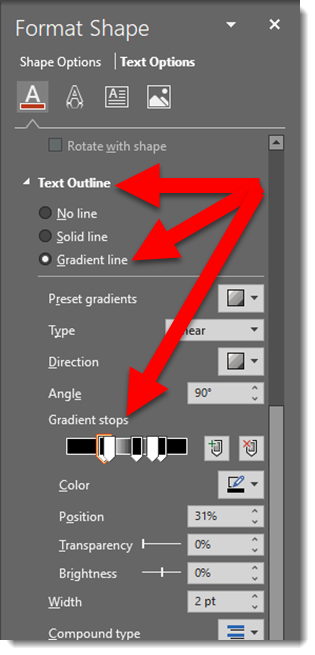
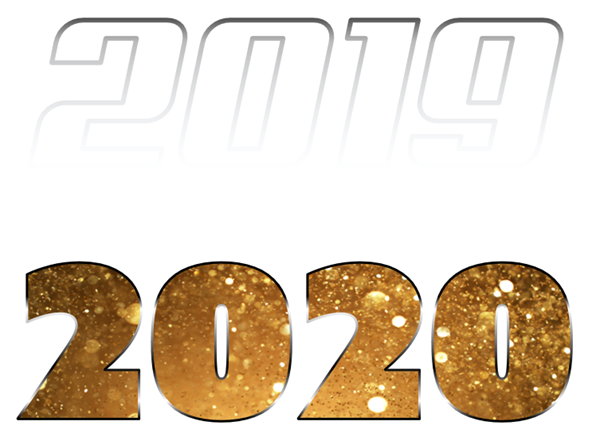
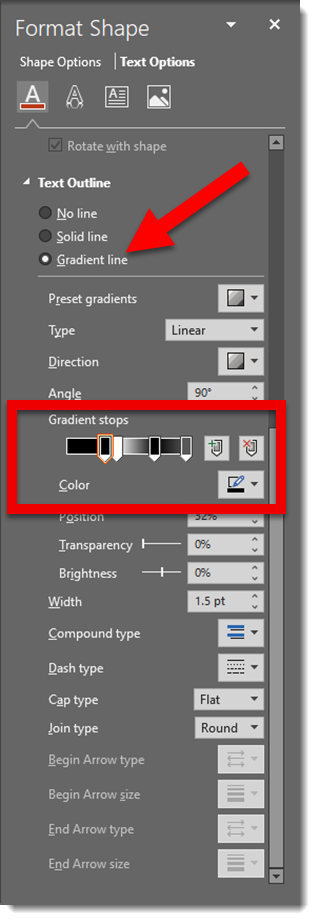
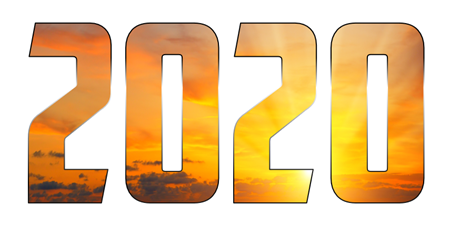
4. The custom font was a purposeful selection because the font family includes an outline version. The “everything” text box was duplicated, changed to the outline version of the font, set to a purple outline and white fill. Stacked, the two text boxes look great!
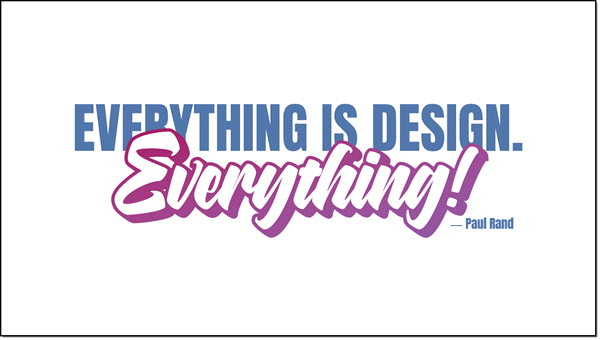
5. Last is adding the name as simple, small text in same blue as the top line.
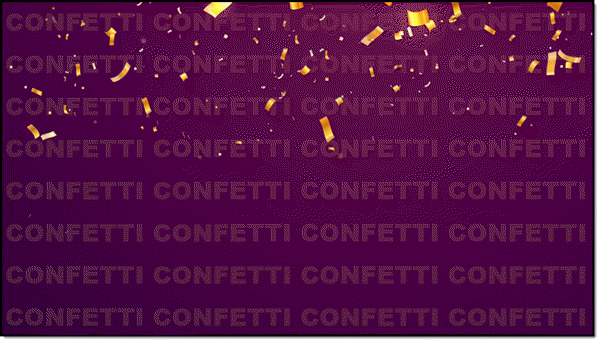
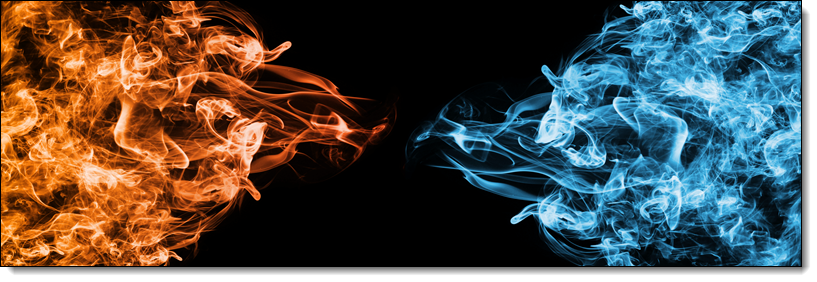
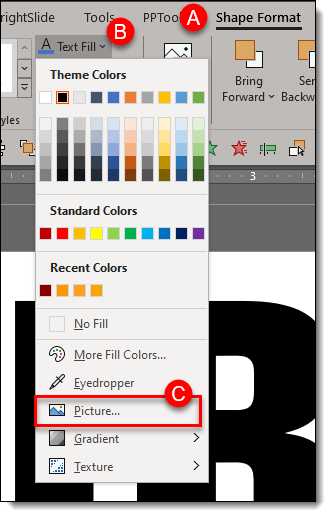
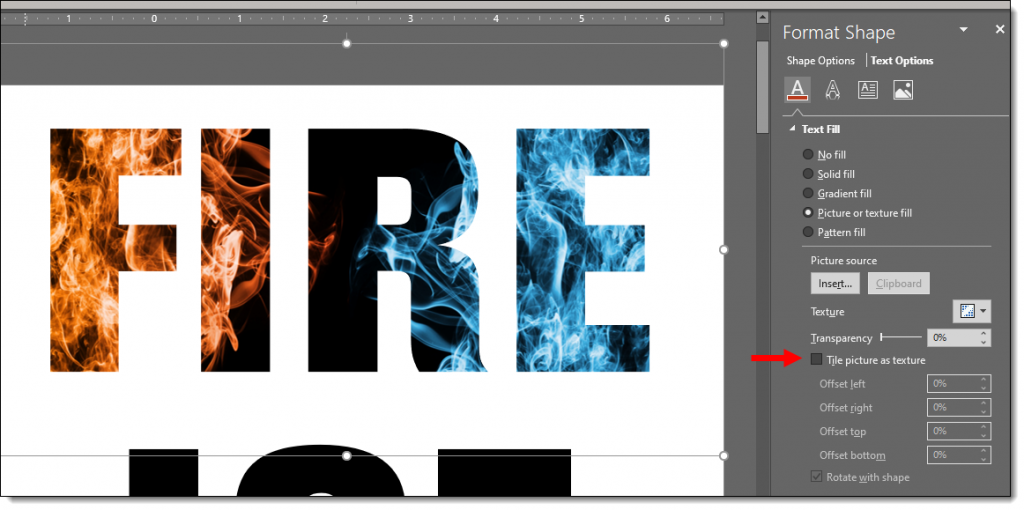
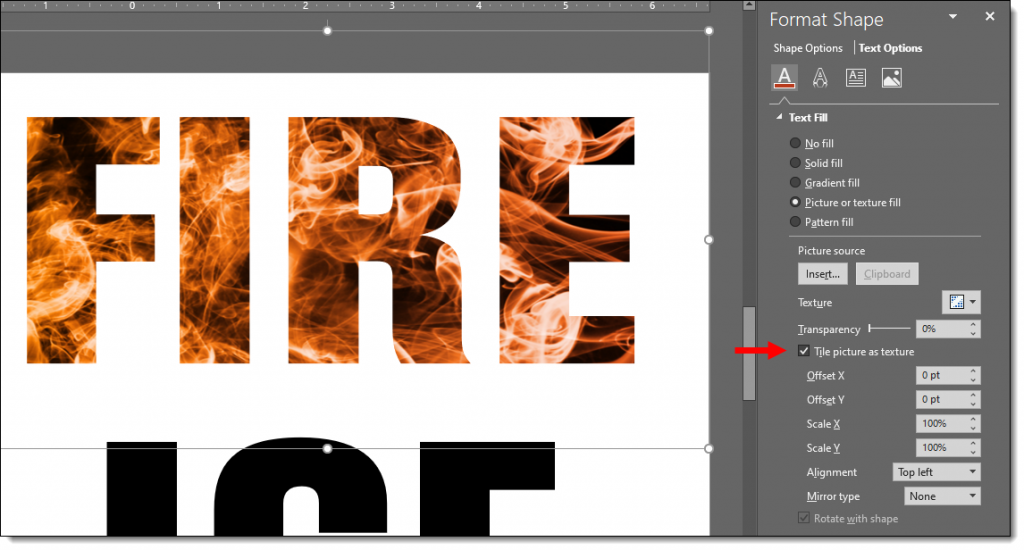
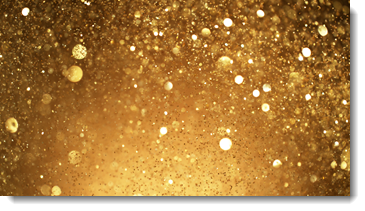
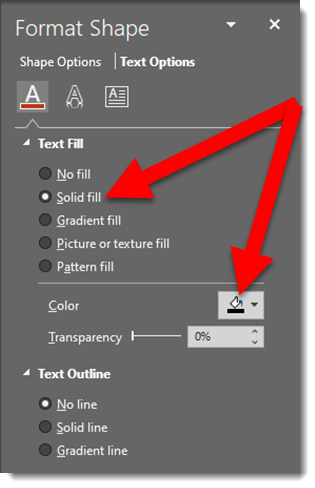
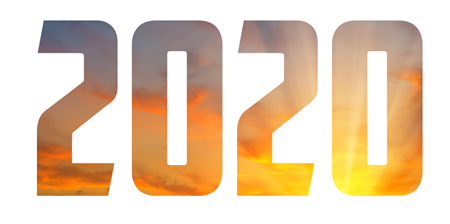
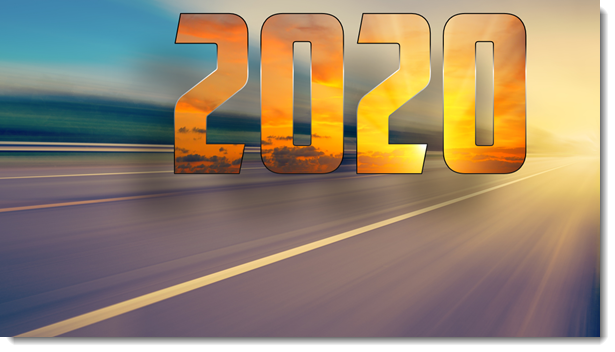
6. As a final design flare, a background image was added and sent to back.
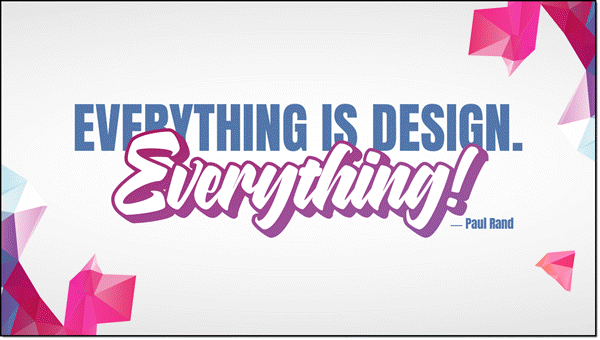
Done. A complete graphic design text layout, completed in PowerPoint.
– Troy @ TLC