The Noun Project SVGs
The Noun Project has a direct integration with PowerPoint and as a presentation designer is invaluable. If unfamiliar the Noun Project has “the most diverse collection of free icons and stock photos with over 5 million art-quality icons and free photos.”
- side note: I have had a paid Noun Project plan for many years, and did know they offered images/photos! There are separate plans for icons and photos. Offering looks good, but not something we use at TLC Creative.
Three great callouts:
- It is an add-in that makes it entirely accessible directly in PowerPoint.
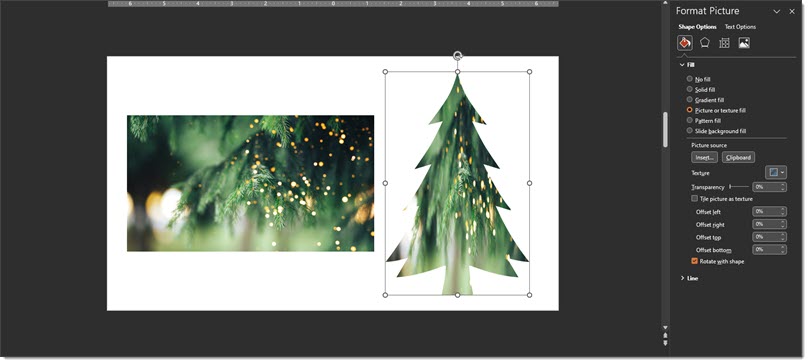
- Icons can be downloaded as raster .png (transparent background!) or vector .svg (yay, scalable, color change and edit directly in PowerPoint!).
- It is budget friendly at ~$40 year for unlimited use.
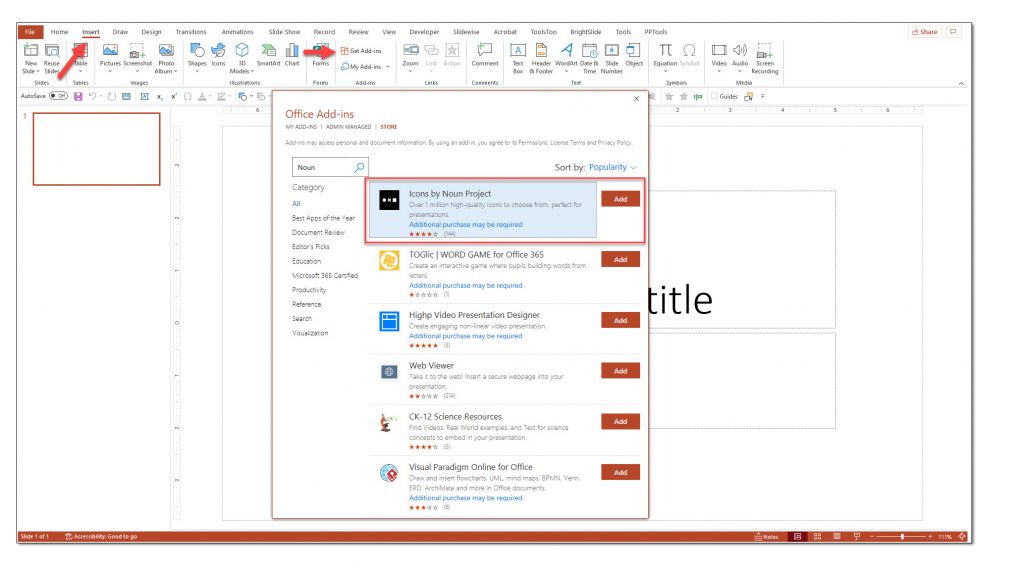
TO GET STARTED
- Under the insert tab select “Get Add-ins” and search for “Noun Project”
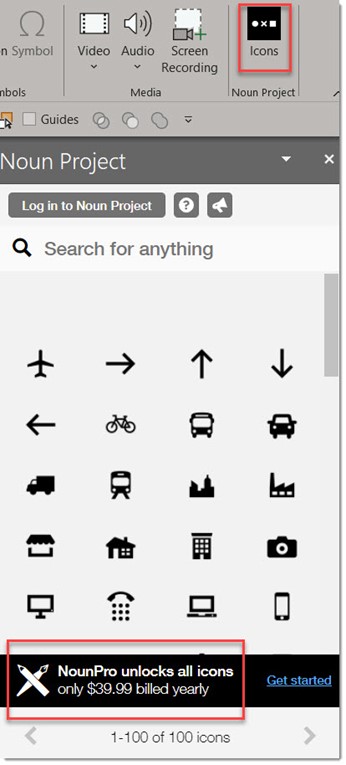
- Once added the add-in is installed, use the ICONS button on PowerPoint’s INSERT tab. Review current pricing and plans on the Noun Project website.
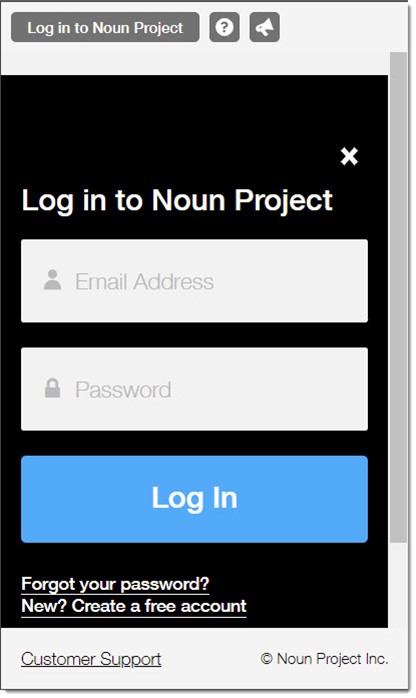
- Click the ICONS button and the Noun Project interface opens as a Pane in PowerPoint on the right side. The first time you open the Noun Project pane, click LOG IN TO NOUN PROJECT and add your account credentials.
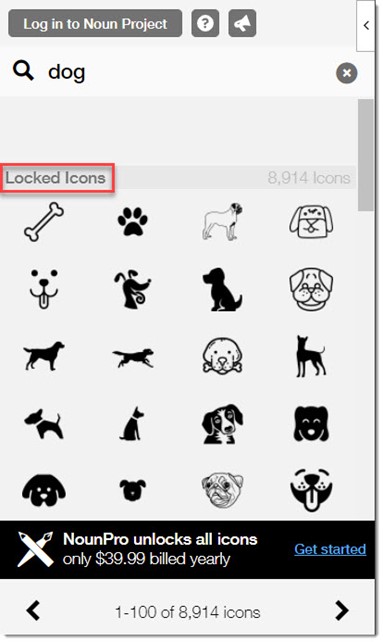
- note: if you have not paid for the service, the option to create a free login by clicking on the login will then allow icons searches, but they are “locked”.
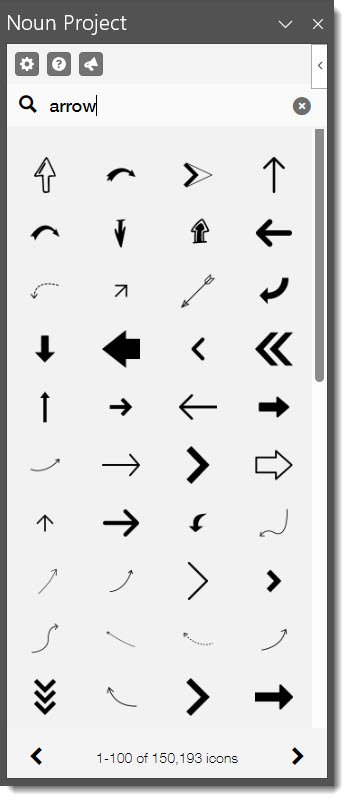
- After logging into your Noun Project account, search for any icon.
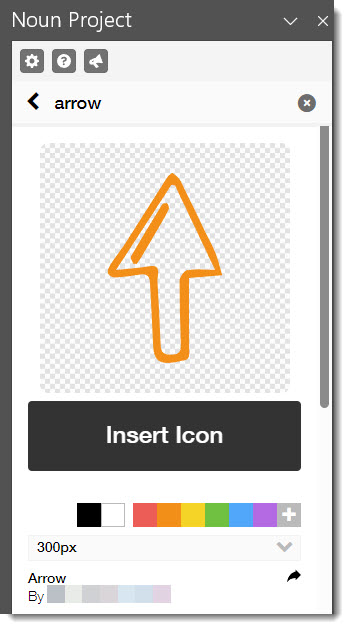
- Select the icon to see larger, choose a color, and insert.
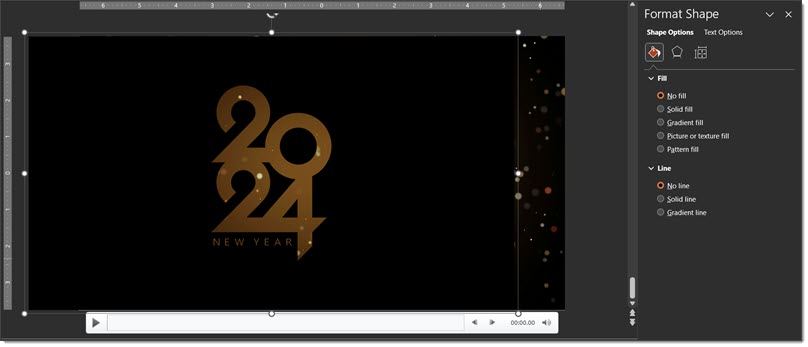
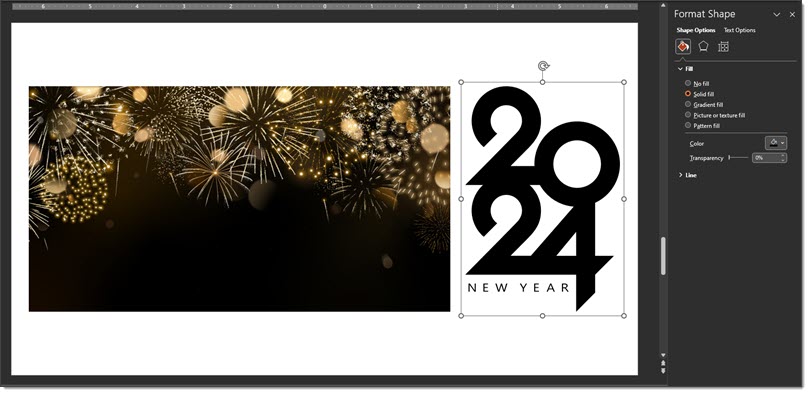
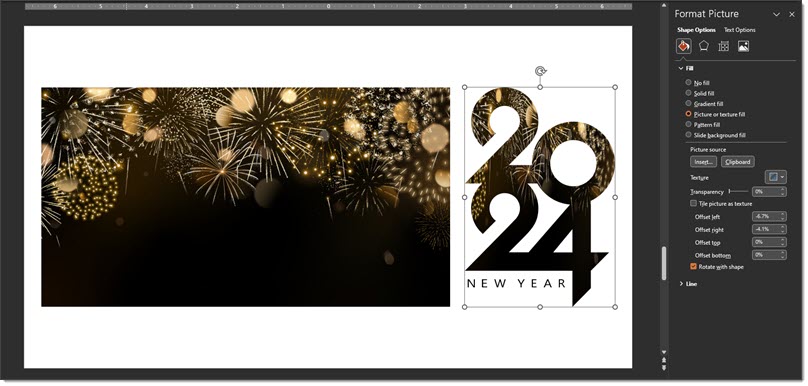
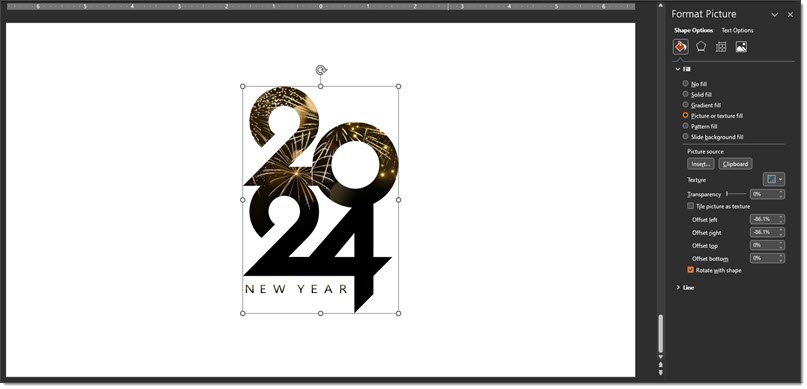
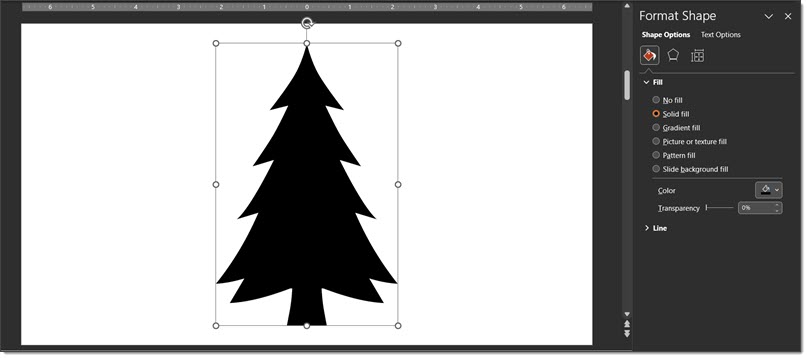
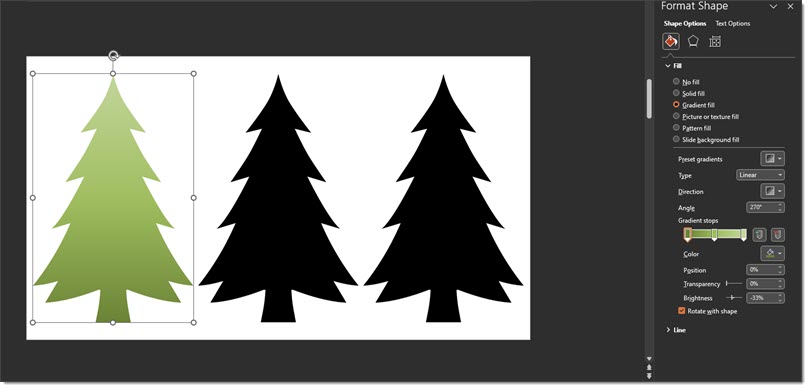
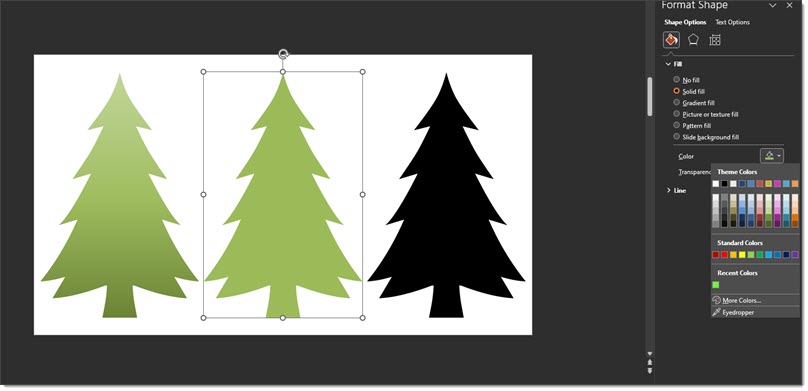
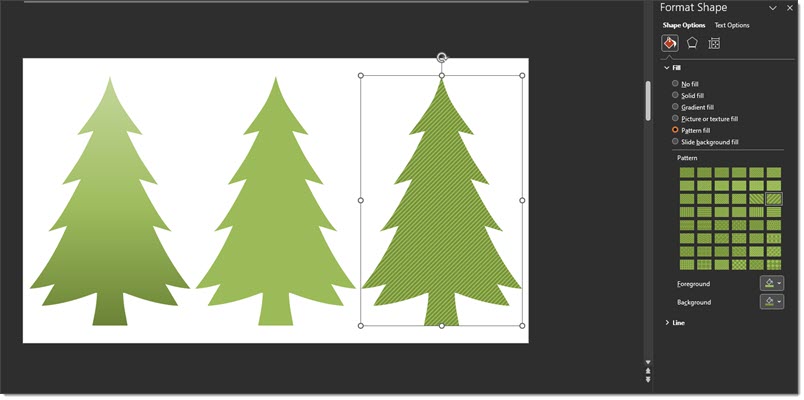
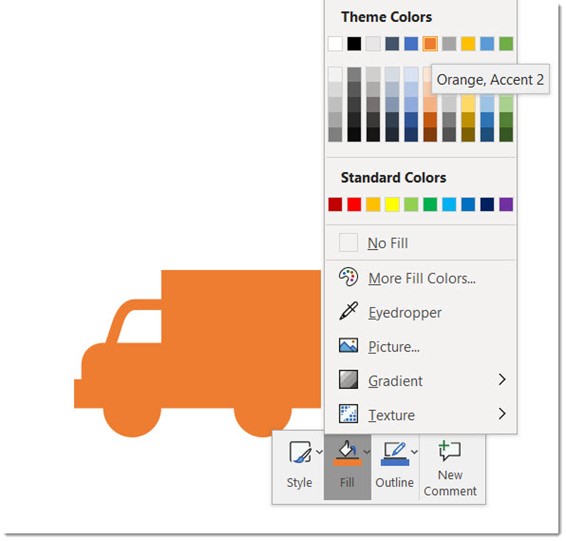
- If you have selected to import .svg vector icons (and you should!), the ability to change the fill color – outline and other formatting options are the same as formatting a PowerPoint rectangle.
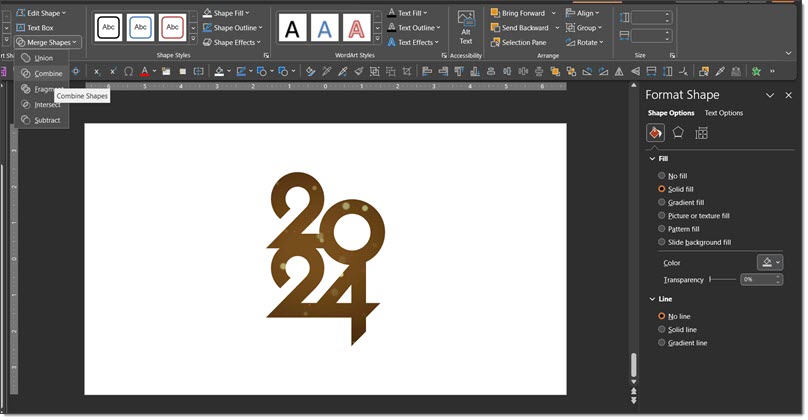
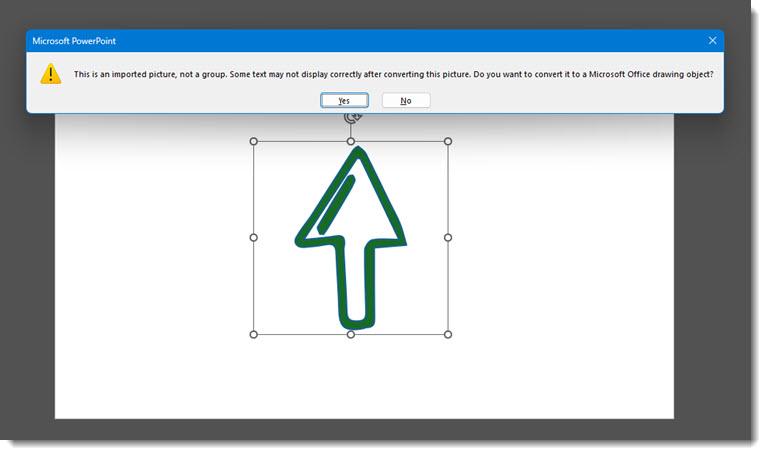
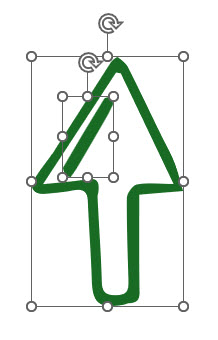
- Additionally, inserted Noun Project icons can be ungrouped – which will display this message (click YES).
- Ungroup a 2nd time and the icon will be broken into individual pieces.
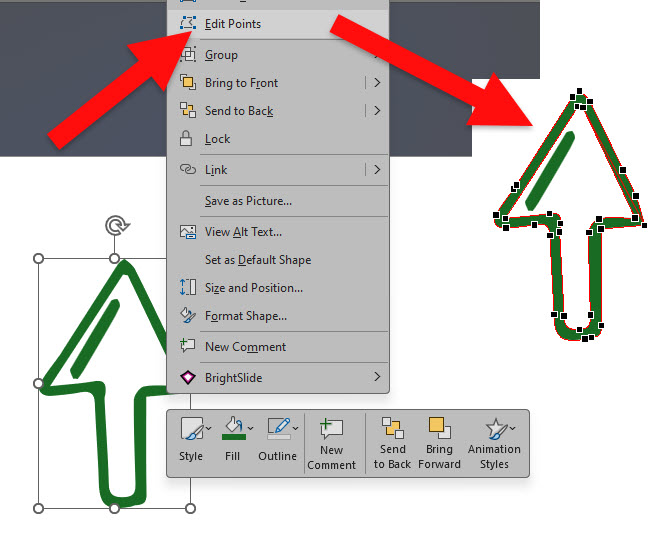
- Advanced shape design can also be done by right-clicking, selecting EDIT POINTS, and modifying the shape (aka “Illustrator-lite”)
Troy @ TLC